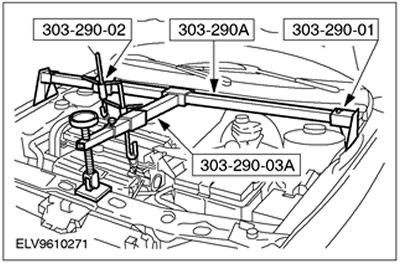
Special tool
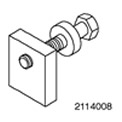
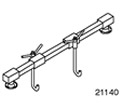 | Engine support beam 303-290A (21-140) |
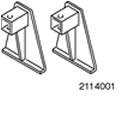 | Adapter for 303-290A (21-140) 303-290-01 (21-140-01) |
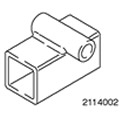 | Adapter for 303-290A (21-140) 303-290-02 (21-140-02) |
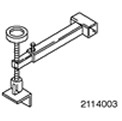 | Adapter for 303-290A (21-140) 303-290-03 (21-140-03) |
 | Adapter for 303-290A (21-140) 303-290-08 (21-140-08) |
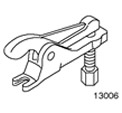 | Ball joint puller 211-020 (13-006) |
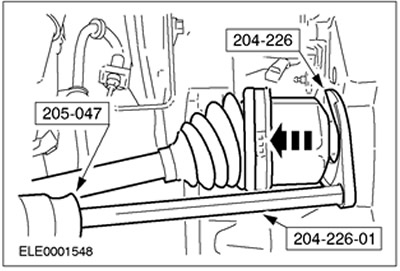
 | Hammer with moving hammer 205-047 (15-011) |
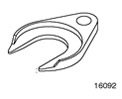 | Axle puller 204-226 (16-092) |
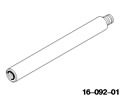 | Adapter for 204-226 204-226-01 (16-092-01) |
General equipment:
- Fixing clamps
- Jack for gearbox
- wooden block
Withdrawal
1.
NOTE: The location of the engine mounts and engine mounts in the description corresponds to the view from the automatic transmission to the engine.
Standard preparations:
- Note the radio key code.
- Check the preset radio stations.
- Move the gear selector to position "D".
2.
CAUTION: Disconnect the ground wire from the battery.
Remove the battery. See Section 414-01 for more information.
3. Remove the battery tray.
- 1. Release the connector.
- 2. Turn out bolts.
- 3. Release the cable.
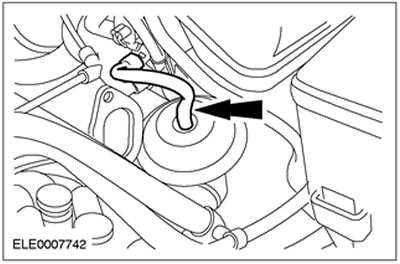
4. Disconnect the EGR vacuum line (EGR) from the EGR valve.
5. Remove the air filter housing.
- 1. Disconnect the inlet hose.
- 2. Disconnect the electrical connector of the mass air flow sensor (MAF).
- Disconnect the crankcase ventilation hose.
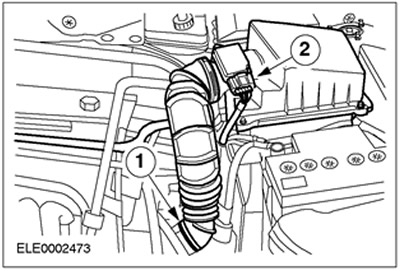
6. Remove the air filter inlet pipe.
7. Disunite electric sockets and disconnect a cable of the lever of a choice of transfers from the lever of a choice of transfers.
- 1. Transmission range sensor electrical connector (TR)
- 2. Electric socket of an automatic transmission in the block with the leading bridge.
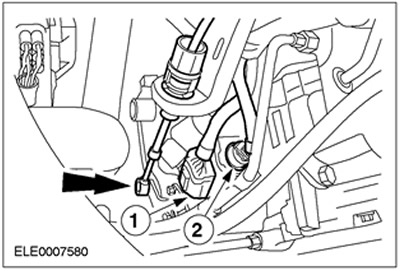
8. Disconnect the electrical connector of the turbine shaft speed sensor (TSS)
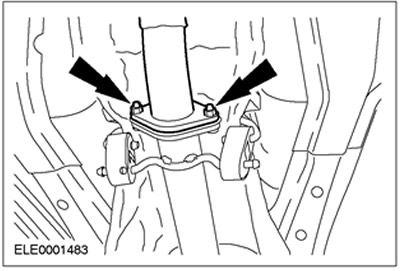
9. Loosen the nuts of the upper support of the suspension strut assembly with the spring five turns (at both sides).

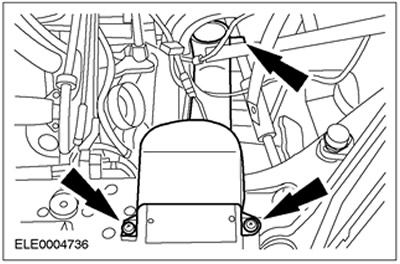
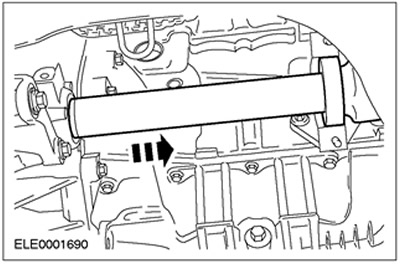
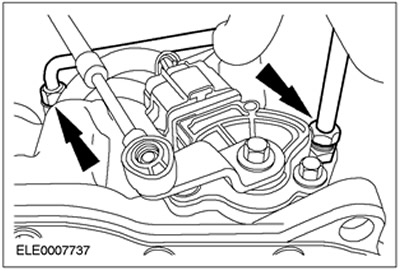
10. Fix the engine. Use special tools.
11. Remove the transmission fluid dipstick tube bracket.

12. Loosen the nuts on the left front wheel.
13. Raise and support the vehicle. See Section 100-02 for more information.
14. Remove the left front wheel.

15.
CAUTION: Excessive bending of the flexible exhaust pipe can damage the flexible exhaust pipe support. Hang the flexible pipe with a support collar or bar.
Hang the flexible exhaust pipe. Use a suitable clamp.
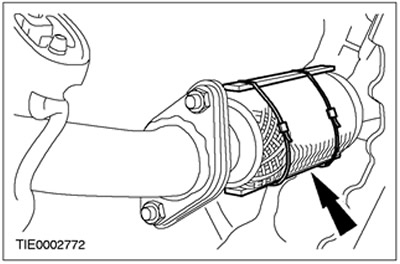
16. Disconnect the front exhaust pipe and three-way catalytic converter (TWC).
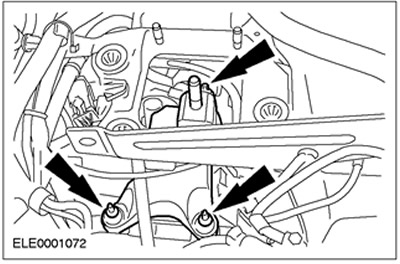
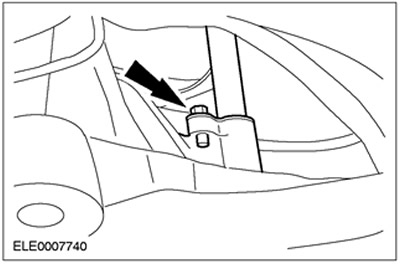
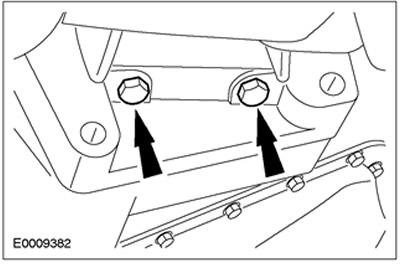
17. Remove the right engine roll stop.
- 1. Turn out a bolt and turn away a nut.
- 2. Turn out a bolt.

18. Disconnect the gear selector cable from the transaxle.
- 1. Disconnect the gear selector cable.
- 2. Release the gear selector cable from the bracket.
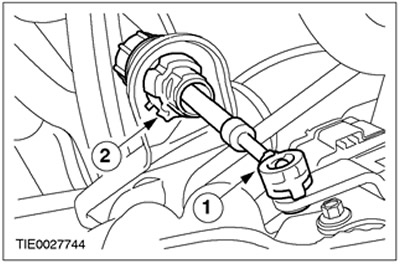
19. Turn away a nut of the left steering draft.
20.
CAUTION: To prevent damage to the ball joint seal, cover it with a piece of soft cloth.
Disconnect the tie rod ball joint. Use a special tool.
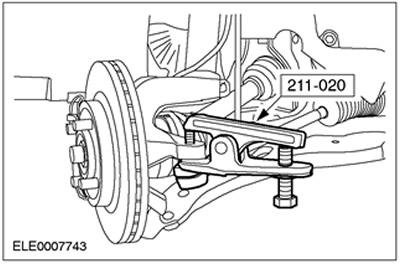
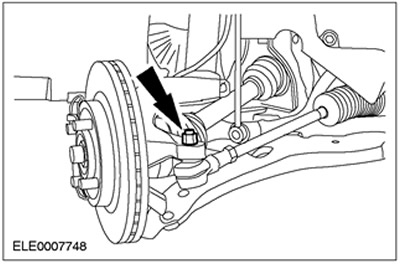
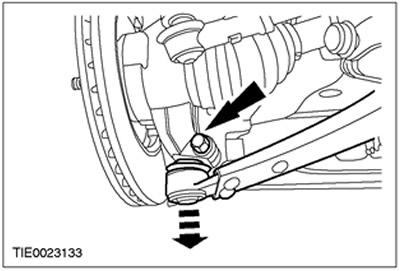
21. Disconnect the lower arms from the steering knuckles (left side shown).
22. Remove the cover of the intermediate bearing of the intermediate shaft.
- Discard the bearing cap and locknuts as they are no longer needed.
23.
CAUTION: Support axle shaft. The inner hinge should not be tilted more than 18 degrees. External hinge - at an angle exceeding 45 degrees.
Disconnect the right axle shaft from the gearbox in the block with the driving axle and fix it to the side. Allow the oil to drain into a suitable container.
24.
CAUTION: Support axle shaft. The inner hinge should not be tilted more than 18 degrees. External hinge - at an angle exceeding 45 degrees.
Using the special tools, disengage the left axle shaft from the transaxle and secure it out of the way.
- Allow the oil to drain into a suitable container.
- Discard the snap ring as it is no longer needed.
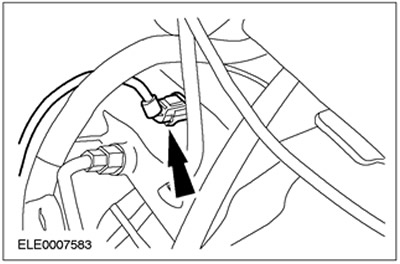
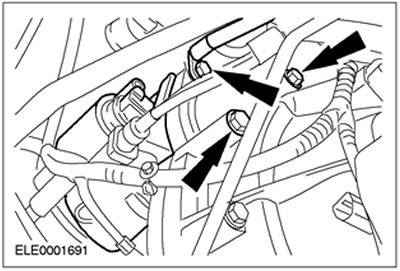
25. Disconnect the electrical connector of the secondary shaft speed sensor (OSS).

26.
CAUTION: Use an open end wrench to keep the fluid line adapter from turning.
NOTE: Do not remove the fluid line adapter from the transaxle case.
Disconnect the oil cooler pipes from the gearbox in the drive axle block.
- Install suitable plugs in all open holes and lines.
27. Lower the car.
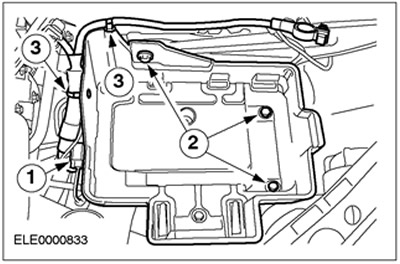
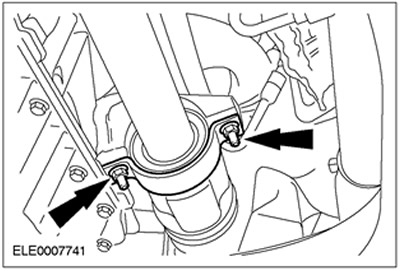
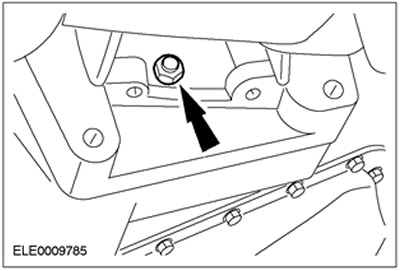
28. Remove the rear engine mount.
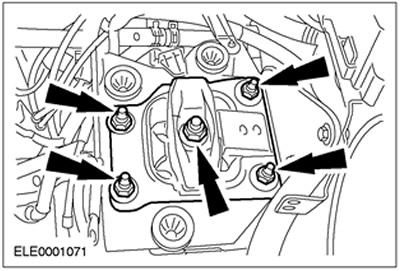
29. Remove the rear engine mount bracket.
30. Raise and support the vehicle. See Section 100-02 for more information.
31. Remove the transmission fluid dipstick tube.
32. Remove the torque converter cover (in the presence of).
33. Disconnect the torque converter from the engine flywheel (four nuts). Discard the nuts as they are no longer needed.
34.
NOTE: Earth cable
NOTE: The starter remains in the installed position.
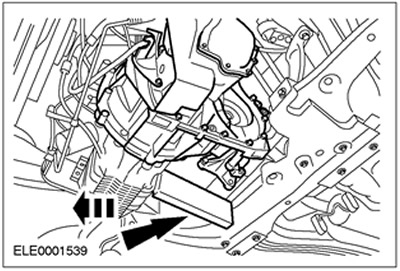
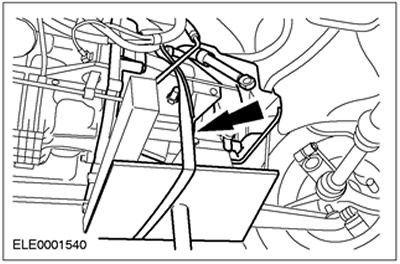
Remove the starter bolts.
35. Tilt the engine/gearbox assembly forward and support a suitable block of wood (approx. 350 mm long).
36. Secure the transaxle to the transaxle using suitable retaining straps on an appropriate transaxle jack.
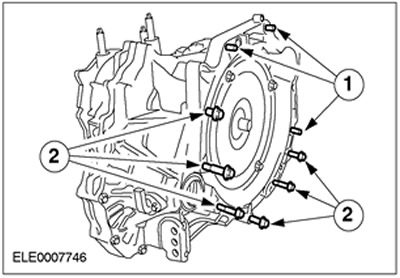
37. Turn out bolts of a flange.
- 1. Three bolts (from the side of the gearbox in the block with the drive axle).
- 2. Six bolts (from the engine side).
38.
CAUTION: The torque converter must be left in the transaxle assembly.
NOTE: To facilitate installation, note the position and number of pins on the motor flange.
Separate the transaxle from the engine and lower the transaxle.
Visitor comments