Special tool
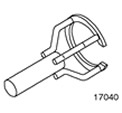 | Spring Ring Compressor 307-209 (17-040) |
General equipment: Set of probes.
| Name | Specification |
| Transmission fluid for automatic transmission | WSS-M2C202-B |
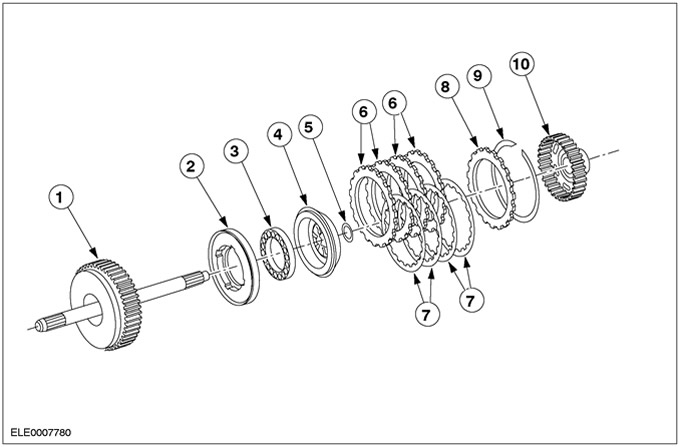
| Pos. | Spare Part No | Name |
| 1 | – | Turbine shaft assembly |
| 2 | – | Forward clutch piston assembly |
| 3 | – | Forward Piston Return Spring Assembly |
| 4 | – | Forward clutch balancing piston |
| 5 | – | Forward Clutch Thrust Bearing Retaining Ring |
| 6 | – | Forward Coupling Separating Steel Sheets |
| 7 | – | Friction Disc Assy Forward Clutch |
| 8 | – | Forward clutch pressure plate |
| 9 | – | Retaining ring |
| 10 | – | Forward clutch cylinder hub |
Disassembly
1. Remove the forward clutch discs.
- 1. Remove the retaining ring.
- 2. Remove pressure plate, friction plates and steel plates.
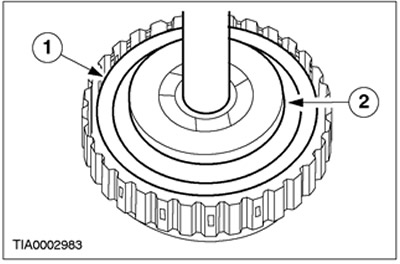
2. Using the special tool, install the forward clutch into the press.
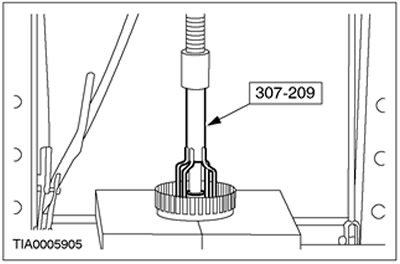
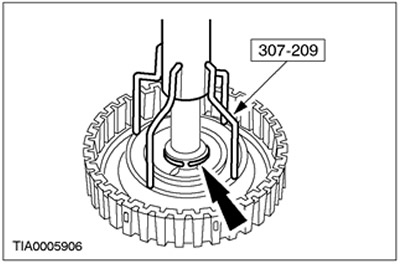
3. Using the special tool, remove the forward clutch balance piston spring ring.
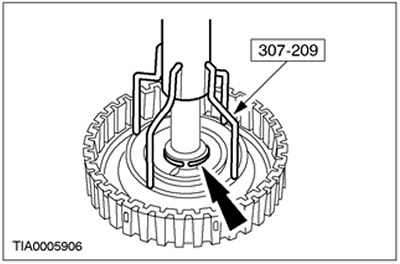
4.
CAUTION: If damage is found in the balance piston seals, install a new forward clutch balance piston.
Remove the forward clutch balance piston and inspect it.
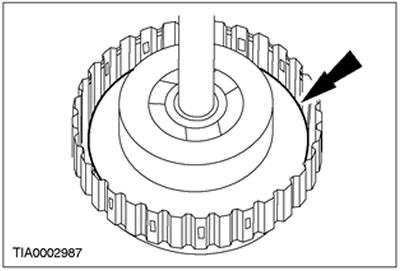
5. Remove return spring assembly.
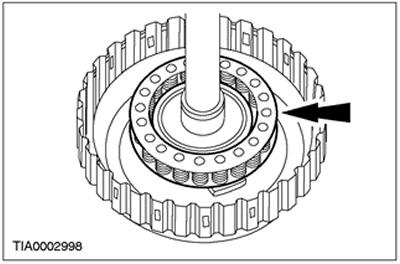
6.
CAUTION: If damage is found in the forward clutch piston seals, install a new forward clutch piston.
Remove the forward clutch piston assembly.
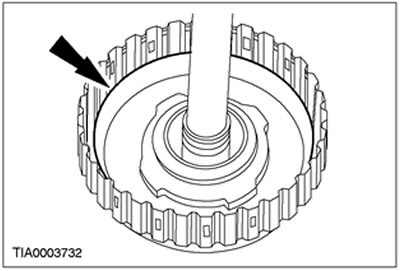
Assembly
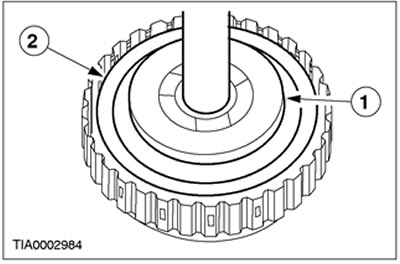
1. Before assembly, soak the female clutch discs in clean automatic transmission fluid for 15 minutes.
2. Inspect the walls of the forward clutch piston bore for dents or scratches. If necessary, install a new forward clutch balancing piston.
3. Lubricate and install the forward clutch piston assembly.
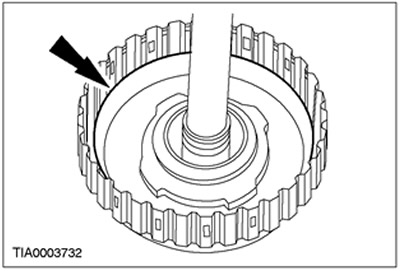
4. Install the return spring assembly.
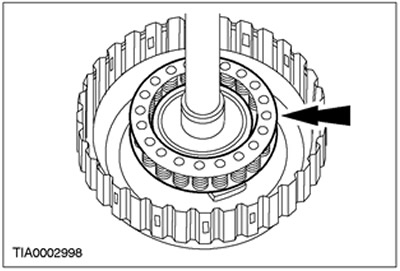
5. Lubricate and install the forward clutch balance piston.
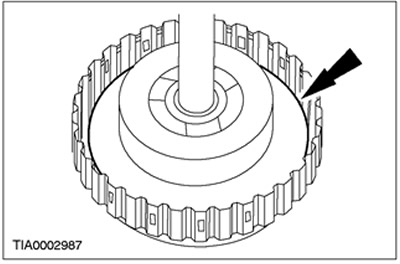
6. Using the special tool and a press, install the forward clutch assembly.
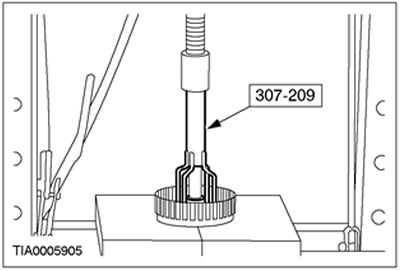
7. Using the special tool, install the forward clutch balance piston spring ring.
8. Install forward clutch discs.
- 1. Install steel plates, friction plates and pressure plate.
- 2. Install retaining ring.
- Check the gap using a feeler gauge. For more information, please refer to the Specifications chapter available in this section.
Visitor comments