| Name | Specification |
| clamps | |
| Transmission fluid for automatic transmission | WSS-M2C202-B |
Withdrawal
All cars
1. General notes
- Items for which actions are not applicable to all vehicles are marked with appropriate notes.
Vehicles with air conditioning
2. Use clamps to secure the radiator (right side shown).

All cars
3. Raise and support the vehicle. See Section 100-02 for more information.
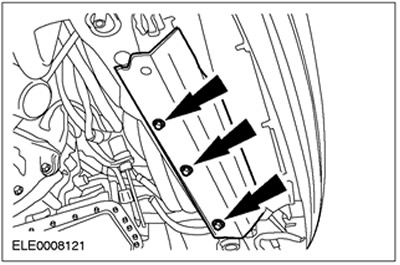
4. Remove the radiator mudguard.
Vehicles with air conditioning
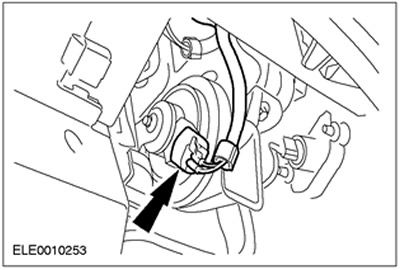
5. Disunite an electric socket of a sound signal.

All cars
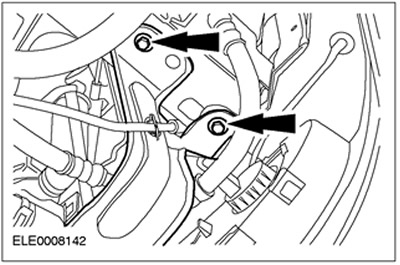
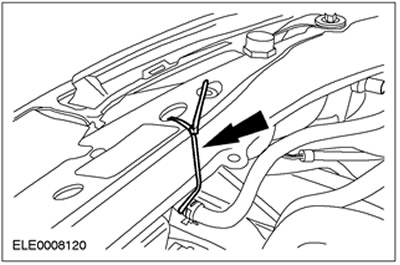
6. Remove the radiator bracket.
- Release the air conditioning compressor clutch cable.
7.
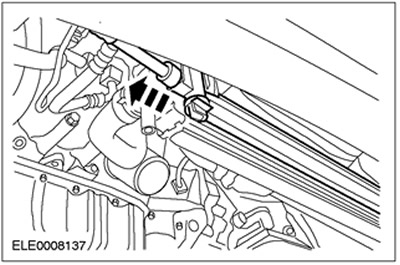
WARNING: Be aware of the risk of scalding whenever draining fluid from the transaxle coolant system. Failure to follow this instruction may result in injury.
CAUTION: After disconnecting the transmission fluid cooler lines, open ports must be plugged to prevent dirt from entering them.
NOTE: Mark the position of the supply and return hoses.
NOTE: Escaping liquid should be collected in a special drain container.
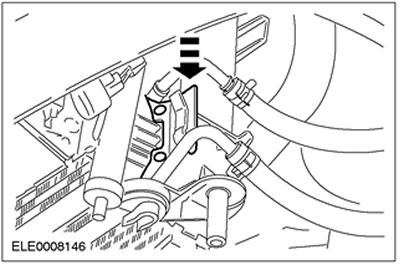
Disconnect the supply and return hoses from the transmission fluid cooler.

Vehicles with air conditioning
8. Remove the air conditioning condenser from the bracket. Move to the side.
All cars
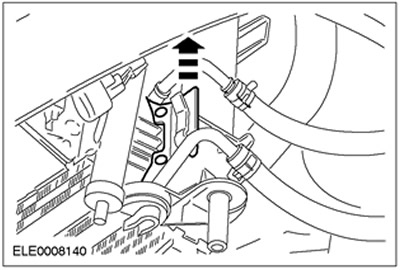
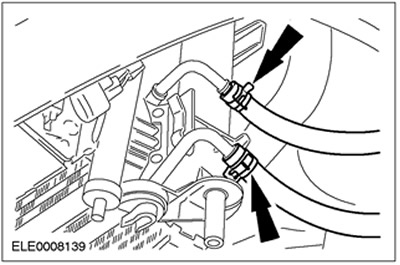
9. Remove the transmission fluid cooler from the two right and one left brackets (left side shown).
Installation
All cars
1. General notes:
- Use only new self-locking nuts.
2. Install the transmission fluid cooler on the two right and one left brackets.
Vehicles with air conditioning
3. Install the air conditioning condenser.

All cars
4. Install the radiator bracket.
- Secure the air conditioning compressor clutch cable.

5.
NOTE: Location markers
Connect supply and return hoses.
Vehicles with air conditioning
6. Dock the electrical connector for the horn.
All cars
7. Install the radiator mudguard.

8. Remove the clamps from the radiator (right side shown).
9. Lower the car.
10. Check the transmission fluid level in the automatic transmission and correct if necessary.
Visitor comments