


You will need: the tools needed to remove the gearbox and clutch, as well as a 17 mm socket head and a large screwdriver.
1. Remove the gearbox (see "Removal and installation the gearbox").
2. Remove the clutch (see "Removal and installation the clutch").
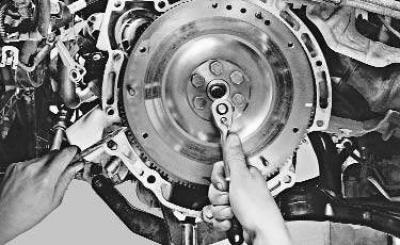
3. Unscrew the six flywheel mounting bolts. At the same time, use a mounting blade to hold the flywheel from turning, having first inserted one of the gearbox mounting bolts into the hole in the engine oil pan.
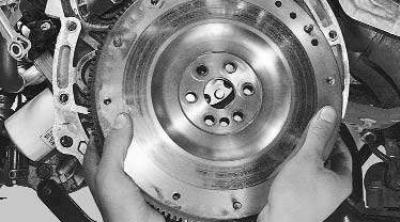
4. Remove the flywheel.
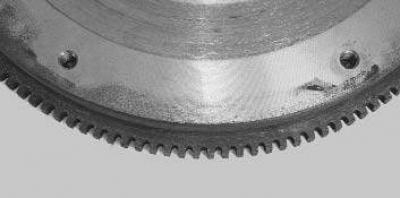
5. Check the condition of the flywheel rim teeth and, if damaged, replace the flywheel.
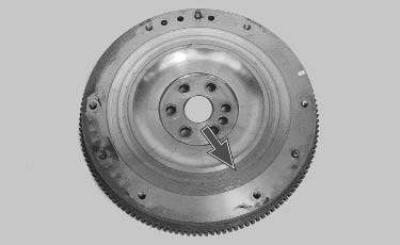
6. Replace or repair the flywheel if the mating surfaces of the driven clutch disc…
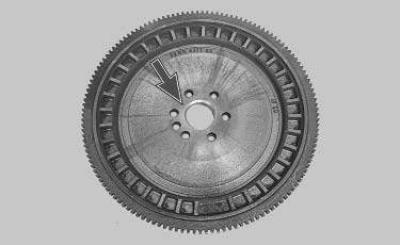
7. ...or the crankshaft flange has scratches and scoring.
8. The flywheel can be checked and repaired in a workshop with special equipment. The flywheel runout, measured along the toothed rim, should not exceed 0.5 mm. To remove deep scratches and burrs, the mating surface of the driven disk can be ground, while the layer of metal removed should not exceed 0.3 mm.
9. Install the flywheel and all removed components in the reverse order of removal. Lubricate the threads of the flywheel mounting bolts with an anaerobic thread locker, having previously degreased the bolts and the threaded holes for them. Tighten the bolts evenly crosswise in two stages:
- Step 1 - Tighten the bolts to 30 Nm (3.0 kgf·m);
- Step 2: Tighten the bolts an additional 80°.
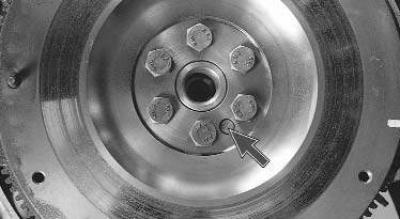
Note: The flywheel can only be installed in one position, aligning the extra hole in it with the pin pressed into the crankshaft flange.
Note: Whenever possible, replace the flywheel mounting bolts with new ones each time the flywheel is removed.
[The original source of this article can be found at: FordBook]