You will need: all the tools needed to remove the cylinder head cover (see "Replacing the cylinder head cover gasket"), the timing belt drive (see "Replacing the timing belt"), as well as a 19 mm wrench, a 16 mm socket head, and a flat-blade screwdriver.
1. Disconnect the wire from the negative terminal of the battery.
2. Remove all spark plugs (see "Replacement and maintenance of spark plugs").
3. Remove the cylinder head cover (see "Replacing the cylinder head cover gasket").
4. Remove the timing belt (see "Replacing the timing belt").
5. Holding the camshafts from turning with a wrench on the hexagonal sections on the shafts, unscrew the bolts securing the camshaft drive pulleys…
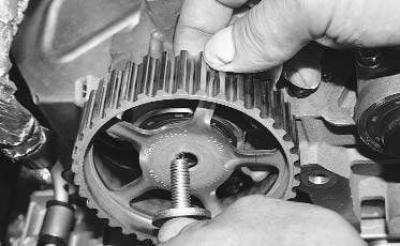
6. …and remove the pulleys from the shafts.
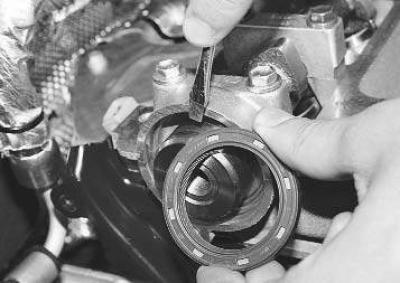
7. Using a screwdriver, remove the oil seals from the cylinder head sockets.
8. Before installing new oil seals, inspect their working edges. They should be smooth, without tears, dents, or rubber buildup. The oil seal springs should be intact and unstretched. Lubricate the working edges with engine oil.
Note: To make it easier to press in the seals, make small chamfers on their seating edges using a file or fine emery wheel.
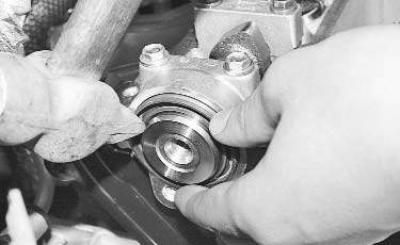
9. Install the oil seals with the working edges inside the cylinder head sockets, carefully insert the working edges onto the camshafts (for example, using a wooden stick) and press them in until they stop using a suitable mandrel. A head of a suitable size from a tool kit or an old oil seal can be used as a mandrel.
10. Install all removed parts and assemblies in the reverse order of removal.
11. Adjust the timing belt tension (see "Replacing the timing belt").
(The original article can be viewed on the portal: fordbook.ru)