Withdrawal
1. Remove the engine (section 5). Remove the clutch and clutch pressure plate.
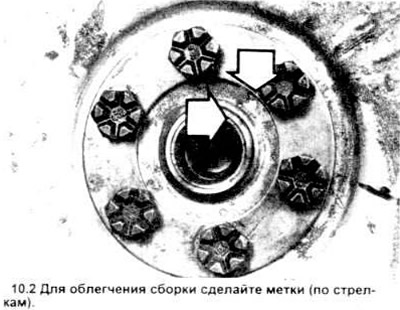
2 Paint marks on the crankshaft and flywheel or drive plate (see drawing).
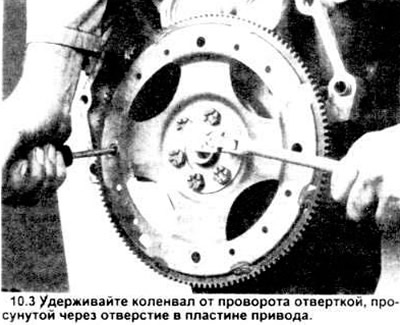
3. Remove flywheel or drive plate (see picture).
4. Clean and inspect the flywheel/drive plate for cracks and damage to the teeth. Replace if necessary.
5. On 3.0LV6 engines, the wear plates are factory balanced and therefore do not need to be balanced. If the drive plate is being replaced on 3.8L engines, check for balance points or rivets on the drive plate being replaced. In this case, the new drive plate must be fitted with new balancing rivets in the same positions as on the old drive plate (E2DZ - 6A32 - A or similar).
Installation
6. Lubricate the threads of the mounting bolts with Ford Teflon Sealant (D8AZ - 19554 - A or similar).
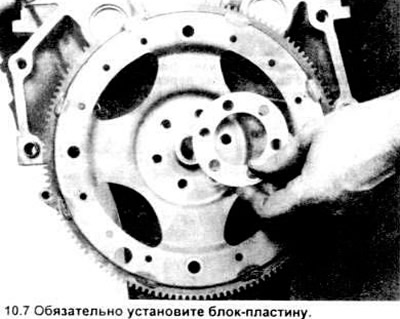
7. Connect the flywheel/drive plate to the crankshaft by aligning the marks. Then install the block plate (see picture), then bolts. Remember that the bolt holes can be drilled to provide a unique location for the drive plate. Tighten the bolts in a diagonal sequence to the correct torque in several steps.
8. On models with a manual transmission, install the clutch disc (chapter 7).
9. Install the engine (section 5).
Visitor comments