Note: When overhauling the engine, always install new piston rings.
2. Use a ring installer to carefully remove the rings from the pistons. Do not hit or scratch the pistons.
3. Clean the carbon deposits from the top of the piston. Once most of the deposits have been scraped off, use a hand wire brush or a piece of sandpaper.
Caution: Do not, under any circumstances, use a wire brush attached to a power drill to clean the pistons. The piston material is soft and will be severely damaged by such a brush.
4. To clean the piston grooves from carbon deposits, use a specially designed tool. If you don't have one, you can use a piece of an old piston ring. In this case, clean off only the carbon deposits - do not scrape the metal, do not scratch the walls of the piston grooves, and do not knock on them (see the figure).
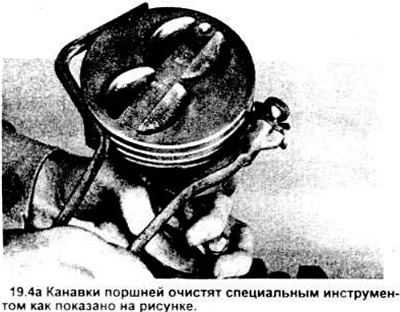
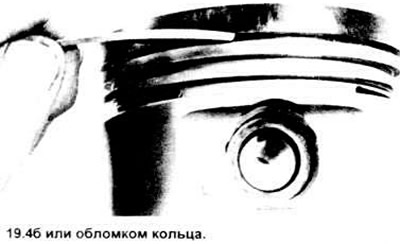
5. After cleaning the deposits, clean the piston and connecting rod assemblies with solvent and dry with compressed air. Make sure that the oil return holes in the rear walls of the piston grooves are clean.
6. If the cylinder and piston walls are not damaged and not particularly worn, the engine block does not require boring, then new pistons will not be needed. Piston wear usually manifests itself as obvious on the vertical axial surfaces and slight slack of the upper ring relative to its groove. However, when overhauling the engine, it is necessary to install new piston rings.
7. Carefully inspect each piston - there may be cracks on the surface, on the thickenings under the pins and on the contact surfaces with the rings.
8. Look for abrasions and scratches on the cylinder axial surfaces, holes and burns in the piston head. If the piston skirt is abraded or scratched, there may be overheating and abnormal engine operation in the compression stroke, which means too high operating temperatures. Check the lubrication and cooling systems. A hole in the piston head indicates defects in the compression stroke (abnormal ignition). Burned spots on the piston head usually indicate detonation during ignition. If these defects are detected, the causes should be eliminated immediately, otherwise the damage will occur again.
9. Piston corrosion in the form of small spots indicates that coolant is leaking into the combustion chamber and/or crankcase. The cause must be eliminated, otherwise the defect will also appear in the rebuilt engine
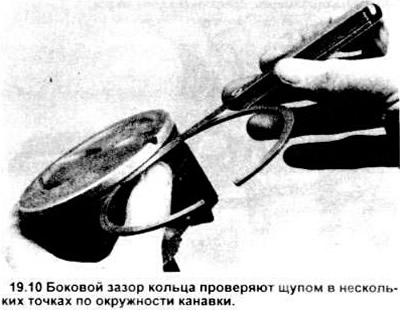
10. Measure the gaps between the pistons and rings. To do this, put a new piston ring in each groove and insert a feeler gauge between it and the piston (see the picture). The gap should be checked in 3-4 places in each groove. Each groove has its own ring - they are different, do not mix them up. If the gap is larger than the permissible value, you will have to install new pistons.
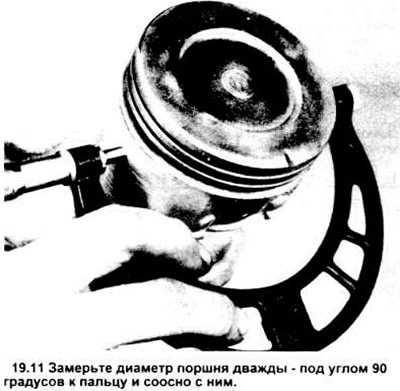
11. Check the clearance between the piston and the cylinder wall by measuring the diameters of the piston and cylinder respectively (see figure). Find the difference between these two values; this will be the gap size. If it is larger than the permissible value, then you will have to bore the holes in the block and install new pistons and rings.
12. Determine the clearance between the piston and the connecting rod. Any noticeable play indicates excessive wear that needs to be corrected.
13. Separating the piston from the connecting rod requires special equipment.
14. Check the connecting rods for cracks and other damage. Remove the connecting rod caps, take out the old bearing shells, wipe their working surfaces clean and examine for dents, scratches, nicks. After checking the connecting rods, install the old bearings, put the caps on and hand tighten the nuts.