Note: before removing the piston + connecting rod combination, disconnect the head (-And) cylinder block, oil pan and pump, as recommended in the relevant sections of chapter 2 of part A or IN.
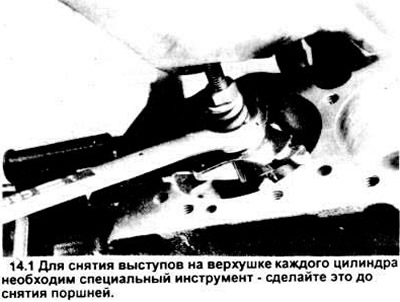
1. Completely remove the protrusion at the top of each cylinder with a special expansion tool (see picture). Attempting to remove the piston + connecting rod combination with the protrusion not removed may result in piston failure.
2. After removing the protrusion, turn the engine over so that the corresponding part of the crankshaft is visible.
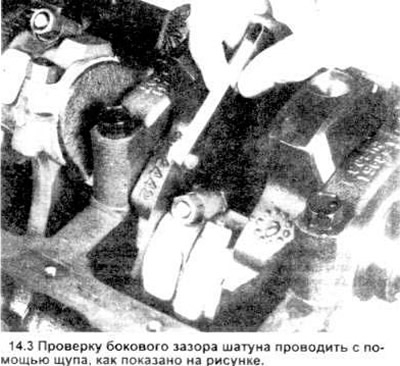
3. Before removing the connecting rods, check the end clearance with a feeler gauge. Insert the feeler gauges between the first connecting rod and the crankshaft until the appropriate thickness is selected (see picture). The end clearance is equal to the thickness of the probe. If the clearance exceeds the appropriate limit, new connecting rods must be installed. After installing new connecting rods (or new crankshaft) the value of the end clearance may be below the allowable limit (in this case, the connecting rods should be processed by removing a layer of metal from them). Repeat the procedure for the remaining connecting rods.
4. Check the identification marks on the connecting rods and caps. If there is no single color marking, use a small punch to put a number on each rod and cap.
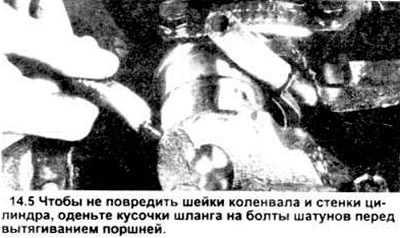
5. Loosen each of the connecting rod nuts half a turn until they can be screwed on by hand. Remove the first connecting rod cap and bearing shell. Do not drop the insert from the cover. Place a short piece of plastic or rubber hose over each bolt to protect the crankshaft journals and cylinder walls when removing the piston (see picture). Push the piston/connecting rod assembly through the top of the engine. Use a wooden mallet handle to knock out the upper bearing shell in the connecting rod. If resistance is felt, additionally check whether the protrusion in the cylinder has been removed.
6. Repeat the procedure for the remaining cylinders. After removal, reassemble the assemblies from matching connecting rods, caps and bearing shells, screw on the nuts of the caps. This will help protect the connecting rod bearing surfaces from accidental bumps and scratches.
Visitor comments