Special tool
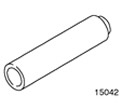 | Pinion Bearing Installer 205-068 (15-042) |
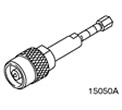 | Bearing puller (main instrument) 205-295 (15-050A) |
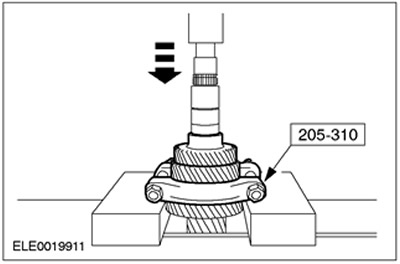
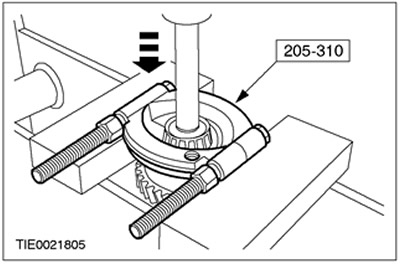
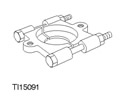 | Bearing/gear puller 205-310 (15-091) |
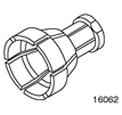 | Collet for 205-095 308-197 (16-062) |
| Name | Specification |
| Transmission Fluid for Manual Transmission | WSD-M2C200-C |
Disassembly
1. Using the special tool, remove the transaxle case roller bearing.

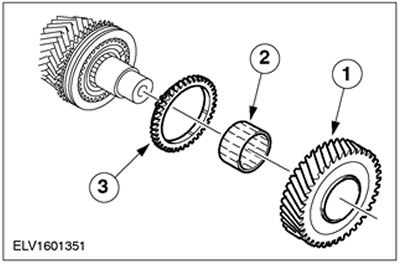
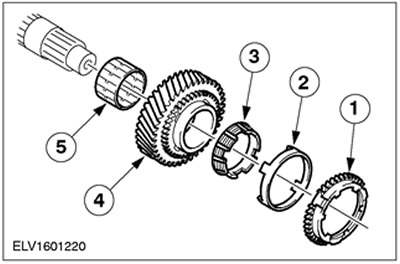
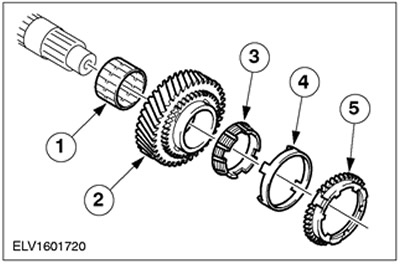
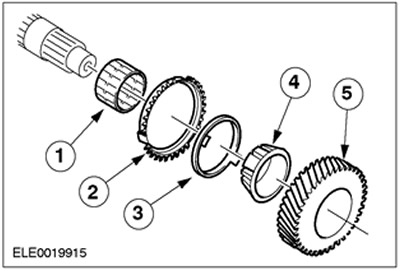
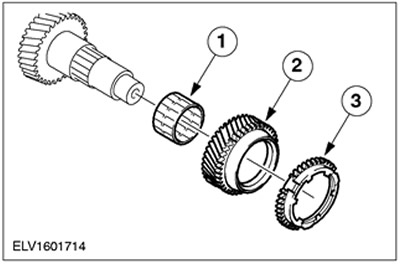
2. Remove the reverse gear.
- 1. Remove the reverse gear.
- 2. Remove the needle roller bearing.
- 3. Remove the synchronizer ring.
3.
NOTE: If shifting is difficult, carefully remove the synchronizer hub and fifth gear.
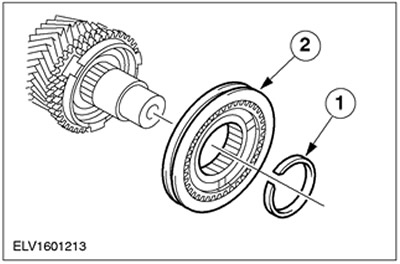
Remove the 5th gear and reverse gear hub.
- 1. Remove the retaining ring.
- 2. Remove the synchronizer hub assembly.
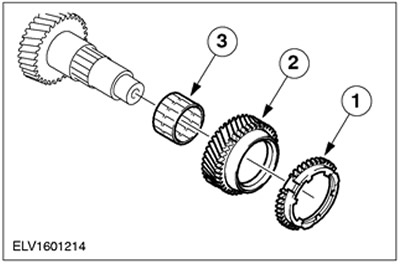
4. Remove the fifth gear.
- 1. Remove the synchronizer ring.
- 2. Remove the fifth gear.
- 3. Remove the needle roller bearing.
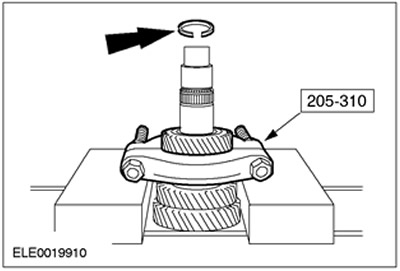
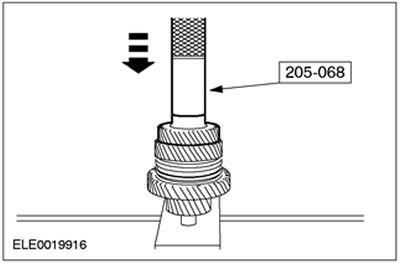
5.
NOTE: Use the special tool with the flat side facing up.
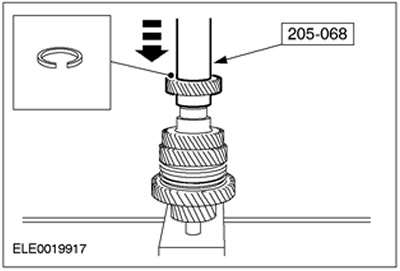
Using the special tool, remove the 4th gear.
- Remove the snap ring.
6.
NOTE: Use the special tool with the flat side facing up.
Using the special tool, remove the 2nd and 3rd gears.
7.
CAUTION: Be extremely careful when handling the inner synchronizer ring and conical synchronizer ring.
Remove the second gear.
- 1. Remove the needle roller bearing.
- 2. Remove the second gear.
- 3. Remove the inner synchronizer ring.
- 4. Remove the synchronizer conical ring.
- 5. Remove the synchronizer outer ring.

8. Remove the first and second gear synchronizer hub assembly.
- 1. Remove the retaining ring.
- 2. Remove the synchronizer hub assembly.
9.
CAUTION: Be extremely careful when handling the inner synchronizer ring and conical synchronizer ring.
Remove the first gear.
- 1. Remove the synchronizer outer ring.
- 2. Remove the inner synchronizer ring.
- 3. Remove the synchronizer conical ring.
- 4. Remove the first gear.
- 5. Remove the needle roller bearing.
10.
NOTE: Should only be removed if a new bearing is to be installed.
Using the special tool, remove the clutch housing roller bearing.
11.
CAUTION: Be careful when removing the synchronizer sleeve from the synchronizer hub. The stop balls are spring loaded.
NOTE: Mark the installation position of the synchronizer clutch.
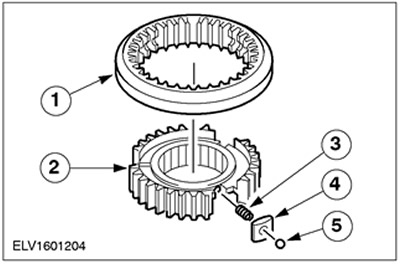
Disassemble the synchronizer hub assembly.
- 1. Remove the synchronizer clutch.
- 2. Remove the synchronizer hub.
- 3. Remove compression springs.
- 4. Remove crackers.
- 5. Remove the stop balls.
Assembly
1.
CAUTION: Be extremely careful when handling the inner synchronizer ring and conical synchronizer ring. Before installing, dip the synchronizer rings in the transmission fluid.
NOTE: Do not lubricate roller bearings.
Before reassembly, clean and thoroughly inspect all parts and lubricate all moving parts with transmission fluid.
2.
CAUTION: Be extremely careful when handling the inner synchronizer ring and conical synchronizer ring.
Install the first gear.
- 1. Install the needle roller bearing.
- 2. Install the first gear.
- 3. Install the inner synchronizer ring.
- 4. Install the conical synchronizer ring.
- 5. Install the synchronizer outer ring.
3.
NOTE: Pay attention to the markings.
Assemble the synchronizer hub.
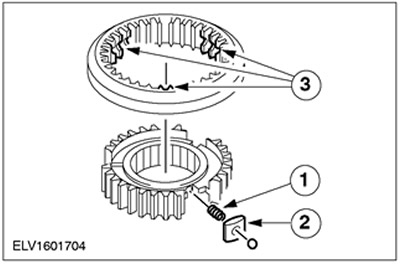
- 1. Install compression springs.
- 2. Install crackers and locking balls in the synchronizer hub, overcoming the force of the spring.
- 3. Install the spring ring and fix it.
4.
NOTE: Install the synchronizer hub with the large tab facing out (to second gear).
Install the 1st and 2nd gear synchronizer hub assembly.
- 1. Install the synchronizer hub assembly.
- 2. Install retaining ring.
5. Install the second gear.
- 1. Install the needle roller bearing.
- 2. Install the synchronizer outer ring.
- 3. Install the conical synchronizer ring.
- 4. Install the inner synchronizer ring.
- 5. Install the second gear.
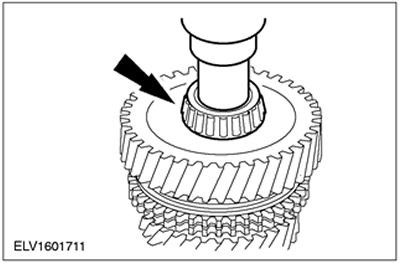
6. Using the special tool, install the third gear.
7.
NOTE: Install a new retaining ring.
Using the special tool, install the 4th gear.
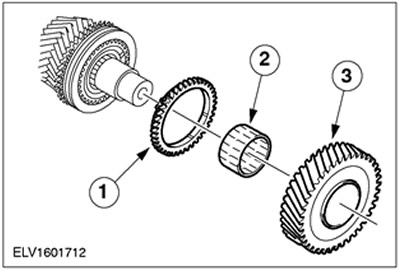
8. Install the fifth gear.
- 1. Install the needle roller bearing.
- 2. Install the fifth gear.
- 3. Install the synchronizer ring.
9.
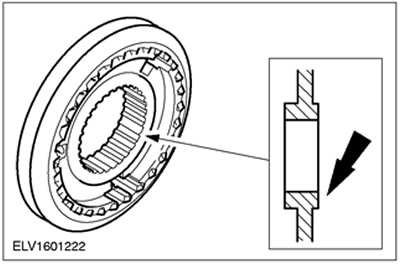
NOTE: Install the synchronizer hub with the small lip and ring groove facing out.
The installation position of the hub of the synchronizer of the reverse gear and the fifth gear.
10.
NOTE: Install the synchronizer hub with the small lip and ring groove facing out.
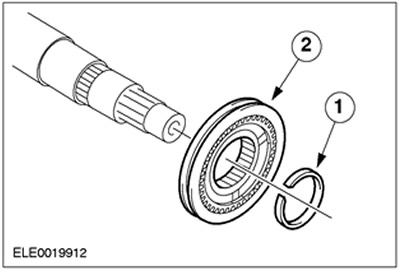
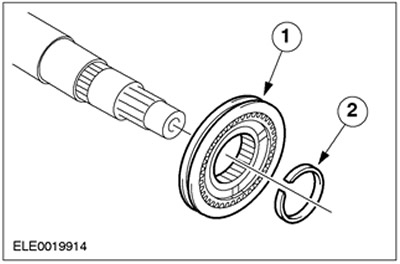
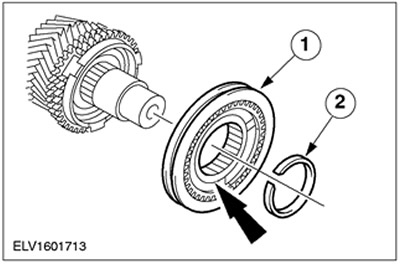
Install the 5th and reverse synchro assembly.
- 1. Install the synchronizer hub.
- 2. Install a new circlip.
11. Install reverse gear.
- 1. Install the synchronizer ring.
- 2. Install the needle roller bearing.
- 3. Install reverse gear.
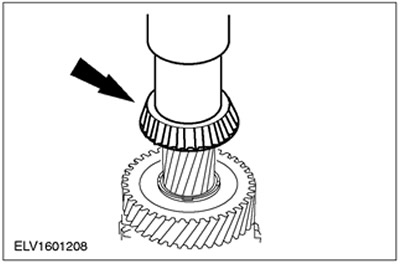
12. Using a suitable piece of pipe, install the transmission housing roller bearing in the drive axle assembly.
13. Using a suitable piece of pipe, install a new clutch housing roller bearing.
Visitor comments