1. Remove the engine crossmember from the vehicle (see "Removal and installation the front suspension crossmember").
2. Remove the outer tie rod ends (see "Replacing the outer tie rod end"), counting the number of revolutions so that when reinstalling, the wheel alignment angles are not disturbed as much as possible.
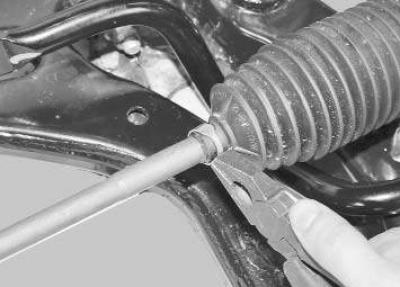
3. Squeeze the bent ears of the clamp…
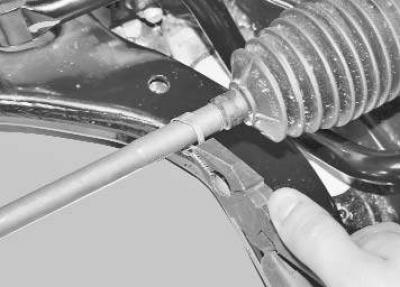
4. …slide the clamp along the steering rod and remove it.
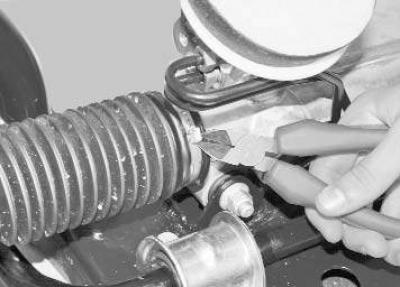
5. Cut the second clamp of the protective cover…
Note: The protective cover mounting clamp is disposable. When assembling the unit, be sure to replace it with a new one.
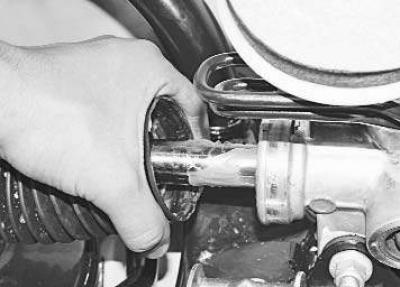
6. …and remove the protective cover.
7. Remove the second cover in the same way.
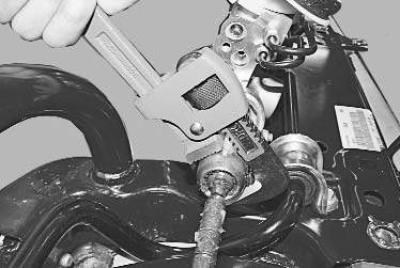
8. Unscrew the steering rod with a pipe wrench.
9. Similarly, unscrew the second steering rod (do not reinstall the steering gear in a vice).
10. Install the parts in the reverse order of removal. In order to maintain the wheel alignment as much as possible, when assembling the rod, screw the tip onto the steering rod, making as many turns as calculated in step 2. Tighten the bolts and nuts to the torques specified in appendix 1.
11. Bleed the power steering system (see "Bleeding the power steering system").
12. Check and, if necessary, adjust the front wheel alignment angles at a service station with special equipment.
The original version can be found on the website (FordBook.ru)