Note: It is more convenient to perform the work on a lift.
You will need: wrenches (or socket heads) "10", "13", "21", TORX T25, a flat-blade screwdriver, a container for collecting the power steering fluid, a puller for pressing out silent blocks.
1. Set the steering wheel to a position corresponding to straight-line movement of the vehicle.
Note: To prevent damage to the airbag contact disc, secure the steering wheel from turning using the ignition locking mechanism of the anti-theft device. To do this, remove the key from the ignition and turn the steering wheel slightly until the shaft is secured by the anti-theft device.
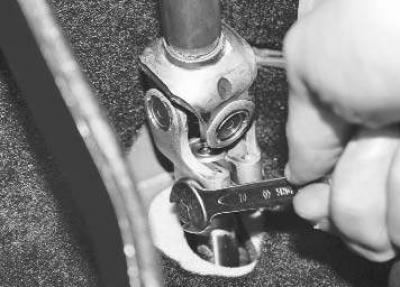
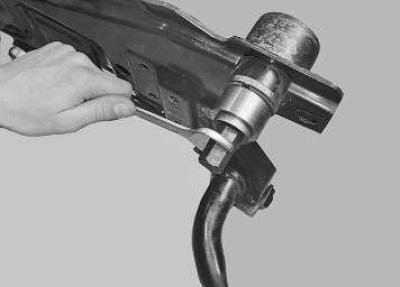
2. In the car's interior, under the instrument panel, unscrew the bolt that connects the steering shaft to the steering gear shaft..
Note: Before separating the shafts, mark their relative positions.
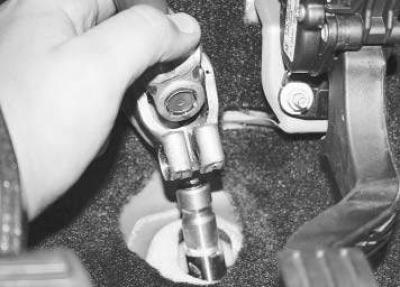
3. …and separate the shafts.
4. Place wheel chocks under the rear wheels, lift the front of the vehicle and remove the front wheels.
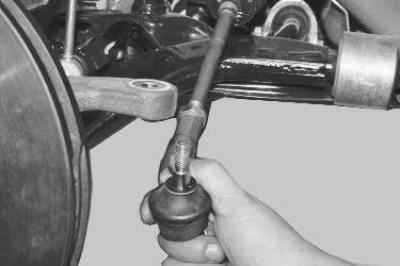
5. Disconnect the steering tie rod end from the steering knuckle (see "Replacing the outer tie rod end").
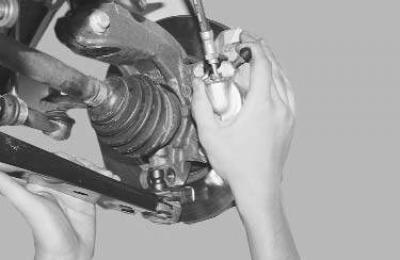
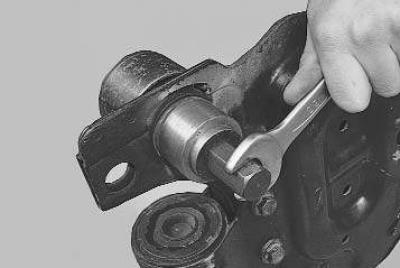
6. Loosen the nut, remove the clamp bolt of the steering knuckle terminal connection and press out the ball joint pin (see "Replacing the shock absorber strut ball joint").
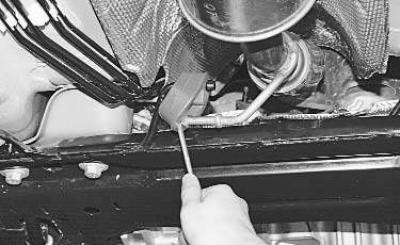
7. Pry it up with a screwdriver…
8. …and remove the exhaust system suspension cushion from the bracket.
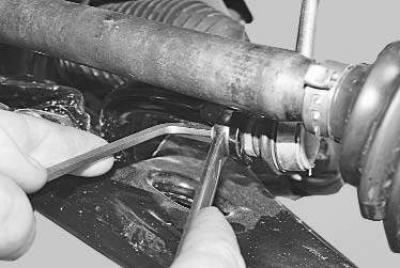
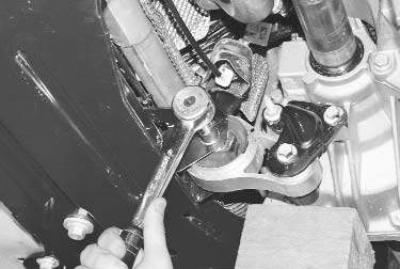
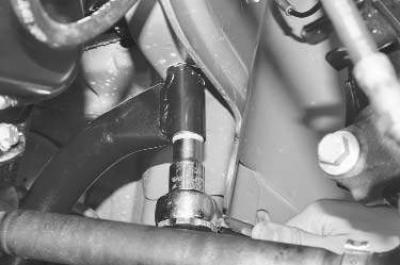
9. While holding the hinge pin from turning, unscrew the nut securing the hinge to the front suspension strut bracket and disconnect the hinge pin of the stabilizer strut from the stabilizer bar.
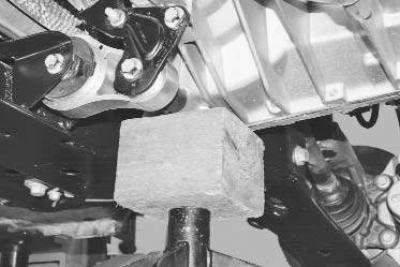
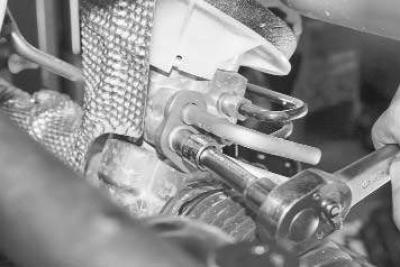
10. Install a support under the gearbox housing.
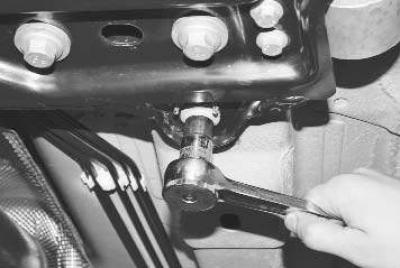
11. Unscrew the bolt…
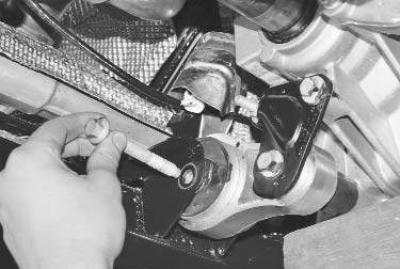
12. …take it out and carefully remove the support.
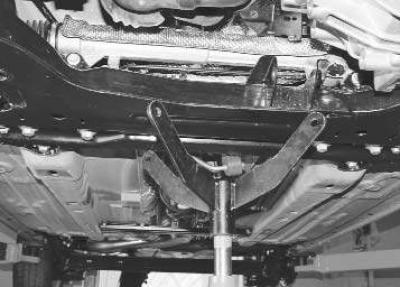
13. Place a support (e.g. hydraulic stand or jack) under the front suspension crossmember.
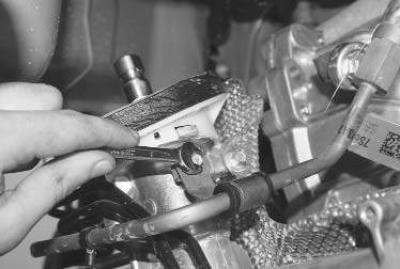
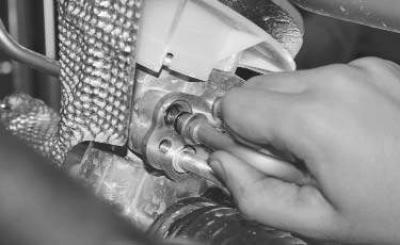
14. Unscrew three bolts on both sides securing the crossmember to the body.
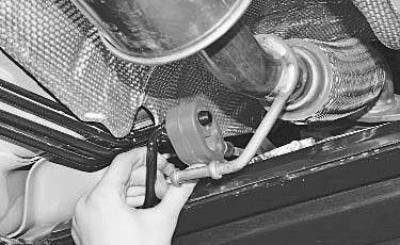
15. Unscrew the upper bolts securing the front suspension crossmember to the body on both sides and remove them.
16. Squeeze the clamps and disconnect the drain hoses.
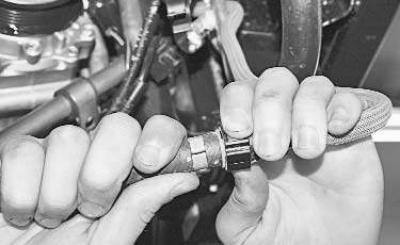
17. Remove the screw securing the tube holder.
18. Unscrew the bolt securing the tube retainer…
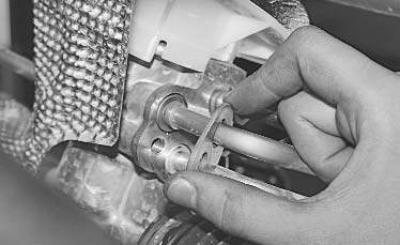
19. …move the locking device…
20. …disconnect the pressure pipe from the steering gear and drain the power steering fluid from it into a previously prepared container or plug it with plugs.
Note: The connection of the tubes to the steering mechanism is sealed with rubber rings.
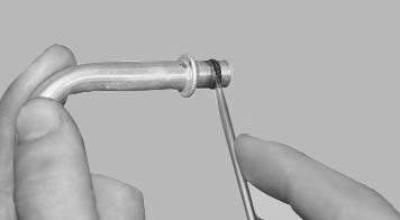
Note: Replace rings with new ones each time the connection is disconnected.
21. Remove the front suspension crossmember assembly with the lower arms, steering gear and stabilizer bar by lowering it down. If necessary, remove the stabilizer bar (see "Replacing the front suspension arm").
22. If replacement is necessary, install a puller and press out the silent block of the front suspension crossmember, remembering the position in which it was installed.
23. Press in the new silent block.
24. Install the parts in the reverse order of removal. Tighten the bolts to the torque specified in appendix 1.
Note: When installing the steering gear, make sure that the rack is in the middle (neutral) position.
25. Bleed the power steering system (see "Bleeding the power steering system").
26. Check and, if necessary, adjust the wheel alignment angles in a workshop with special equipment.