Special tool
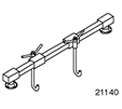 | Engine support beam 303-290 (21-140) |
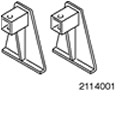 | Adapter for 303-290 303-290-01 (21-140-01) |
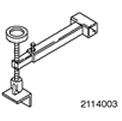 | Adapter for 303-290 303-290-03 (21-140-03) |
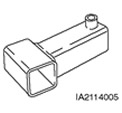 | Adapter for 303-290 303-290-05 (21-140-05) |
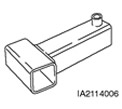 | Adapter for 303-290 303-290-06 (21-140-06) |
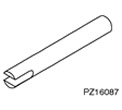 | Axle puller 308-237 (16-087) |
General equipment:
- Jack for gearbox
- Fixing clamp
1. General notes:
- Note the radio key code.
- Mark the pre-programmed radio stations.
- The position of the engine mounts and engine roll limiters in the description corresponds to the view directed from the gearbox to the engine.
- Items where actions apply to specific variants and not to all vehicles are marked with a special note.
- If necessary, cut the clamps and replace them during installation.
2.
CAUTION: Disconnect the ground wire from the battery.
Remove the battery.
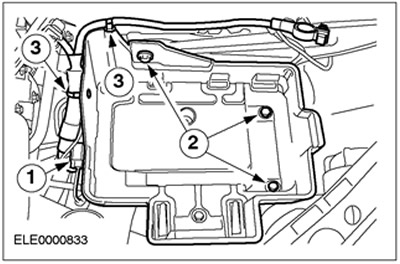
3. Remove the battery tray.
- 1. Release and disconnect the connector.
- 2. Turn out bolts.
- 3. Release the wiring harness.
4.
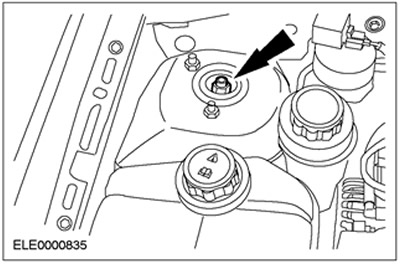
NOTE: Use an Allen wrench to stop the piston rod from turning.
Loosen left and right suspension strut nuts five turns.
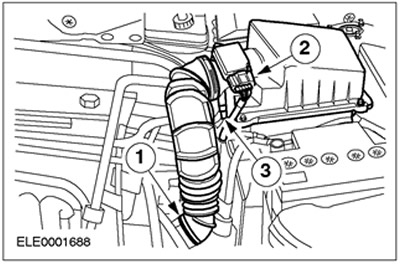
5. Remove the air filter.
- 1. Disconnect the inlet pipeline.
- 2. Disconnect the MAF sensor connector.
- 3. Disconnect the crankcase ventilation hose.
6. Disconnect the inlet pipeline.
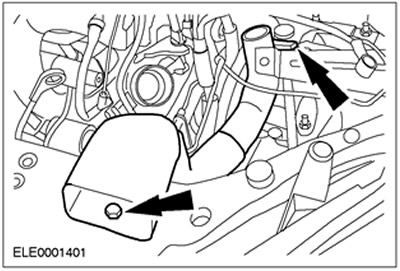
7.
CAUTION: Brake fluid leakage. Observe precautions for handling brake fluid.
Disconnect the high pressure line from the clutch slave cylinder.
- Disconnect the clutch slave cylinder high pressure line from the bracket.
8. Raise the car. See Section 100-02 for more information.
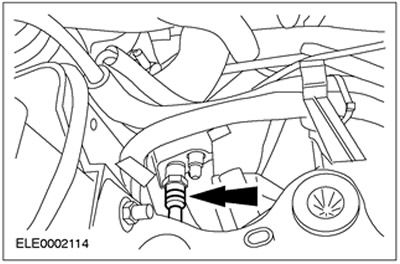
9. Disunite the plug socket of the switch of lanterns of a backing.
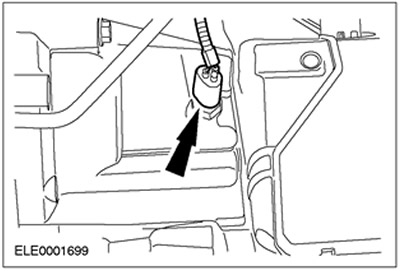
10. Disconnect the vehicle speed sensor connector (VSS).
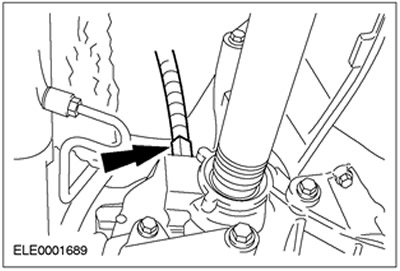
11. Open the shift and select cable cover.
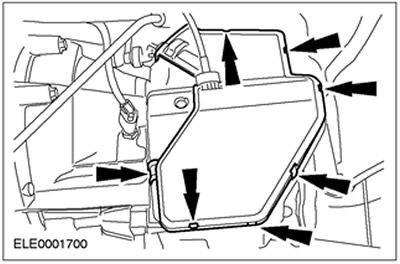
12. Remove shift cables and gear selection.
- Remove the shift and select cables from the bracket. To do this, turn the ring clockwise.
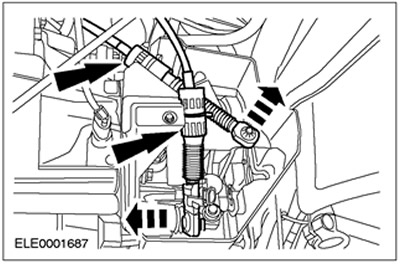
13. Disconnect the ball joints of the lower suspension arms on both sides (right side shown).
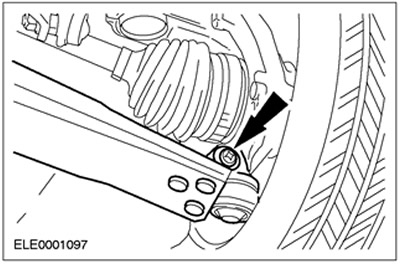
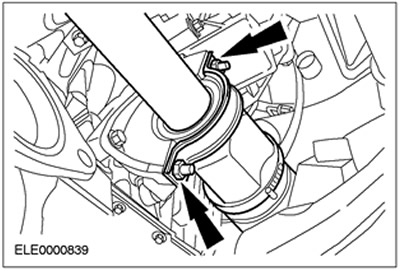
14. Disconnect an arm of fastening of the intermediate bearing of the right semiaxis.
- Discard the mounting bracket and intermediate bearing nuts as they are no longer needed.
15.
CAUTION: Support axle shaft. The inner hinge should not be tilted more than 18 degrees. External hinge - at an angle exceeding 45 degrees.
CAUTION: Do not damage the oil seal.
NOTE: Plug the gearbox openings to prevent oil leakage and dirt from entering.
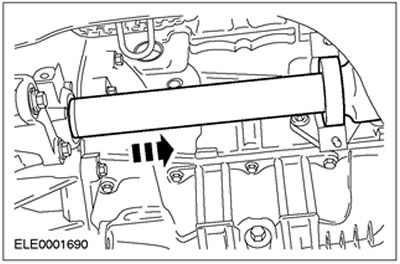
Disconnect the right axle shaft from the gearbox and secure it to the side. Collect the oil in a suitable container.
16.
CAUTION: Support axle shaft. The inner hinge should not be tilted more than 18 degrees. External hinge - at an angle exceeding 45 degrees.
CAUTION: Do not damage the oil seal.
NOTE: Plug the gearbox openings to prevent oil leakage and dirt from entering.
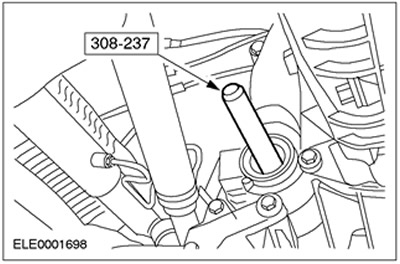
Using the special tool, disconnect the left axle shaft from the gearbox and secure it out of the way.
- Collect the oil in a suitable container.
- Discard the snap ring as it is no longer needed.
17.
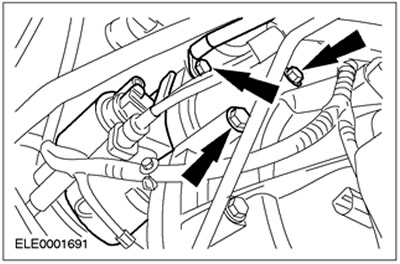
NOTE: Starter wiring should not be completely disconnected; he stays where he is.
Release the starter and remove it from the gearbox. Remove ground wire.
18. Disconnect the intake exhaust pipe and remove it from the rubber supports.
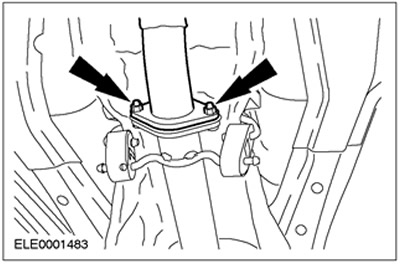
19. Remove the roll limiter.
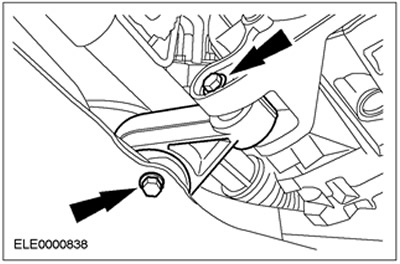
20. Remove the drive belt cover.
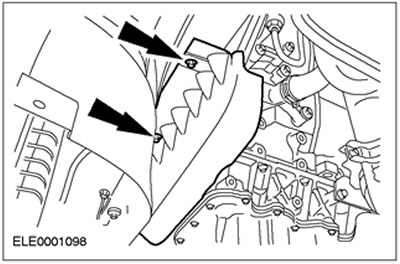
21. Lower the car.
22. Connect special tools.
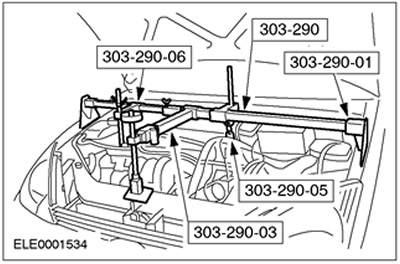
23. Remove the rear engine mount.
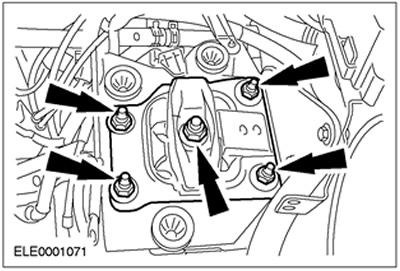
24. Remove the connection of the rear engine mount and the bracket of the high pressure line of the clutch slave cylinder.
- 1. Communication
- 2. Bracket for the high pressure line of the clutch slave cylinder.
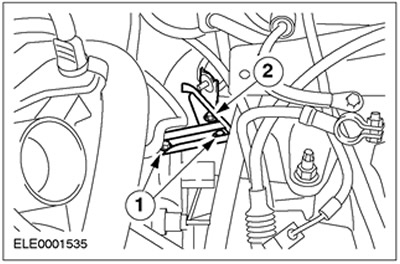
25. Remove the rear engine mount bracket.
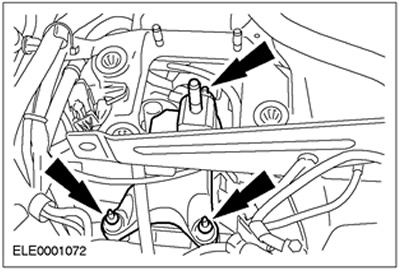
26. Turn out the top bolts of a flange.
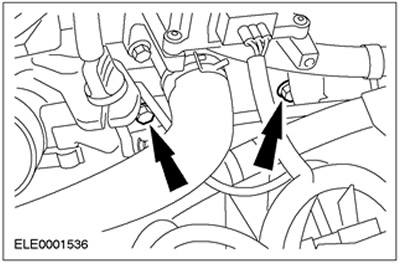
27. Lower the engine/transmission as far as possible. Use a special tool.
28. Raise the car. See Section 100-02 for more information.
29. Turn out bolts of a flange.
- Disconnect the power steering high pressure line bracket.
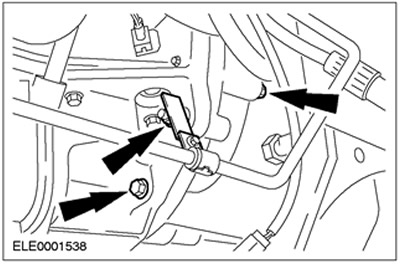
30. Tilt the engine/gearbox forward and support it using a block (approx. 300 mm long).
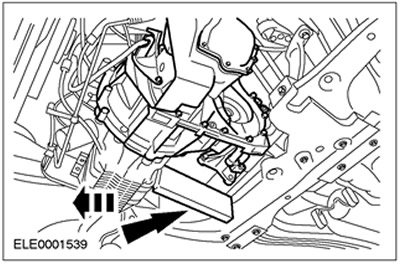
31. Fix a transmission, using for this purpose a fixing collar and support it, having substituted a jack for a transmission under it.
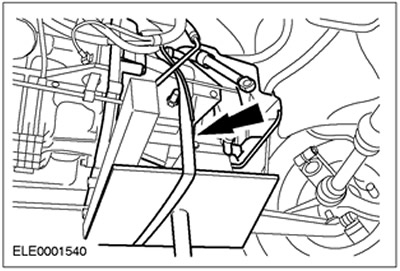
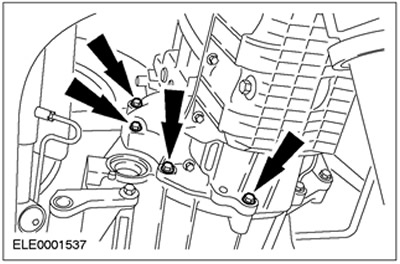
32. Turn out bolts of a flange and lower a transmission.
Visitor comments