Special tool
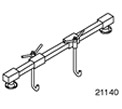 | Support crossmember for engine 303-290A (21-140A) |
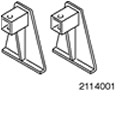 | Adapter for 303-290A (21-140) 303-290-01 (21-140-01) |
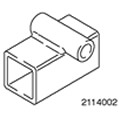 | Adapter for 303-290A (21-140) 303-290-02 (21-140-02) |
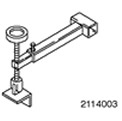 | Adapter for 303-290A (21-140) 303-290-03A (21-140-03A) |
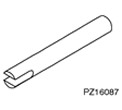 | 308-256 (16-089) 308-237 (16-087) |
General equipment:
- Gearbox jack
- Fixing clamp
Removal
1. Remove the battery tray. For more information, refer to Section 414-01.
2. Remove the air cleaner. Refer to Section 303-12 for additional information.
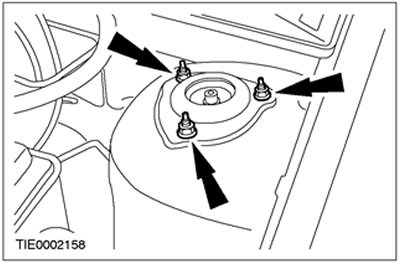
3. Loosen the upper suspension strut nuts three turns (on both sides).
4.
CAUTION: If brake fluid comes into contact with the paintwork, the affected area must be immediately washed with cold water.
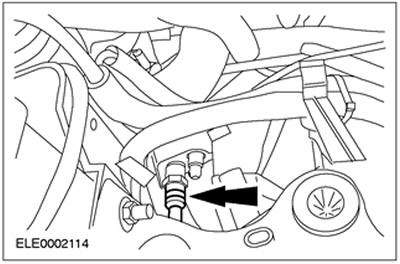
Disconnect the clutch slave cylinder line. Remove the spring-loaded clamp.
5. Raise the vehicle. Refer to Section 100-02 for additional information.
6. Disconnect the reversing light switch connector.
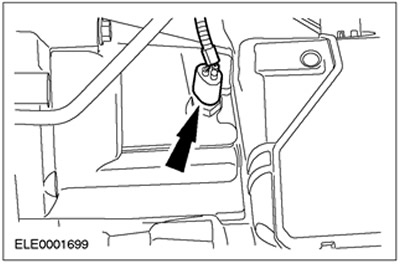
7. Disconnect the vehicle speed sensor (VSS) connector (if equipped).
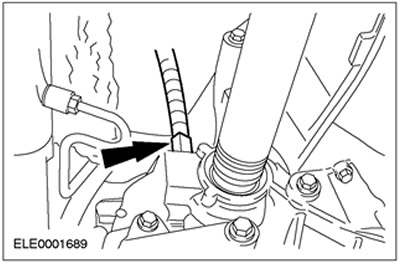
8. Remove the gear shift cable cover.
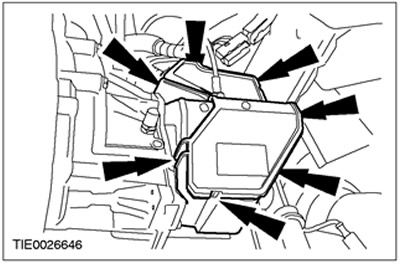
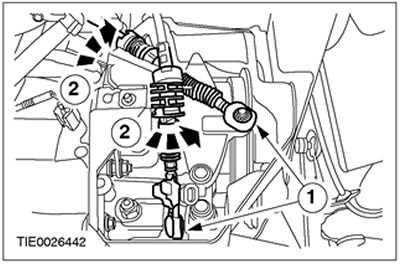
9. Disconnect the shift cables from the transmission.
- 1. Disconnect the shift cables and gear selector cable from the gear selector levers.
- 2. Turn the support sleeve clockwise and disconnect the cables from the bracket.
10.
CAUTION: Using a soft cloth, cover the rubber seal on the ball joint to avoid damage.
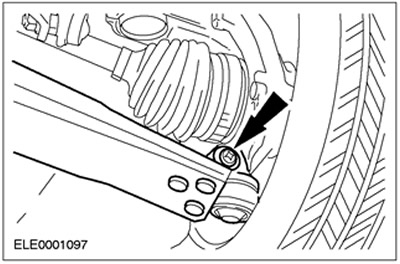
Disconnect the lower control arm from the steering knuckle (both sides). Disconnect the heat shield.
11. Remove the intermediate shaft intermediate bearing cover.
- Discard the intermediate bearing cap as it is no longer needed.
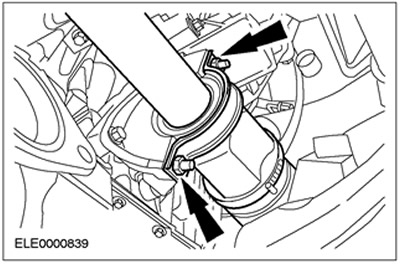
12.
CAUTION: Support the axle shaft. The inner joint of the axle shaft should not be deflected more than 18 degrees; the outer joint of the axle shaft - at an angle exceeding 45 degrees.
CAUTION: Do not damage the axle shaft oil seal.
NOTE: Plug the transmission openings in the transaxle block to prevent oil leakage and dirt from entering.
Disconnect the axle shaft and intermediate shaft from the gearbox and secure them to the side. Allow the oil to drain into a suitable container.
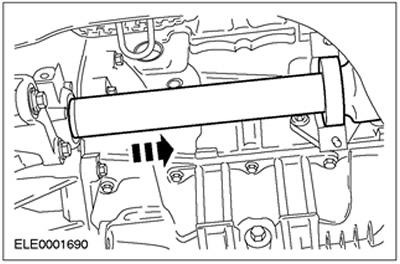
13.
CAUTION: Support the axle shaft. The inner joint should not be deflected at an angle exceeding 18 degrees. The outer joint should not be deflected at an angle exceeding 45 degrees.
CAUTION: Do not damage the oil seal.
NOTE: Shut off the transaxle to prevent oil from leaking out and dirt from entering.
Using the special tool, disconnect the left half shaft from the gearbox and secure it to the side.
- Discard the retaining ring as it is no longer needed.
- Allow the oil to drain into a suitable container.
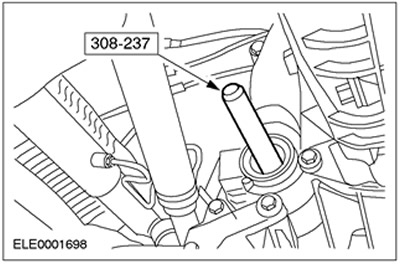
14. Remove the power steering line bracket and ground wire.
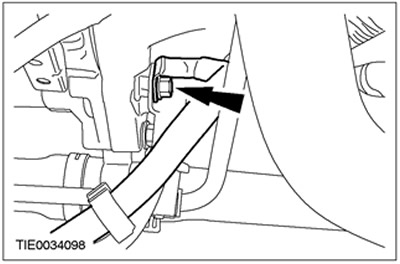
15. Disconnect the starter from the gearbox and secure it to the side.
- Disconnect the coolant line bracket.
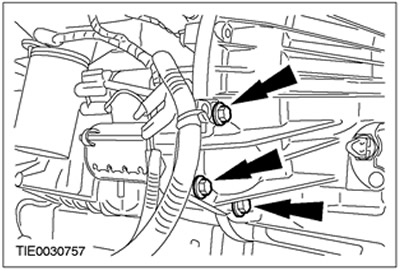
16. Disconnect the exhaust pipe from the exhaust manifold.
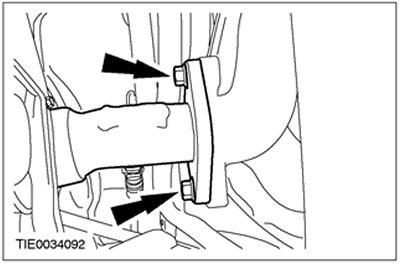
17. Remove the engine roll limiter.
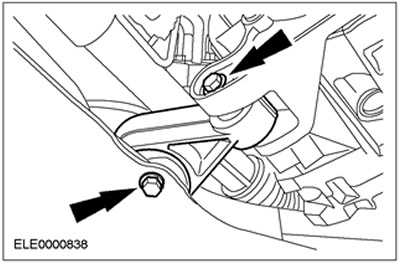
18. Disconnect the accessory drive belt cover.
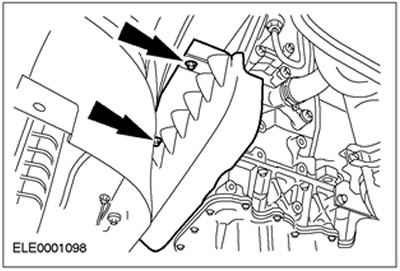
19. Remove the lower gearbox bolts.
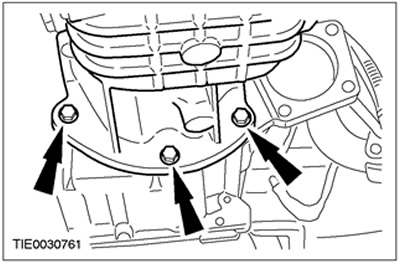
20. Remove the right gearbox bolts.
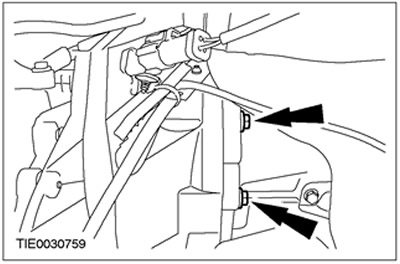
21. Lower the vehicle.
22. Install special tools.
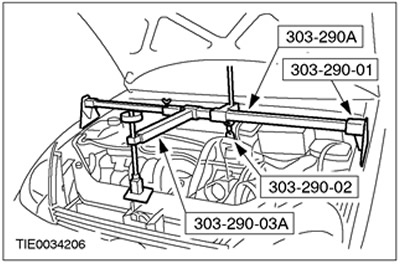
23. Remove the upper gearbox bolts.
- Disconnect the engine wiring harness bracket from the transmission.
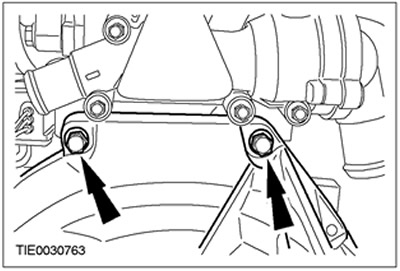
24. Disconnect the rear engine mount. Discard the nuts as they are no longer needed.
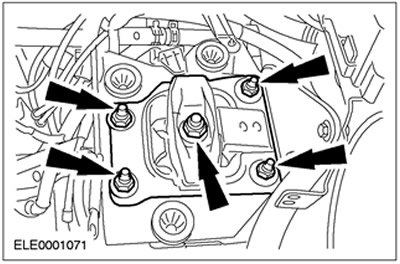
25. Remove the rear engine mount bracket.
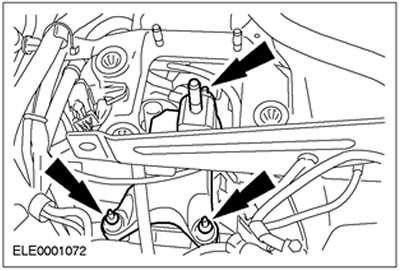
26. Lower the engine and gearbox assembly using special tools.
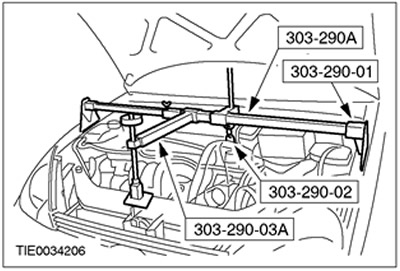
27. Raise the vehicle. Refer to Section 100-02 for additional information.
28. Rotate the engine assembly with the gearbox forward using the appropriate fixing clamps.
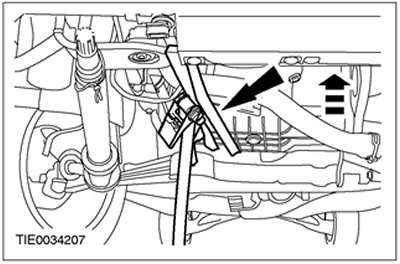
29. Secure the transmission to the transmission jack using the appropriate transmission jack clamps.
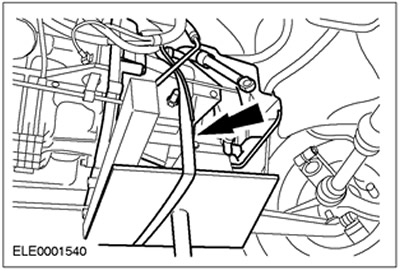
30. Remove the right gearbox bolt.
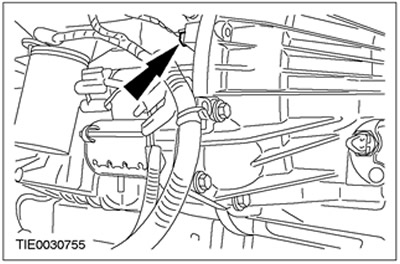
31. Remove the gearbox.