Contents: Removal ↳ Installation ↳
Special tool
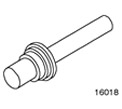 | Tool for installing oil seal of half-shaft 308-039 (16-018) |
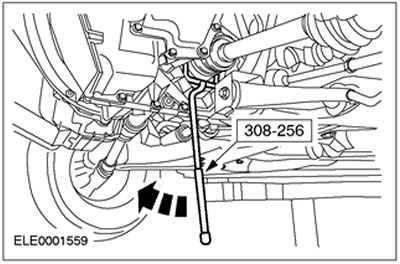
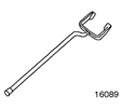 | Front axle puller 308-256 (16-089) |
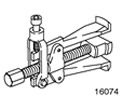 | Tool for replacing the oil seal of the half-shaft 308-208 (16-074) |
| Name | Specification |
| Transmission fluid | WSD-M2C200-C |
Removal
1.
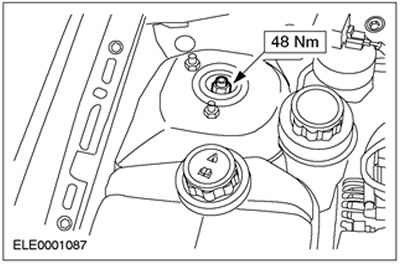
NOTE: Use an Allen key to prevent the piston rod from turning.
Loosen the suspension strut nut five turns (right side shown).
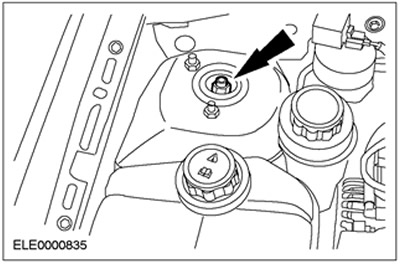
2. Raise the vehicle. Refer to Section 100-02 for additional information.
3. Disconnect the lower control arm ball joint (right side shown).
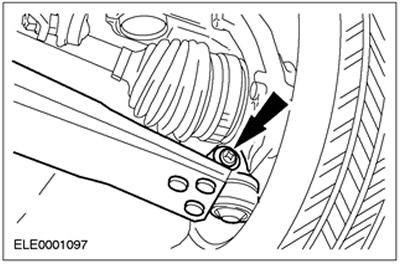
4.
CAUTION: Support the axle shaft. The inner joint should not be deflected at an angle exceeding 18 degrees. The outer joint should not be deflected at an angle exceeding 45 degrees.
Using a special tool, disconnect the axle shaft from the gearbox and secure it to the side.
- Collect the oil in a suitable container.
- Discard the snap ring as it is no longer needed.
5. Remove the oil seal of the left half-shaft of the front drive axle.
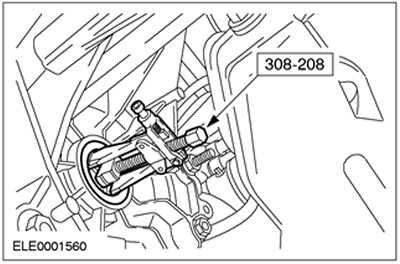
Installation
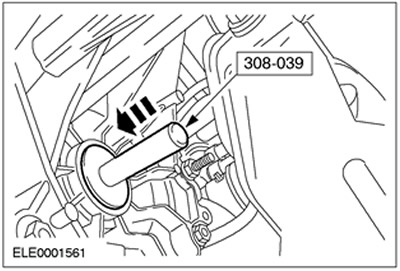
1. Install the oil seal of the left half shaft of the front drive axle.
2.
CAUTION: Support the axle shaft. The inner joint should not be deflected at an angle exceeding 18 degrees. The outer joint should not be deflected at an angle exceeding 45 degrees.
CAUTION: To protect the oil seal when installing the front axle shaft, use the installation sleeve (supplied with each new oil seal).
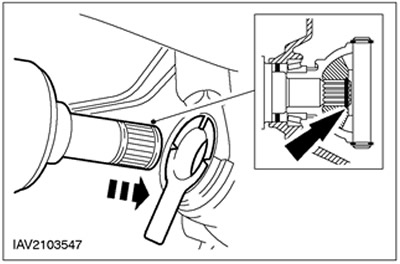
CAUTION: Make sure the snap ring is installed correctly.
NOTE: Install a new snap ring.
Install the axle shaft onto the gearbox.
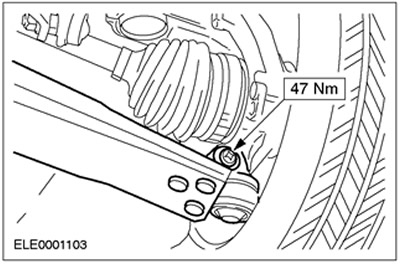
3. Connect the lower control arm ball joint (right side shown).
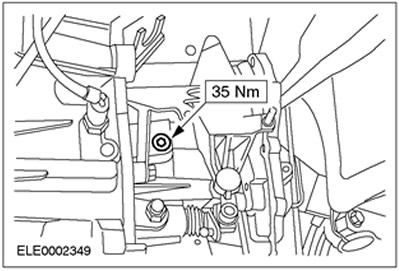
4. Fill with transmission fluid; the transmission fluid should be filled to a level 5-10 mm below the lower edge of the inspection hole.
5. Lower the vehicle.
6.
NOTE: Use an Allen key to prevent the piston rod from turning.
Tighten the suspension strut nut (right side shown).
- Lock it from turning with an Allen key.
- Tighten by hand using a spanner.
- Tighten to the specified torque using a torque wrench.