Spark plug gap
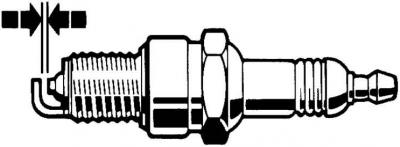
Checking the spark plug gap with a template
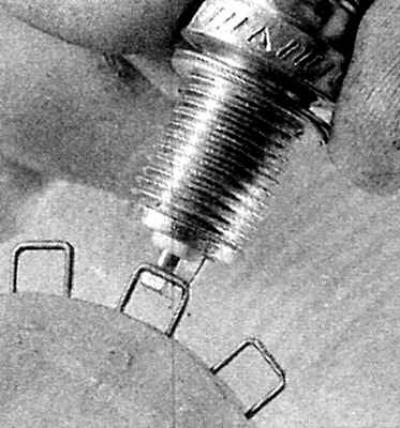
Before removing the spark plugs, remove any dirt using a clean brush, vacuum cleaner or compressed air to prevent dirt from entering the engine cylinders.
1. Remove the high-voltage wire tips from the spark plugs, and remove them by the tip, not the wire.
2. Unscrew the spark plugs.
3. Checking the spark plugs shows the condition of the engine. If the tip of the spark plug insulator is clean and white, this indicates that the mixture is too lean or "hot" spark plugs are being used.
4. If the tip and nose of the insulator are coated with a hard black film, this indicates that the mixture is too rich. If it is black and oily, the engine is probably worn.
5. If the nose of the insulator is coated with a light, light brown coating, the mixture is optimal and the engine is probably in good condition.
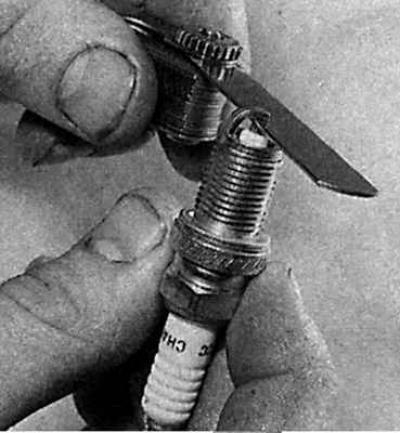
6. Use a feeler gauge to check the spark plug gap.
7. The spark plug gap is important because if the gap is too large or too small, the spark size and efficiency will be insufficient for normal engine operation.
8. To set the interelectrode gap, bend the outer electrode until the required gap is obtained. Never bend the central electrode, as this may split the insulator.
9. Carefully wipe the threaded part of the spark plug and lubricate it with a non-stick compound.
10. Screw in the spark plug by hand, making sure it is not tilted, and tighten it to the required torque. Spark plug tightening torques:
- oHC engine – 25 Nm;
- dOHC engine – 20 Nm;
- v6 engine 2.9 – 40 Nm;
- v6 engine 2.4 – 30 Nm.
11. Install the high-voltage wire tips onto the spark plugs and check that they are securely installed.