…a special key for brake pipes "for 10".
NOTE: Because the length and shape of the brake lines do not allow the master cylinder to be moved forward from the brake booster far enough to remove the booster, the booster must be removed as a complete assembly with the master cylinder.

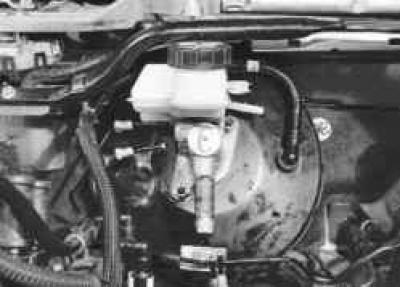
1. Remove the cap from the brake master cylinder reservoir…
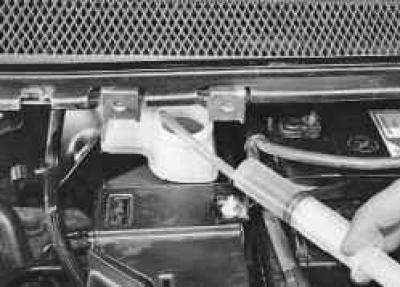
2. …and pump out the brake fluid from the reservoir, for example, using a large medical syringe.
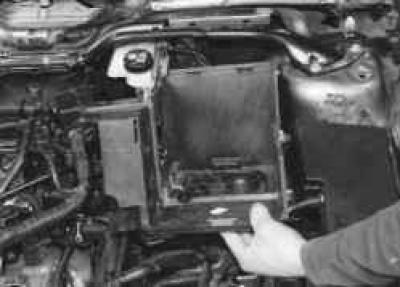
3. Remove the battery mounting shelf (see "Removing and installing the battery mounting shelf").
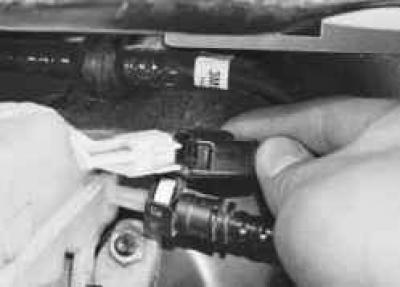
4. Disconnect the connector from the brake fluid level sensor…
5. …and a hose to the clutch release drive master cylinder from the brake master cylinder reservoir (see "Replacing the brake master cylinder reservoir").
USEFUL TIP: Immediately after disconnecting the hose from the reservoir, plug its opening without lowering the hose down. Some working fluid will remain in the hose, so after installing the reservoir and connecting the hose to it, there is no need to bleed air from the clutch release hydraulic drive.
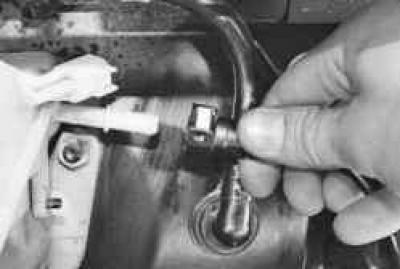
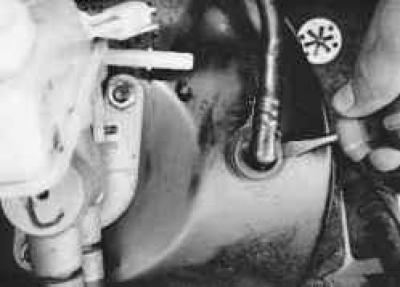
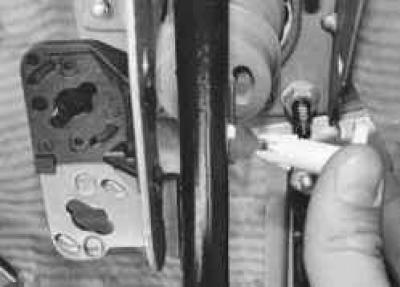
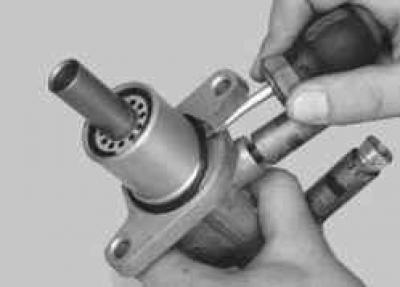
6. Loosen the nuts securing the two pipes to the brake force regulators, holding the regulators from turning with a second key..
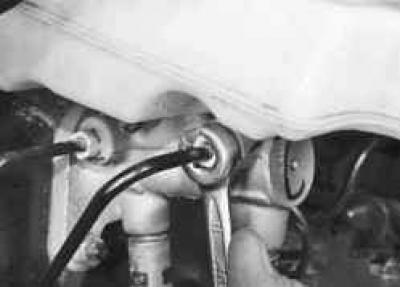
7. …nuts securing two pipelines to the main brake cylinder…
8. …and move the pipes to the side.
HELPFUL TIP: Seal the lines using any means available (such as by placing protective bleeder caps on the ends) to prevent brake fluid from escaping.
9. Using a screwdriver, pry up the tip of the vacuum hose…
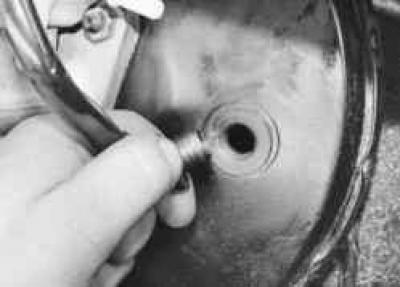
10. …remove the tip from the sealing sleeve of the hole in the amplifier body.
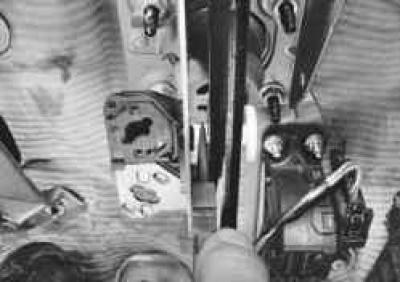
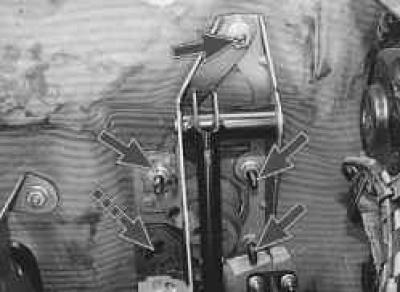
11. In the car's interior, under the instrument panel, use pliers to squeeze the two clamps of the brake booster push rod fork..
NOTE: For clarity, the work is shown with the instrument panel and steering column bracket removed.
NOTE: This is what the brake booster pushrod pin retainers look like.
12. …and remove the pin from the fork and pedal holes.
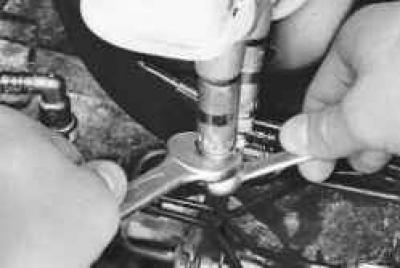
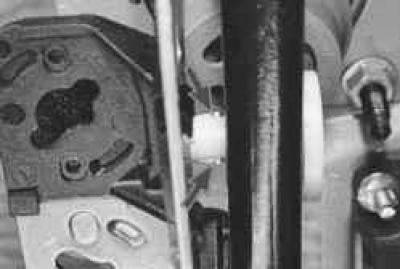
13. Unscrew the four nuts (the lower left nut is not visible in the photo, as it is covered by the switch bracket) that secure the vacuum booster to the front panel, which also secure the pedal bracket..

14. …and remove the vacuum booster assembly with the master brake cylinder.
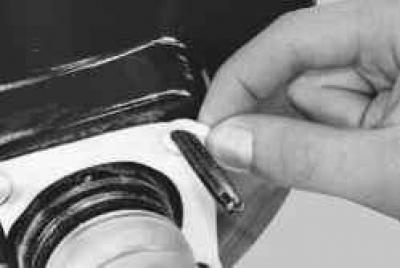
15. If you are replacing the vacuum booster, remove the sealing gasket from its mounting studs and install it on the new booster…
NOTE: Replace a gasket that is severely compressed or torn.
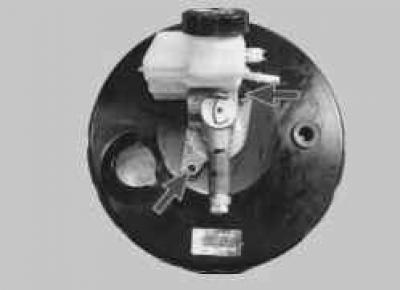
16. …unscrew the two nuts securing the master brake cylinder to the booster, remove the cylinder and install it on the new booster.
NOTE: Be sure to replace the master cylinder flange sealing rubber ring with a new one.
17. Install the brake booster and all removed parts in the reverse order of removal, fill with brake fluid and bleed air from the system (see "Bleeding the hydraulic brake system").
Information for this article was taken from the website (www.fordbook.ru)