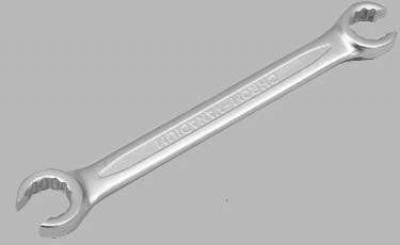
…a special key for brake pipes "for 10".
Note: Since the length and shape of the brake lines do not allow the master cylinder to be moved forward from the brake booster far enough to remove the booster, it is necessary to remove the booster assembly with the master cylinder.
1. Disconnect the wire from the negative terminal of the battery.
2. Remove the windshield wiper (see "Removal and installation of windshield wiper linkage assembly with gear motor").
3. Remove the reservoir cap and pump out the brake fluid from the reservoir, for example, using a large medical syringe (see "Replacing the brake master cylinder reservoir").
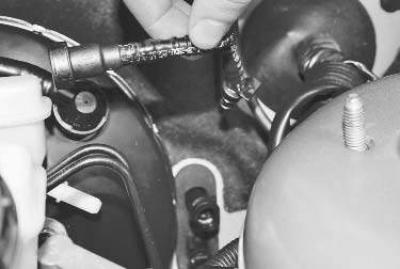
4. Disconnect the wiring harness connector from the brake fluid level sensor and the hose to the clutch master cylinder from the brake master cylinder reservoir (see "Replacing the brake master cylinder reservoir").
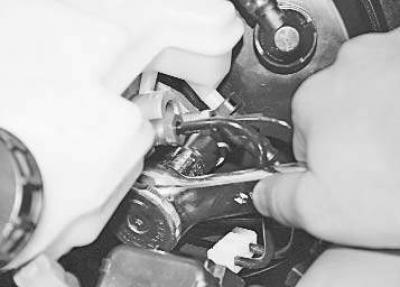
5. Unscrew the nuts securing the two pipes to the master brake cylinder…
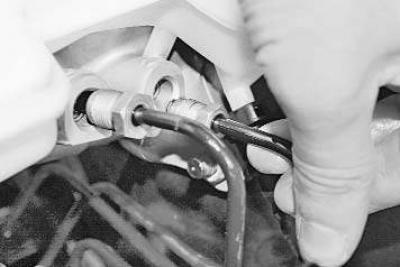
6. …and move the pipes to the side.
Note: Seal the lines using any means available (such as by placing protective bleeder valve caps on their ends) to prevent brake fluid from escaping.
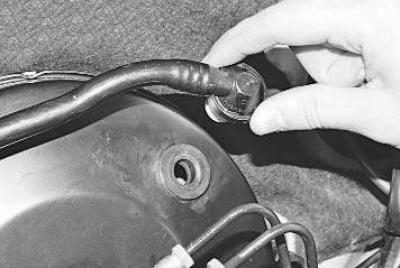
7. Use a screwdriver to pry the tip of the vacuum hose and remove the tip from the sealing sleeve of the hole in the amplifier body.
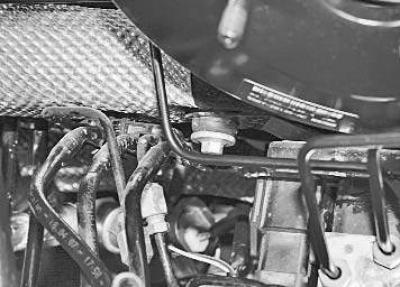
8. Turn the bottom…
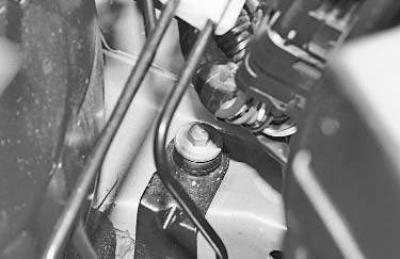
9. ...and the upper bolts securing the bracket of the electronic unit of the anti-lock braking system to the body panels.
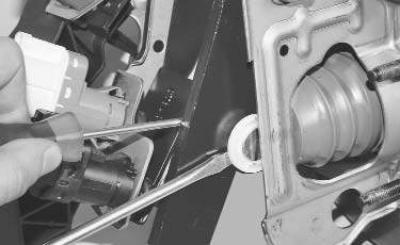
10. In the car's interior, under the instrument panel, use a screwdriver to squeeze the brake booster pushrod pin clamps..
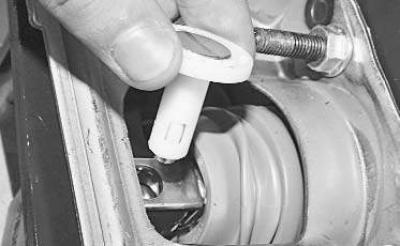
11. …and remove the pin from the fork and pedal holes.
12. Unscrew the four nuts securing the vacuum booster to the front shield, which also secure the pedal bracket..
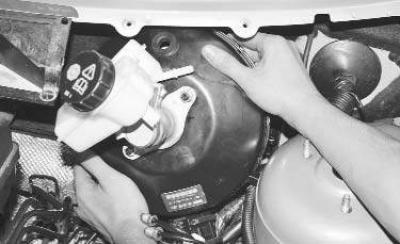
13. …and remove the vacuum booster assembly with the master brake cylinder.
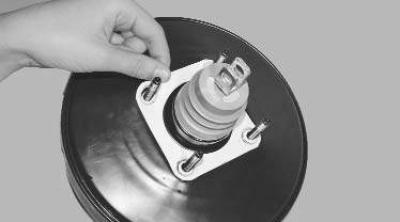
14. If replacing the vacuum booster, remove the sealing gasket from its mounting studs and install it on the new booster.
Note: Replace a gasket that is severely compressed or torn.
15. Unscrew the two nuts securing the master brake cylinder to the booster, remove the cylinder and install it on the new booster (see "Replacing the master brake cylinder").
16. Install the brake booster and all removed parts in the reverse order of removal, fill with brake fluid and bleed the system (see "Bleeding the hydraulic brake system").