Note. Carry out the work with the rear wheels off the ground (on a lift or vehicle jacked up). The parking brake lever must be pushed all the way down (the car is disinhibited).
You will need: wheel nut wrench, flat blade screwdriver, hammer, chisel.
1. Engage 1st gear and place chocks under the front wheels.
2. Hang out a back wheel and establish a back part of the car from a removed drum on a support. Remove the rear wheel (see «Wheel replacement»).
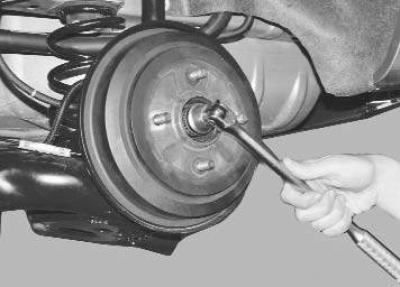
3. Loosen the hub nut.
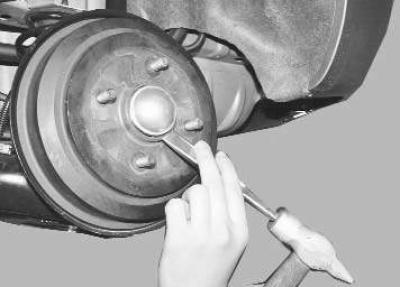
4. Use a chisel to compress..
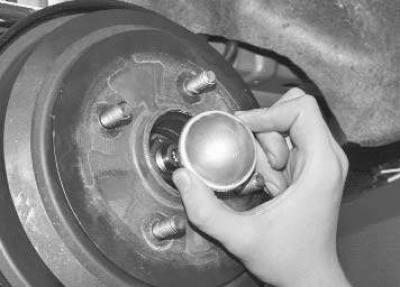
5.... and remove the protective cap of the wheel bearing.
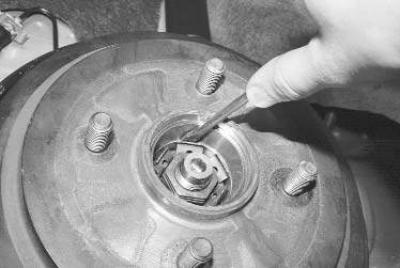
6. Bend the hub nut lock washer plates.
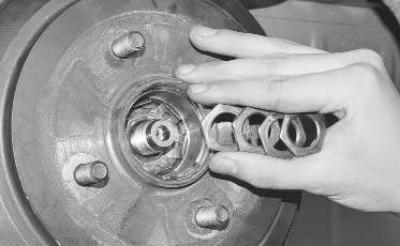
7. Finally unscrew the hub nut..
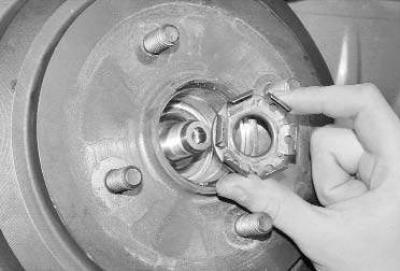
8.... and remove the lock washer.
Note. Each time the rear wheel hub nut is loosened, it must be replaced along with the lock washer.
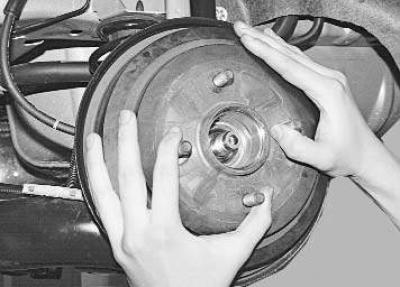
9. Remove the brake drum.
Note. After long-term operation, a collar is formed along the outer edge of the working surface of the drum as a result of wear, which makes it difficult to remove the drum. In this case, loosen the parking brake cable (see «Parking brake actuator adjustment»).
Attention! Do not press the brake pedal with the brake drum removed, as this may completely remove the pistons from the working cylinder, and brake fluid will flow out of the hydraulic system.
10. Measure the diameter of the working surface with a caliper. If the diameter exceeds the maximum allowable value, the drum must be replaced.
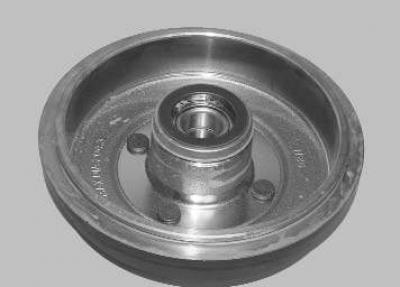
Note. On the inner surface of the drum in casting, its maximum wear diameter is applied (204.3 mm).
11. Inspect the working surface of the drum. It should be even and smooth, without ring marks and clearly visible ovality (ovality should be no more than 0.5 mm, it can be determined by the unevenly worn working surface of the drum). If the ring risks are very deep or uneven wear of the working surface is clearly visible, the drum will have to be replaced with a new one.
Attention! Replace brake drums in pairs (left and right at the same time).
Note. Inspect the surface of the brake pads.
Note. If the pads are wet with brake fluid, the slave cylinder seals are leaking, replace it (see «Replacing the working cylinder of the brake mechanisms of the rear wheels»).
12. Similarly remove and check up the second brake drum.
13. When installing the old drum, use a file to remove the shoulder on the working surface of the drum, formed as a result of wear.
14. Reset the gap adjuster (see «Replacing the brake pads of the brake mechanism of the rear wheel»).
15. Install the drum in the reverse order of removal.
16. Adjust the clearance between the brake shoes and the drum by pressing the brake pedal several times.
17. Install the wheel and decorative cap (see «Wheel replacement»).
18. Check the ease of rotation of the wheel. Easy touching of the drum on the pads is allowed.
Visitor comments