You will need: a 13 mm socket head and a flat-blade screwdriver.
1. Remove the floor tunnel lining (see "Removal and installation the floor tunnel lining").
2. Check the correct adjustment of the clearances between the brake shoes and the rear brake drums (if the car is equipped with rear drum brakes). To do this, press the brake pedal hard several times with the parking brake lever fully depressed. If the clearances are larger than normal, you will hear clicks from the clearance adjustment mechanisms in the brake mechanisms each time you press the pedal. When the clicks stop, the adjustment is complete.
3. Raise the rear of the vehicle and support it securely.
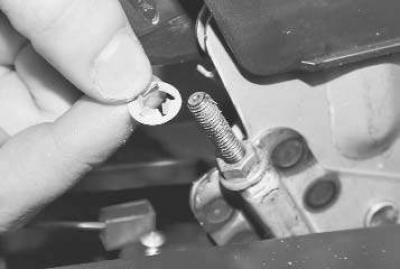
4. Remove the locking washer…
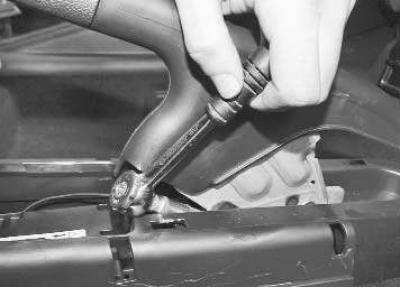
5. …lower the drive lever down to the stop and unscrew the adjusting nut to the very end of the threaded end of the front cable.
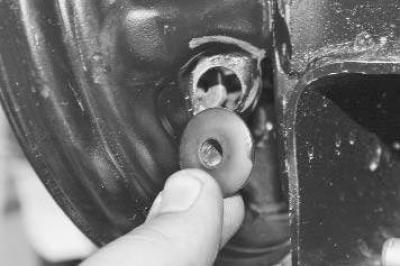
6. Remove the rubber plugs from the inspection holes on the brake shields.
7. Turn the adjusting nut clockwise, screwing it onto the threaded end of the front cable until one of the release levers begins to move.
Note: Use an assistant to observe the movement of the levers.
8. Check the ease of rotation of the wheels. If the wheels rotate with braking, repeat the adjustment of the parking brake. If repeated adjustment does not achieve the desired result, check the condition of the brake shoes of the rear wheel brake mechanisms, brake drums, discs and drive cables. Replace faulty parts (see the relevant subsections) and adjust the parking brake drive as described above.
9. Place the car on its wheels.
10. Install and tighten the front cable end lock nut.
11. Install the parking brake lever boot in the reverse order of removal.