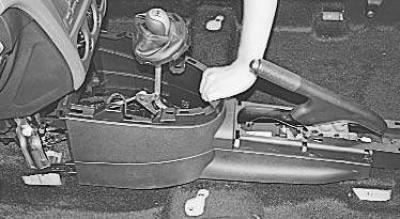
Note. The driver's seat has been removed for clarity. The seat does not need to be removed to gain access to the trim fasteners.
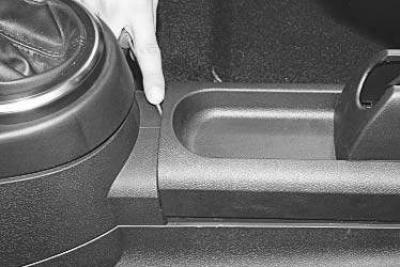
1. Gently pry off the leading edge of the top rear cover of the floor tunnel lining with a screwdriver…
2.... disconnect the cover from the lining, overcoming the elastic resistance of its latches..
3. …and remove the cover by sliding it up and forward over the parking brake lever.
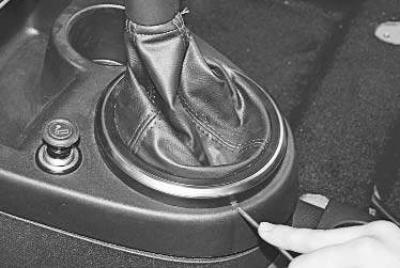
4. Gently pry off the edge of the gear lever cover frame with a screwdriver..
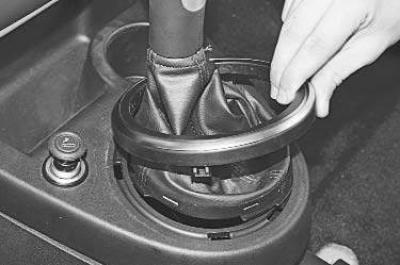
5.... and remove the frame, overcoming the elastic resistance of its latches.
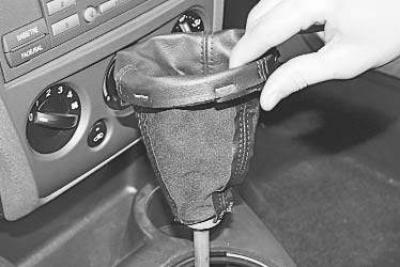
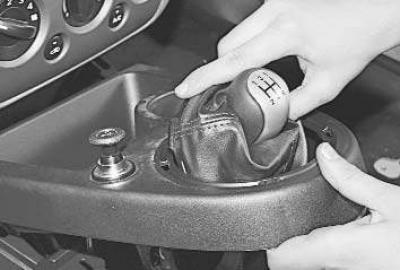
6. Turn the gear lever cover inside out and lift it up the lever.
7. Gently pry off the rear edge of the upper front cover of the floor tunnel lining with a screwdriver..
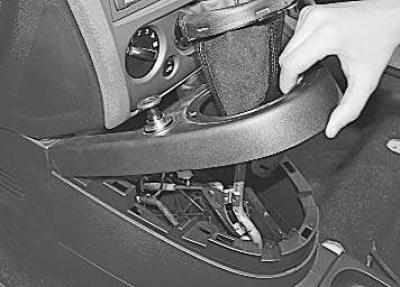
8. …lift the lid…
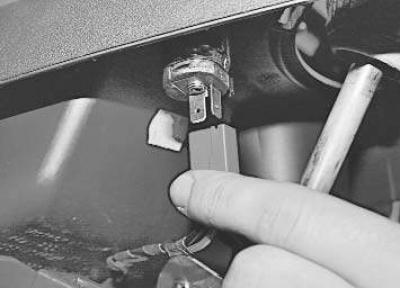
9.... disconnect the wiring harness from the cigarette lighter..
10.... and, having passed the cover of the gear lever into the hole in the cover..
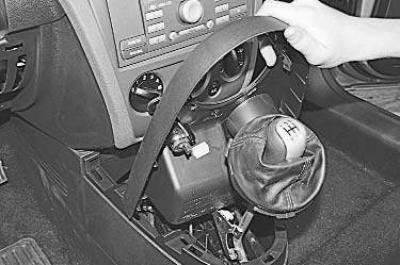
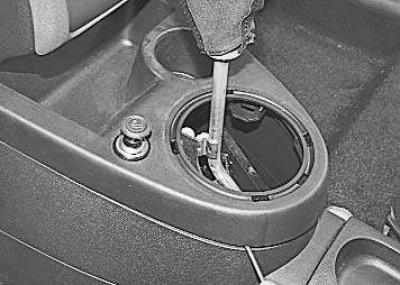
11.... take it off.

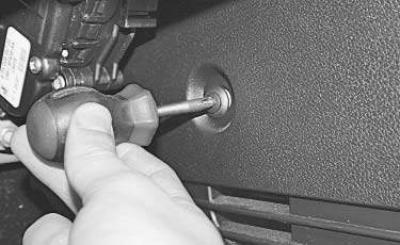
12. Turn out a bolt of fastening of a back part of facing of a tunnel of a floor to the basis of a body.
Note. Access to the bolt of fastening of the rear part of the lining of the floor tunnel is obstructed by the cover of the parking brake lever. Therefore, to unscrew it, a short Phillips screwdriver or a suitable bit with a wrench is required.
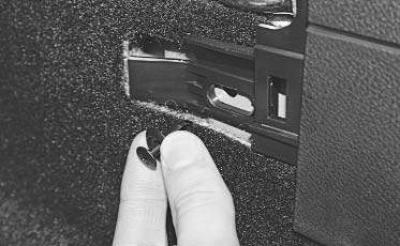
13. In front of the lining of the tunnel floor (left and right) unscrew the latches of the two caps for fastening the side covers of the lining..
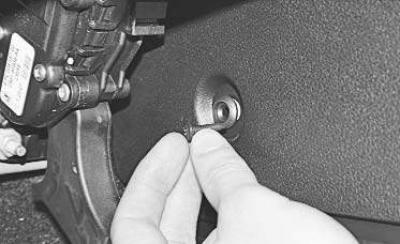
14.... remove the latches..
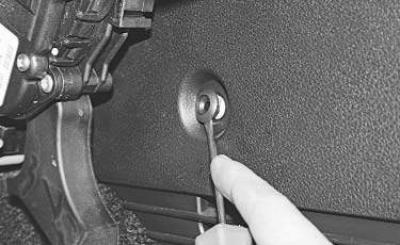
15.... and, prying with a screwdriver..
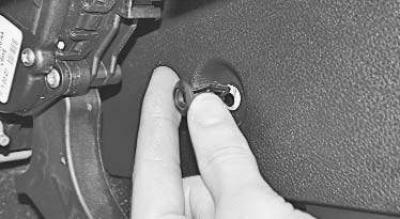
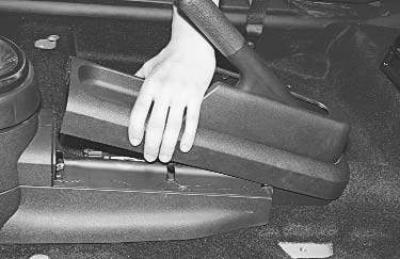
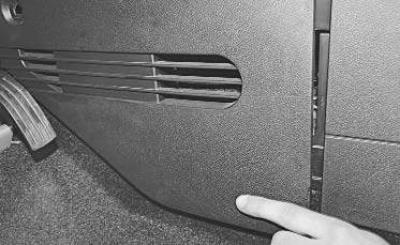
16.... remove the caps.
17. Gently pry off the edges of the side covers of the floor tunnel lining with a screwdriver..
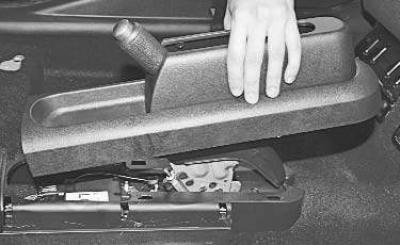
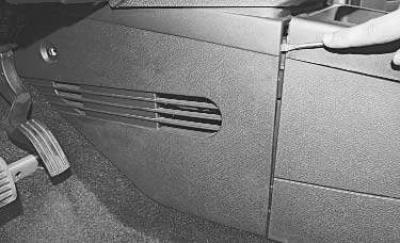
18.... and remove the covers.
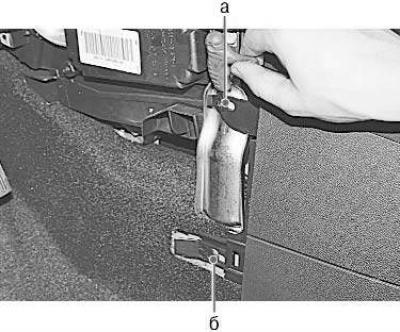
19. In front of the floor tunnel lining (left and right) unscrew one upper bolt a and the clamps of the two lower caps b fastening the cladding to the bracket
dashboard consoles..
20.... remove the caps..
21.... slide the lining back..

22.... and remove it from the car.
23. Install the floor tunnel lining in the reverse order of removal.
Visitor comments