1. Disconnect the wire from the negative terminal of the battery.
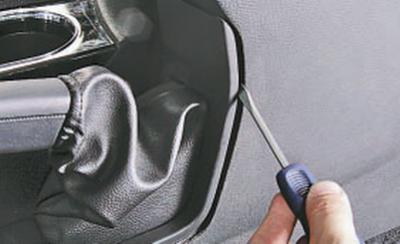
2. Using a screwdriver, pry up the edge of the parking brake lever boot frame…
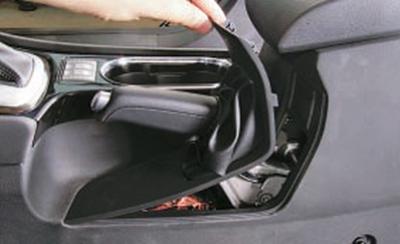
3….release the frame latches from engagement with the floor tunnel lining…
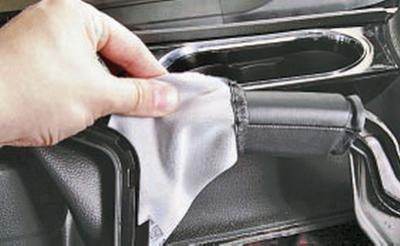
4….and remove the cover together with the frame from the parking brake lever.
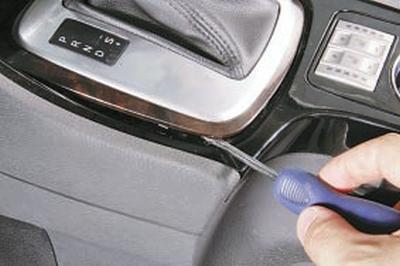
5. Use a screwdriver to pry up the selector lever trim…
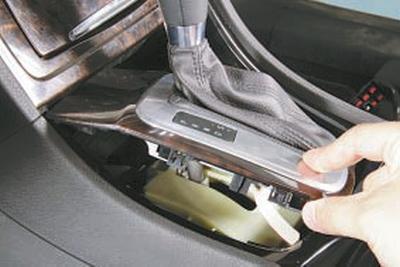
6….and, having overcome the resistance of the latches, separate it from the floor tunnel lining.
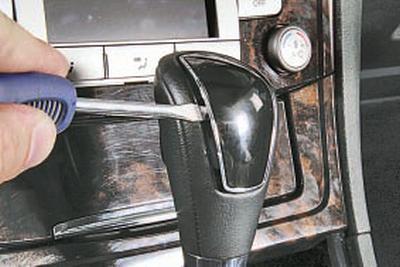
7. Use a screwdriver to pry up the selector lever handle cover…
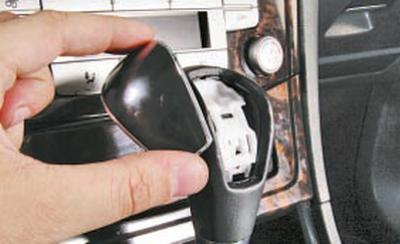
8….and remove it from the handle.
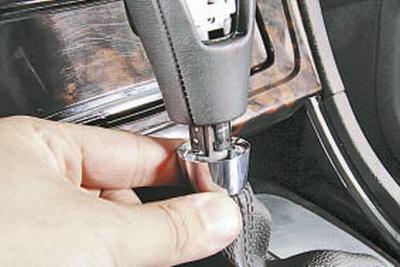
9. Slide the boot ring down the selector lever.
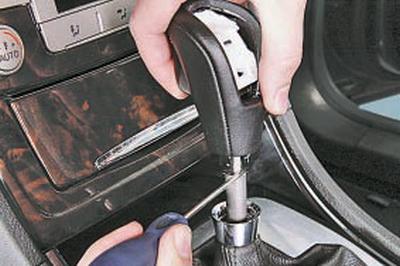
10. Use a screwdriver to press the locking tabs of the handle and remove it from the selector lever.
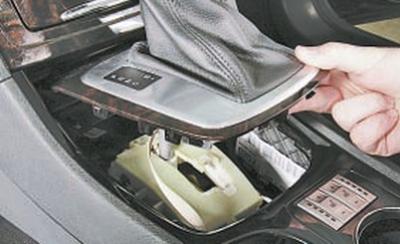
11. Remove the selector lever trim together with the boot…
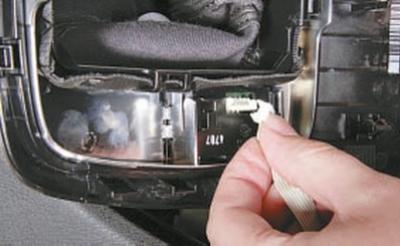
12….and, turning it over, disconnect the "bus" block from the contact connector.
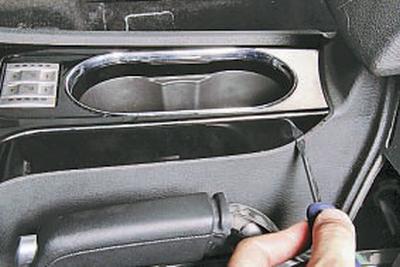
13. Use a screwdriver to pry up the edge of the upper decorative trim strip of the floor tunnel…
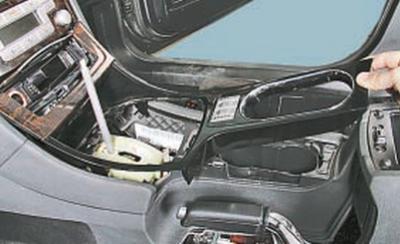
14….and, overcoming the resistance of the latches, lift its rear part.
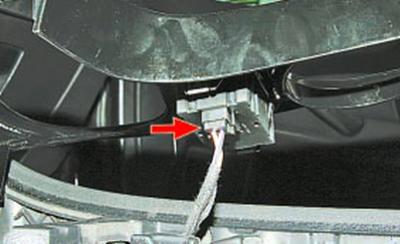
15. In this position of the trim, press the lock, disconnect the wiring harness block from the front seat heating switch block, then press the front latches of the upper trim of the floor tunnel trim and remove it.
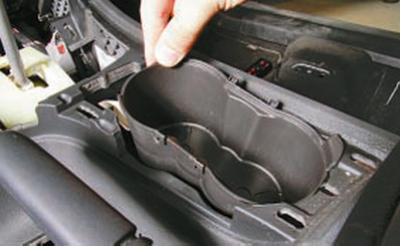
16. Remove the cup holders.
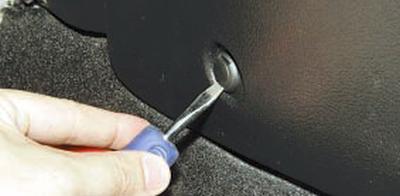
17. Use a screwdriver to pry up the pin securing the left side panel of the field tunnel lining and remove it from the hole in the reinforcement.
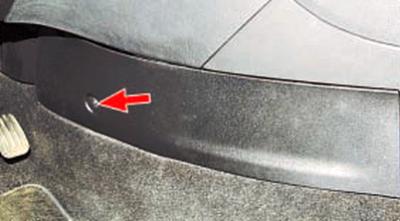
NOTE: This is the location of the left pad mounting pin.
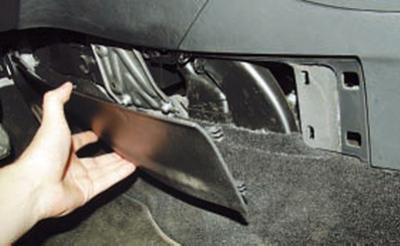
18. Slide the cover forward to disengage the clips and remove it.
Remove the right cover in the same way.
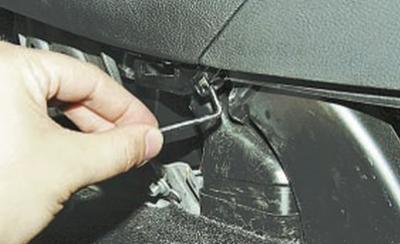
19. Unscrew the front screws on both sides of the lower fastening of the floor tunnel trim to the instrument panel.
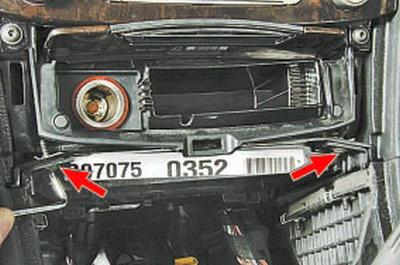
20. Remove the two screws securing the upper floor tunnel trim to the instrument panel.
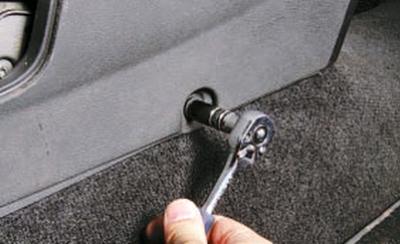
21. Unscrew the bolts on both sides of the rear fastening of the floor tunnel trim.
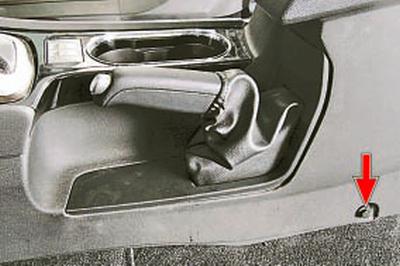
NOTE: This is the location of the rear floor tunnel trim bolt on the left side.
22. Lift the parking brake lever up and remove the floor tunnel trim.
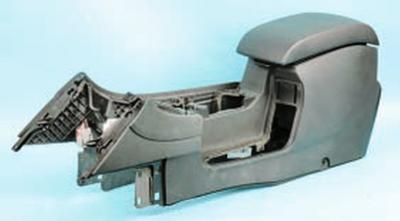
23. Install the floor tunnel lining in the reverse order of removal.
The original source of the publication is on the website: FordBook