Note: The work is shown for the left seat, the right seat is removed in the same way.
1. Disconnect the wire from the negative terminal of the battery.
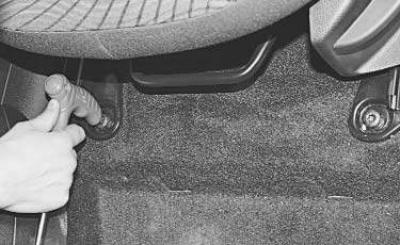
2. Move the seat all the way back and remove the two front bolts securing the guide rails to the base of the body.
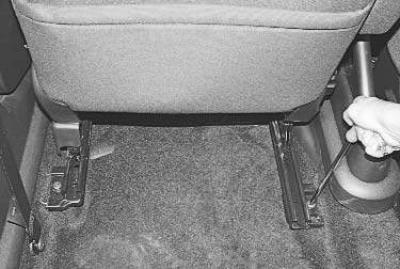
3. Move the seat forward as far as it will go and remove the two rear bolts securing the guide rails to the base of the body.
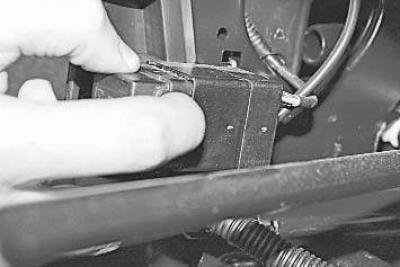
4. Lift the seat and, squeezing the fastening clamps…
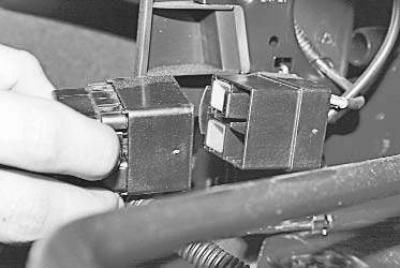
5. …disconnect the seat belt pretensioner wiring harness connector.
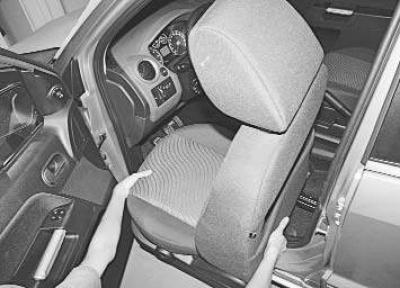
6. Remove the seat from the vehicle interior.
7. Install the seat in the reverse order of removal. Apply anaerobic thread locker to the seat mounting bolts before installation.
Removal and installation headrests
The process of removing the front and rear seat headrests is described in Section 1 "Adjusting the position of the front seats").
[This article was borrowed from the website: fordbook]