Note: The front seat belt replacement is shown using the driver's seat belt as an example. The front passenger seat belt is replaced in the same way.
You will need a TORX T50 key.
1. The seat belts are equipped with pretensioners, so disconnect the wire from the negative terminal of the battery.
Attention! After disconnecting the wire from the negative terminal of the battery, you must wait at least 10 minutes, only then can you begin to remove the seat belt equipped with a pretensioner.
Warning! Disassembling the seat belt pretensioners is prohibited.
Caution! Do not allow the seat belt buckles with pretensioners to fall or allow water or oil to enter them.
Caution! Do not expose seat belt pretensioners to temperatures above 95°C.
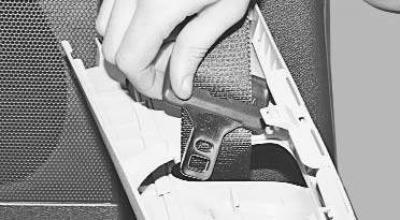
2. Disconnect the upper part of the center pillar trim from its base (see "Removal and installation of interior trim") and pass the tongue of the seat belt buckle through its hole.
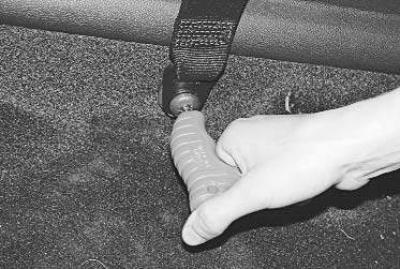
3. Remove the lower seat belt mounting bolt.
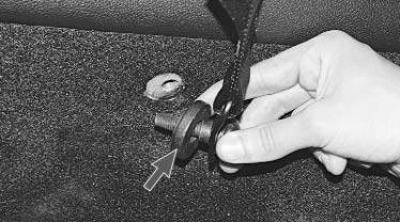
Note: There is a spacer sleeve installed on the bolt, do not lose it.
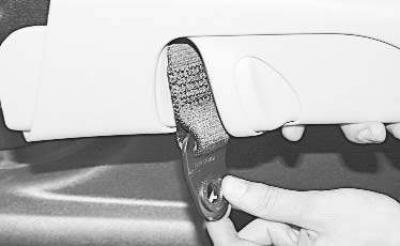
4. Pass the lower branch of the belt through the hole in the upper part of the center pillar trim and remove the upper part of the trim.
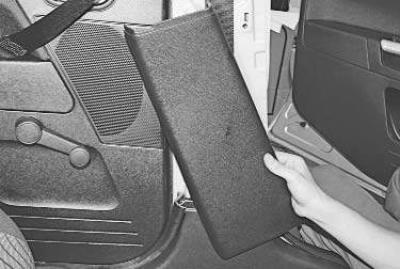
5. Remove the lower part of the B-pillar trim…
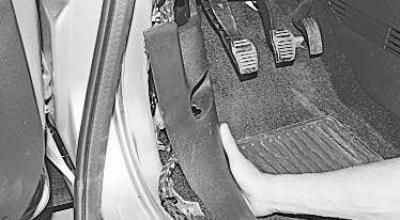
6. …and the front part of the threshold trim (see "Removal and installation of interior trim").
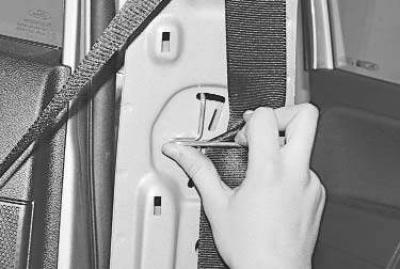
7. Turn the belt guide clockwise…
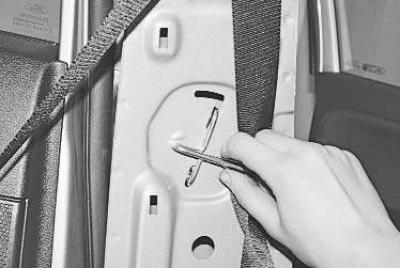
8. …slide the guide down…
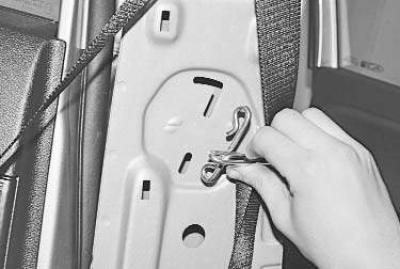
9. …and disconnect the guide from the body pillar.
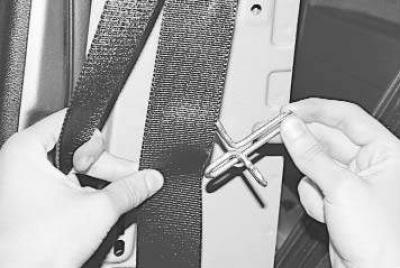
10. Remove the guide from the belt.
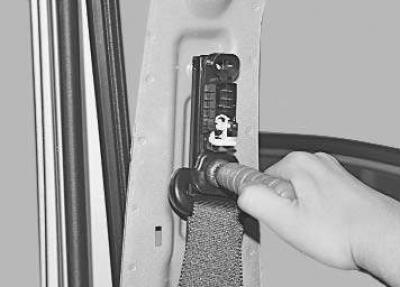
11. Loosen the upper belt fastening bolt and disconnect the belt buckle from the belt height adjustment unit housing.
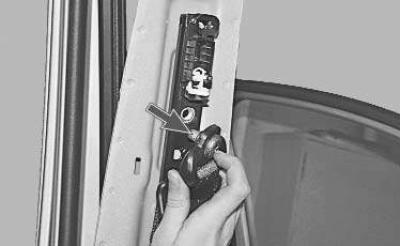
Note: There is a flat washer on the bolt, do not lose it.
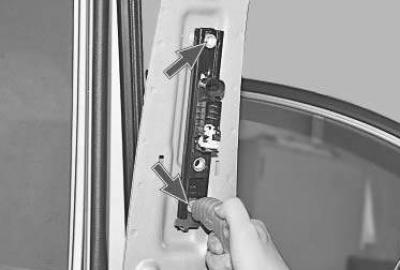
12. Unscrew the two bolts securing the unit to adjust the height of the belt..
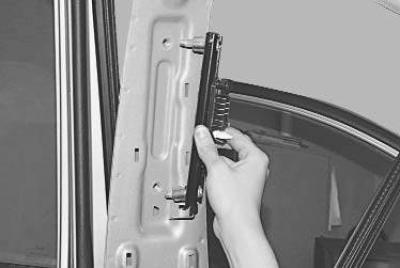
13. …and remove the assembly for adjustment.
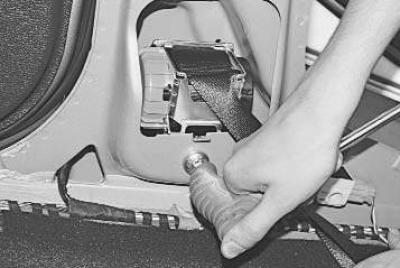
14. Unscrew the inertia reel mounting bolt…
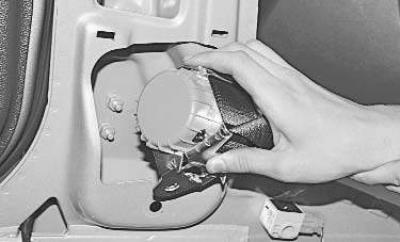
15. …and remove the coil from the body pillar.
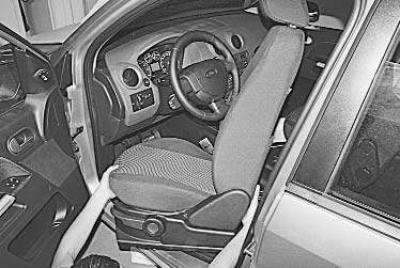
16. To remove the front seat belt buckle, remove the seat from the vehicle (see "Removal and installation the front seat"), since when the seat is installed there is no access to the harness connector of the belt pretensioner.
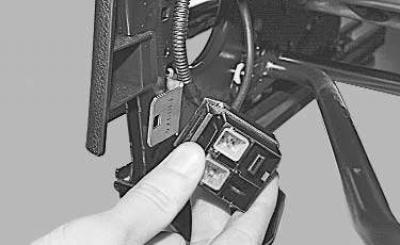
17. Disconnect the pretensioner wiring harness connector from the bracket on the seat base.
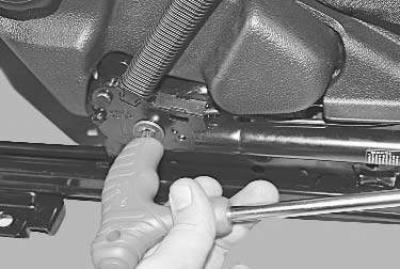
18. Loosen the bolt securing the seat belt buckle to the seat and remove the buckle.
19. Install the parts in the reverse order of removal.
The original text is provided on an online resource www.fordbook.ru