1. Disconnect the wire from the negative terminal of the battery.
2. Remove the floor tunnel lining (see "Removal and installation the floor tunnel lining").
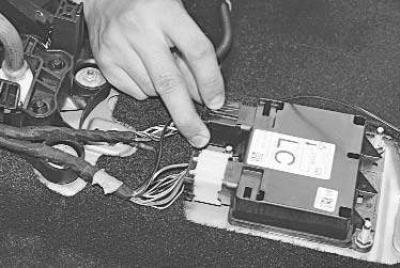
3. Press the locking tab of the black connector of the additional passive restraint system control unit wiring harness with your finger…
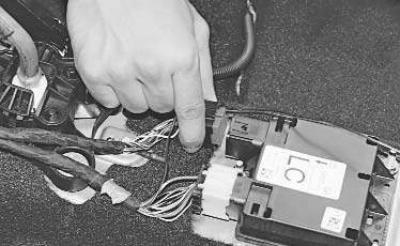
4. …and disconnect the connector from the block.
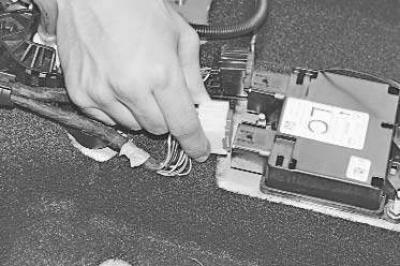
5. Similarly, disconnect the white wiring harness connector from the block.
Note: Remember or write down the location of the wiring harness connectors so that when reinstalling them, you can connect them to the same sockets in the unit.
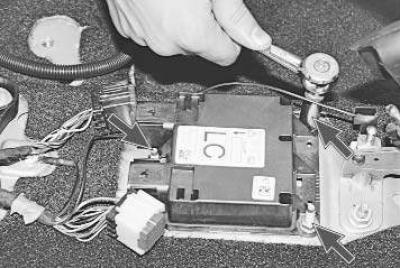
6. Unscrew the three nuts securing the control unit to the body base…
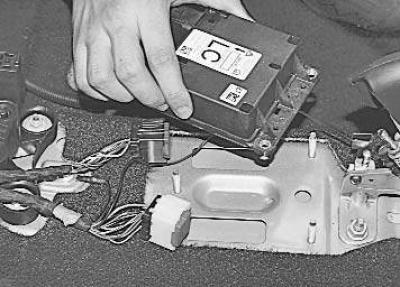
7. ...and remove the block.
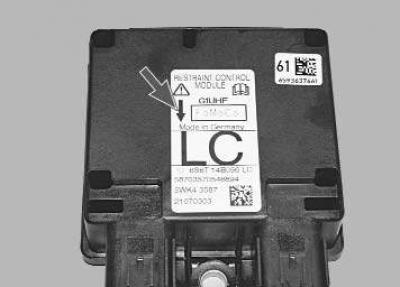
Note: Pay attention to the marking of the control unit; for replacement, purchase a unit with the same marking.
Note: The control unit can only be installed in one position on the vehicle. However, for control purposes, there is an arrow on its label (see photo), which should point forward in the direction of vehicle travel.
8. Install the electronic control unit of the passive restraint system and all removed parts in the reverse order of removal.
(The original source of this article can be found at: «Fordbook.ru»)