Note: Removal and installation of trims are shown on the left side of the cabin. Trims on the right side are removed in the same way.
1. Before removing the windshield pillar trim remove the door frame seal from the edge of the rack, as it overlaps the edge of the trim.
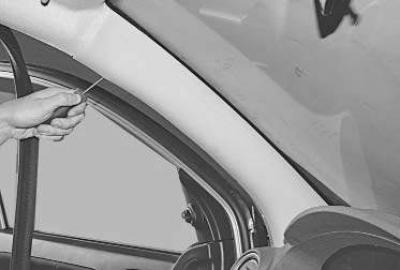
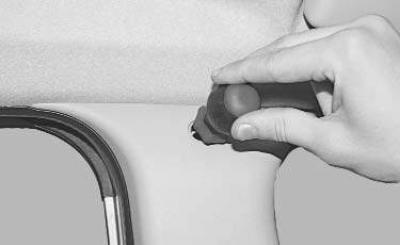
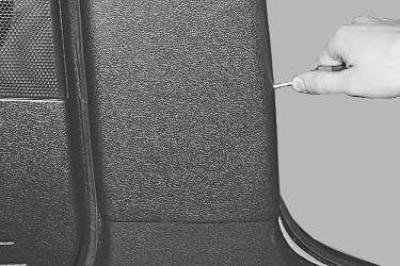
2. Carefully pry up the edge of the trim with a screwdriver…

3. …and, overcoming the resistance of the holders, remove the front pillar trim.
4. Inspect the trim fastening, replace any broken fasteners.
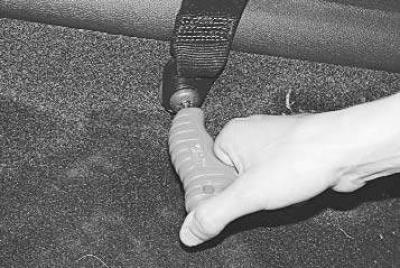
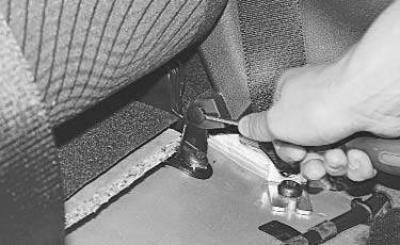
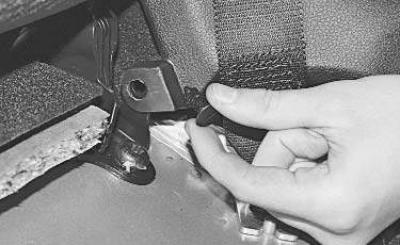
5. Before removing the center pillar trims remove the lower seat belt mounting bolt.
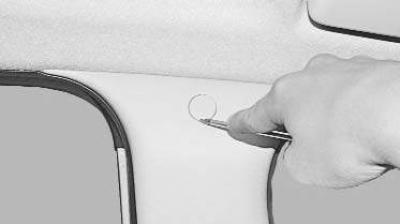
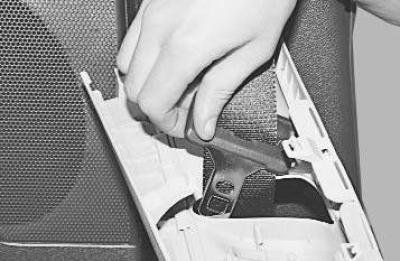
6. Pry it up with a screwdriver…
7. …remove the decorative plug…
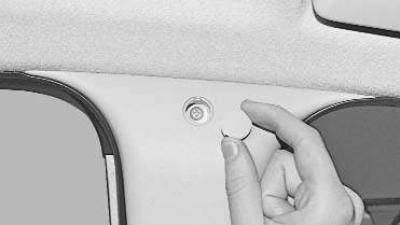
8. …and unscrew the screw of the upper trim fastening.
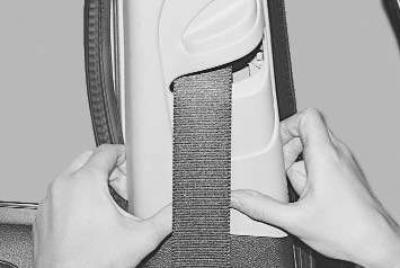
9. Overcoming the resistance of the holders, detach the upper trim of the central pillar.
10. Pass the belt through the hole in the trim and remove the trim.
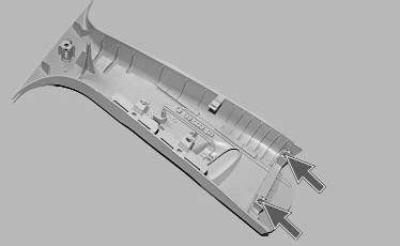
Note: This is how the holders are installed on the top trim of the rack.

11. Remove the door opening seal from the edge of the lower pillar trim, as it overlaps the edge of the trim.
12. Carefully pry up the edge of the trim with a screwdriver and, overcoming the resistance of its holders..
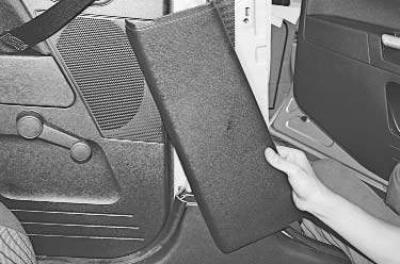
13. …remove the lower trim of the central pillar.
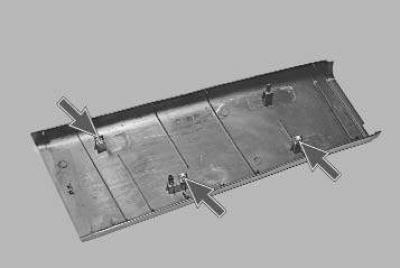
Note: This is how the mounting locations of the holders are located on the lower trim of the central pillar.
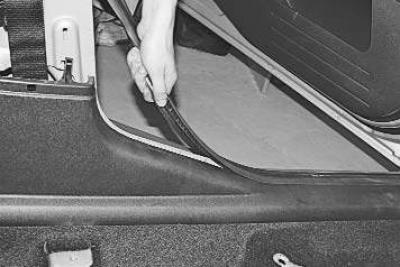
14. Before removing the front threshold trim, remove the door opening seal from the edge of the threshold, as it overlaps the edge of the trim.
Note: To remove the front sill trim, you must remove the center pillar trims.
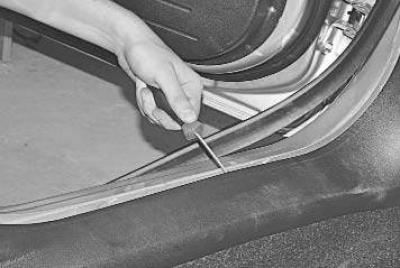
15. Carefully pry up the edge of the trim with a screwdriver and, overcoming the elastic resistance of its holders..
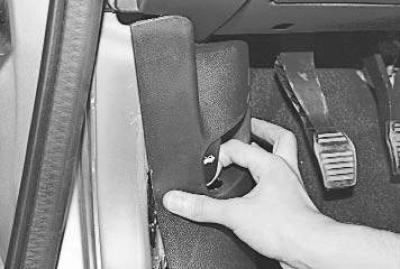
16. …remove the front threshold trim, removing the hood lock drive handle from the hole.
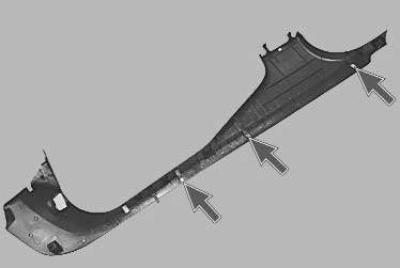
Note: This is how the holders are installed on the front sill trim.
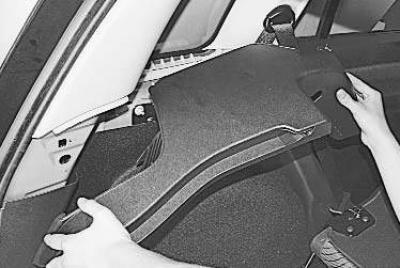
17. Before removing the lower part of the rear pillar trim, remove the middle side panel trim (see "Removal and installation trunk trims").
18. Fold back the rear seat cushion and, using a screwdriver, pry up the pin..
19. …take it out.
20. Carefully pry up the edge of the trim with a screwdriver…

21. …and, having overcome the resistance of the holders, remove the lower trim of the rear pillar.

Note: This is how the mounting locations of the holders are located on the lower trim of the rear pillar.
22. Install the parts in the reverse order of removal.