NOTE: Shown are the removal and installation of trims on the left side of the cabin. The trims on the right side are removed in the same way.
NOTE: Removal of the interior trims is shown in the reverse order of their installation on the vehicle. Trying to remove them in a different order will not produce the desired result, since each previous trim holds the next with its edges or covers the fastener.
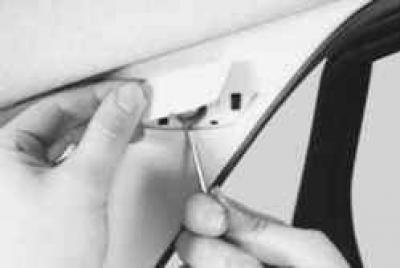
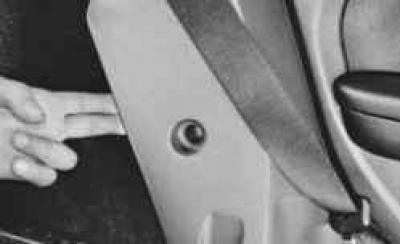
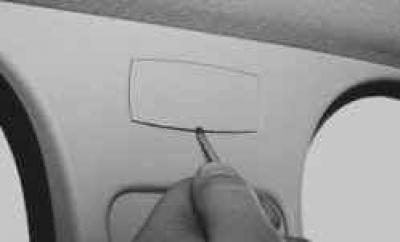
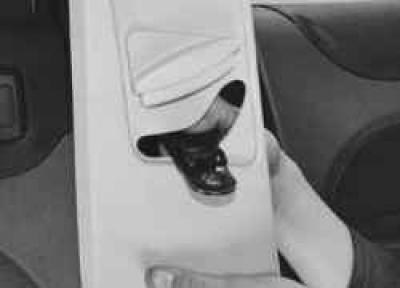
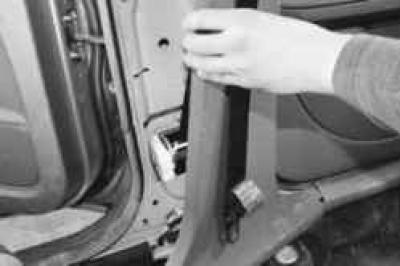
1. Using a screwdriver, remove the decorative plug from the upper part of the rear pillar trim, overcoming the elastic resistance of its clips.
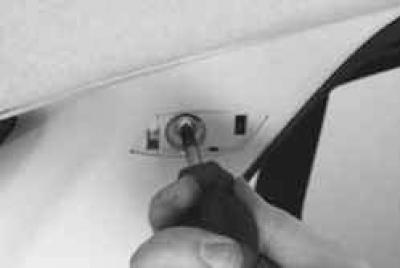
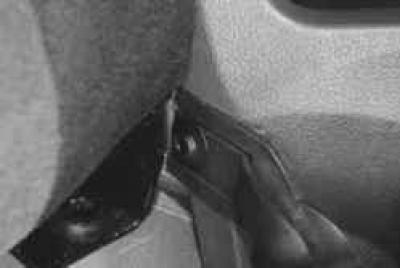
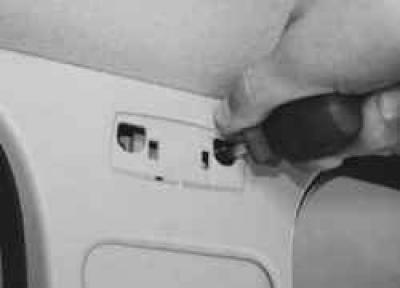
2. Remove the fastening screw…
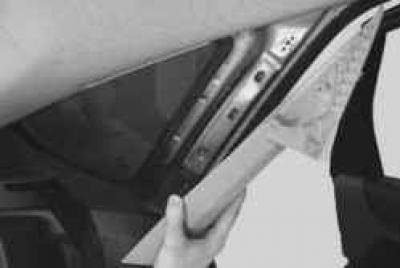
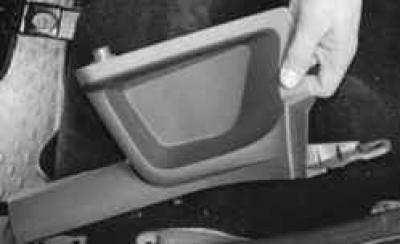
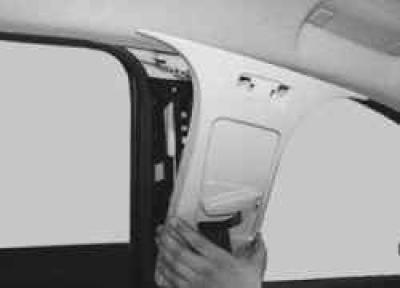
3. …and remove the upper part of the rear pillar trim, overcoming the elastic resistance of its holders.
4. Before removing the lower part of the rear pillar trim, remove the upper part of the rear pillar trim (see above items 1–3) and the middle side trim (see "Removing and installing trunk trim").
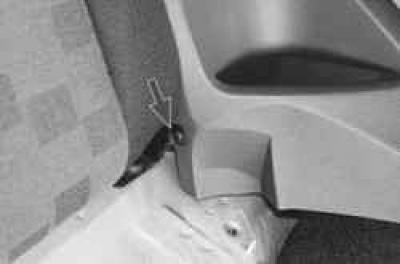
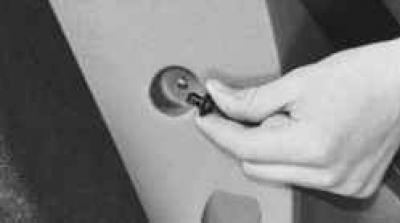
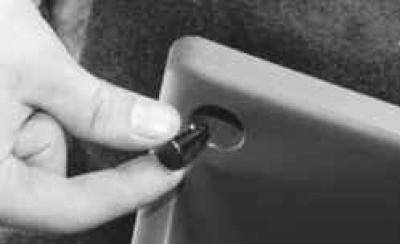
5. Fold the rear seat cushion forward and remove the lower clip securing the lower part of the rear pillar trim.
NOTE: The pistons are most easily removed using a special puller.
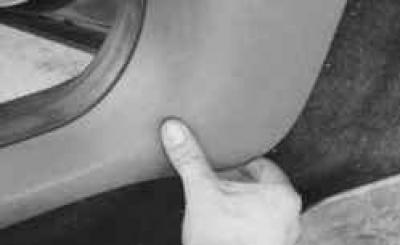
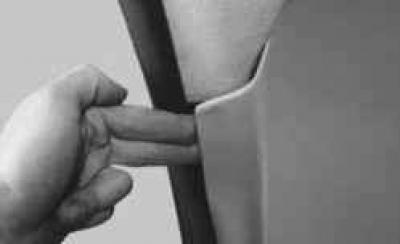
6. Fold the rear seat back forward and move the rear edge of the lower part of the rear pillar trim so that the upper pin of its fastening comes out of the hole in the body.
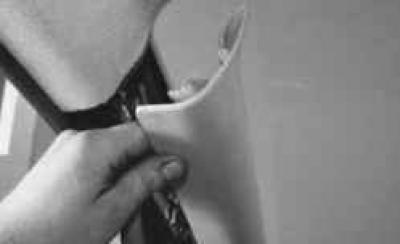
7. Remove the piston…
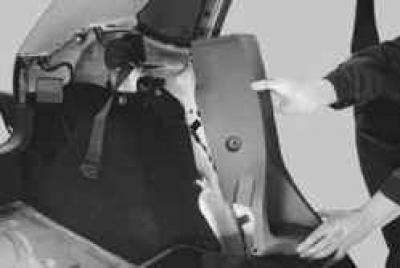
8. …and remove the lower part of the rear pillar trim.
9. Remove the rear sill trim mounting pin.
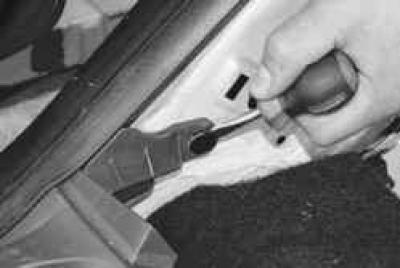
NOTE: If you do not have a special puller, the pistons can be removed by carefully prying them up with a screwdriver.
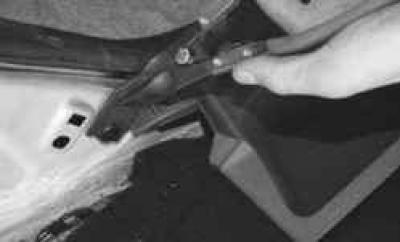
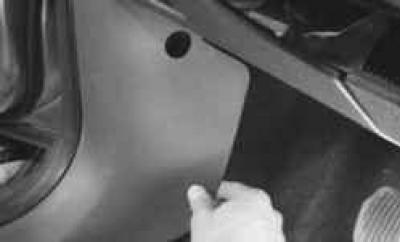
10. Fold the rear seat cushion forward and use a screwdriver to push the upper part of the rear sill trim to the side so that the mounting pin comes out of the hole in the body.
11. Remove the piston…
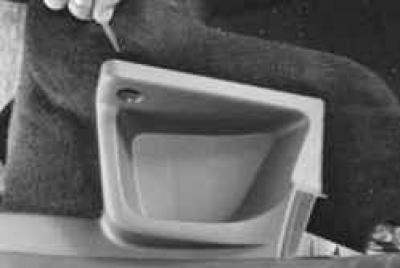
12. …and remove the rear threshold trim.
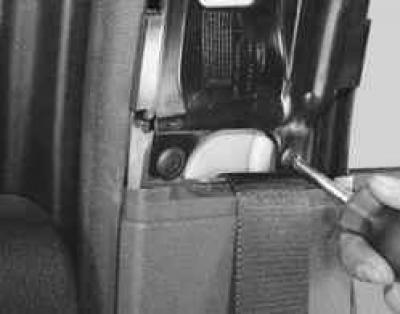
13. Using a screwdriver, remove the decorative plug from the upper part of the center pillar trim, overcoming the elastic resistance of its clips.
14. Remove the two mounting screws…
15. …and detach the upper part of the cladding from the rack, overcoming the elastic resistance of its holders.
16. Remove the lower seat belt mounting bolt (see "Replacing the front seat belt").
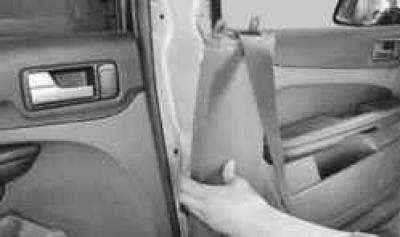
17. Remove the upper part of the center pillar trim by passing the lower seat belt anchor buckle through the opening in the trim.
18. Remove the two screws securing the lower part of the center pillar trim…
19. …detach the lower part from the rack, overcoming the elastic resistance of the spring clamps…
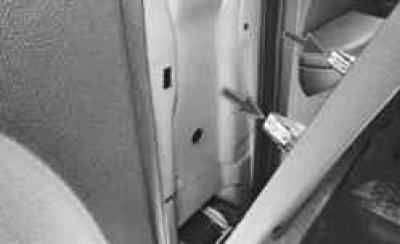
NOTE: The lower portion of the B-pillar trim is secured to the pillar with two spring clips. If the clips remain in the pillar holes, remove them and install them on the lower portion of the trim. Replace any clips that are warped or broken.
20. …and remove the lower part of the center pillar trim.
21. Pull the bottom…
22. …and the front edge of the front threshold trim…
NOTE: The front sill trim is manufactured as one piece with the front quarter panel trim.
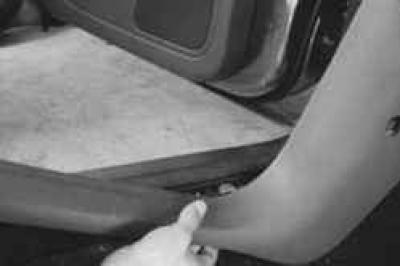
23. …and remove the trim, overcoming the elastic resistance of its fasteners.
24. Pry up the top edge of the front pillar trim…
25. …overcoming elastic resistance, disconnect the upper… from the rack

26. …and the lower trim holders and remove the trim.
27. Install the parts in the reverse order of removal.