1. Open the tailgate.
2. Remove the upper ends of the cords for lifting the luggage compartment shelf from the door holders (left and right)…
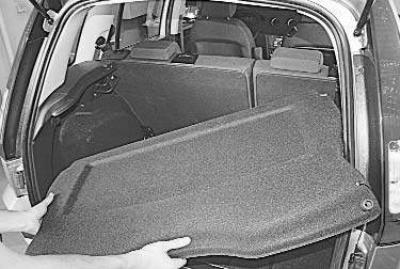
3. …and remove the shelf.
4. Fold back the rear seat, unscrew the two mounting screws..
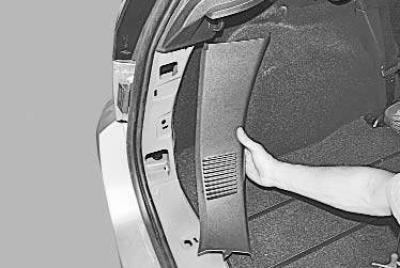
5. …and remove the middle side panel, overcoming the elastic resistance of its holders.
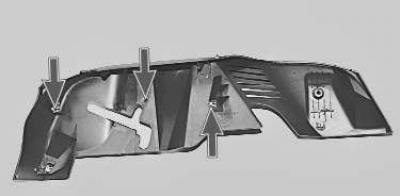
Note: This is how the holders are installed on the middle trim.
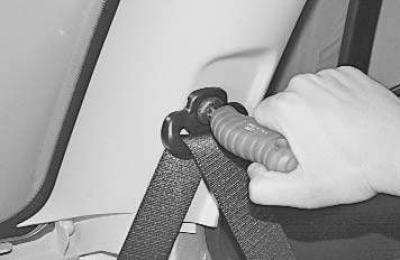
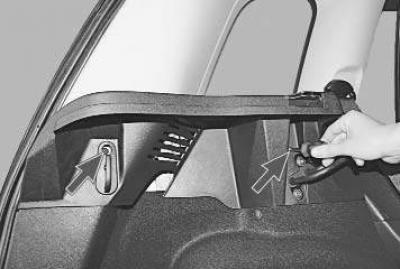
6. Before removing the upper side panel trim and rear pillar, remove the upper seat belt mounting screw.
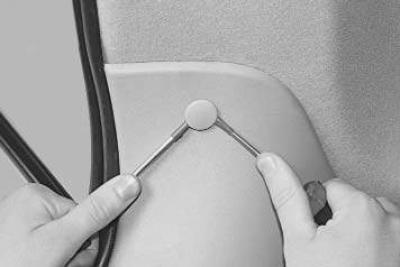
7. Pry up the piston with two thin-bladed screwdrivers…
8. …and remove the piston.

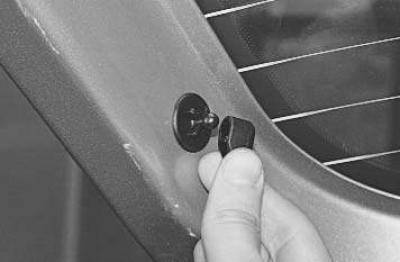
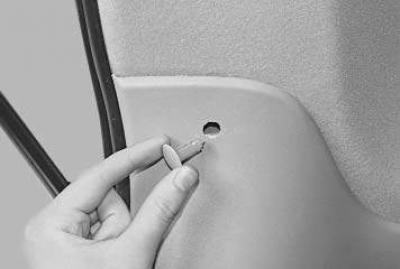
9. Use a screwdriver to pry up and remove the decorative plug…
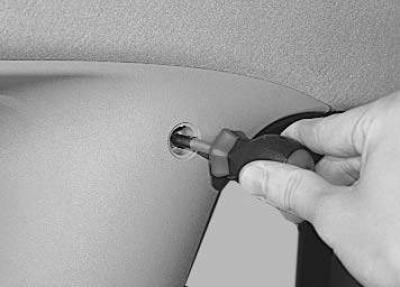
10. …unscrew the screw…
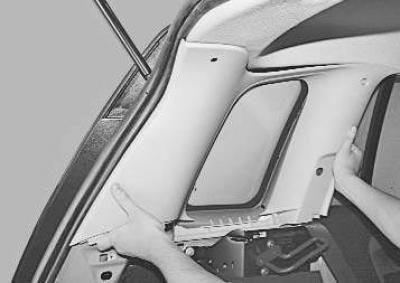
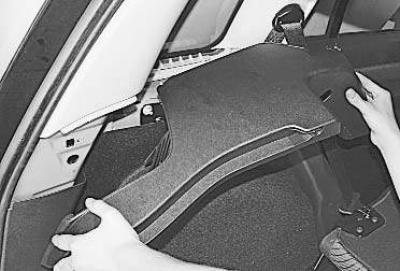
11. …and, overcoming the elastic resistance of the holders, remove the lining.
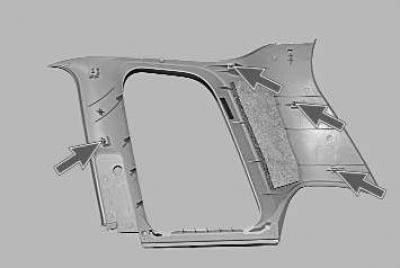
Note: This is how the holders are installed on the side panel trim and rear pillar.
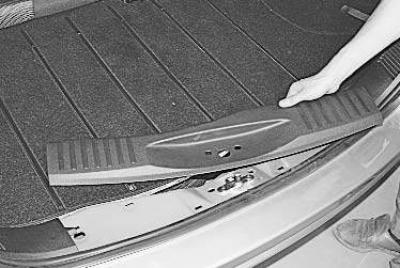
12. Having overcome the elastic resistance of the holders, remove the rear panel trim.
13. Remove the corner trim, overcoming the elastic resistance of its holders.
14. Install the removed parts in the reverse order of removal.
[The original article is available on the website: FORDBOOK.RU]