2. Raise the front of the vehicle and support it securely on jack stands. Remove the right front wheel and the plastic inner wing liner (chapter 11).
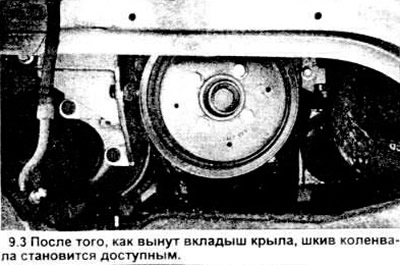
3. Mark the vibration damper and pulley, as the pulley must be installed in the same position. Unscrew the 4 bolts securing the lower pulley to the vibration damper (see figure) and remove the pulley.
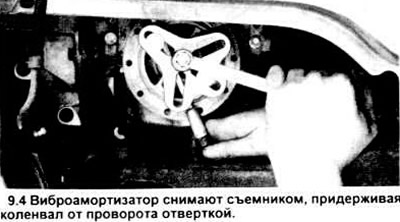
4. Remove the vibration damper using a puller (Ford T58P - 6316 - D and T82L - 6316 - B or similar).
Caution: Do not use a toothed puller as it will damage the shock absorber. Use a puller with bolts that screw into the hub (see picture).
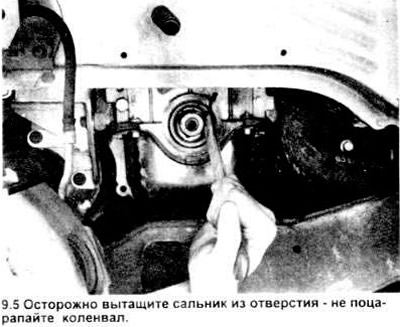
5. Carefully remove the used seal using a screwdriver or a special puller (see figure).
6. Clean the seal grooves and crankshaft surfaces and inspect them for scratches, burrs and other surface damage that could affect the quality of the new seal. Correct if necessary.
7. Lubricate the inner edge of the new oil seal with moth-based grease and the outer edge with engine oil, and install it using a special tool (such as Ford T82L - 6316 - A T70P - 6B070 - A or similar).
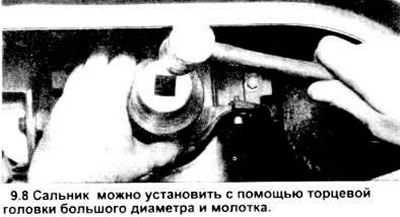
8. If it is not possible to use a special tool, carefully install the seal using a socket head and a hammer (see figure).
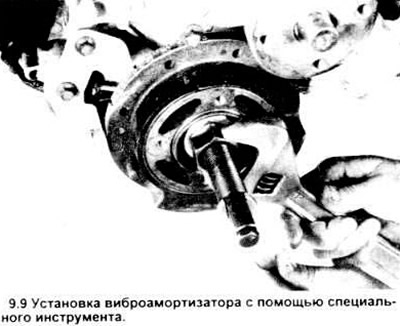
9. Apply RTV sealant to the shock absorber keyway and install the shock absorber onto the crankshaft.
Make sure that the keyway is installed coaxially with the crankshaft key. Install the shock absorber using a special tool (Ford T82L - 6316 - A or similar) (see figure). If you do not have one, then start installing the shock absorber with a soft-faced hammer and finish using the shock absorber lock bolt. Tighten the bolt to the required tightening torque.
10. Install the remaining parts in the reverse order of disassembly.