2. Remove the spark plugs (chapter 1).
Front manifold
3. Remove the bolts from the dipstick tube bracket.
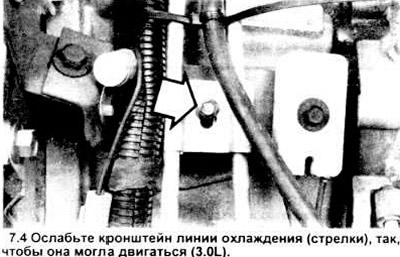
4. On 3.0L engines, disconnect the power steering hoses from the pump (Chapter 10) and remove the coolant line support bracket (see illustration).
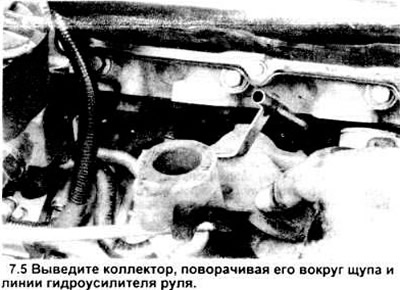
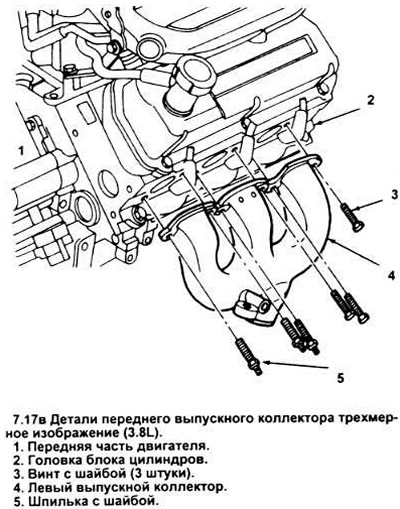
5. Disconnect and remove the exhaust manifold from the vehicle (see figure).
Rear manifold
6. Disconnect the EGR pipe from the manifold (chapter 6).
7. On 3.0L engines, drain the cooling system (chapter 1), remove the bracket supporting the heater tube and disconnect the heater hoses.
For 3.8L engines only
8. Remove the air cleaner assembly and heater tube (chapter 4).
9. Disconnect the air intake hose from the check valve air tube below (chapter 4).
10. Remove the external heating casing from the exhaust manifold.
11. Remove the transmission dipstick tube.
12. Remove the lower air intake pipe. Use clamp cutters (like Ford T78P - 9481 - A or similar) to cut the pipe clamp from the lower part of the body.
All engines
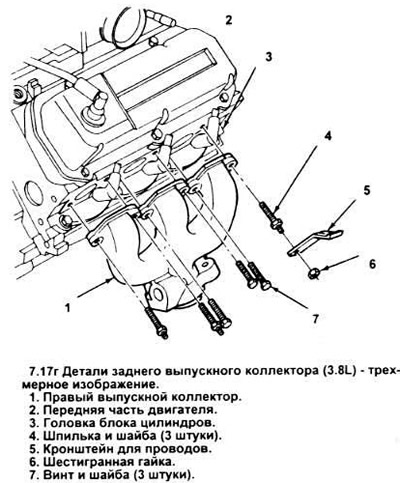
13. Disconnect and remove the exhaust manifold from the vehicle.
Installation
14. Thoroughly clean the gasket surfaces and inspect the manifold(s) for cracks and damage.
15. Lightly lubricate all bolts with oil before installation.
16. Reinstall the manifold onto the cylinder head. On 3.8L models, don't forget the gasket. Install the pivot bolt (on the left side, this is the lower front bolt of cylinder #5. On the right side, this is the lower rear bolt of cylinder #2).
Note: A slight tilt of the exhaust manifold may cause misalignment of the bolt holes in the head and manifold.
Install the manifold so that the axes of the holes coincide without touching the hinge bolt.
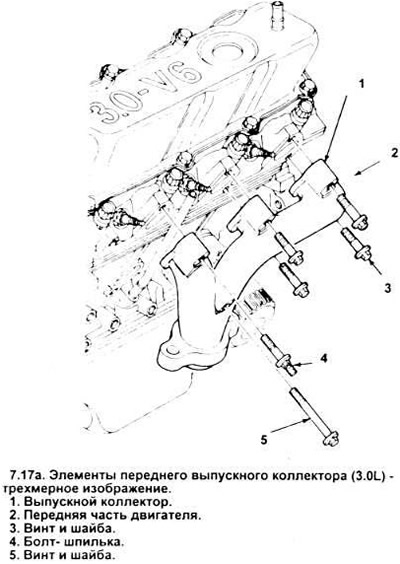
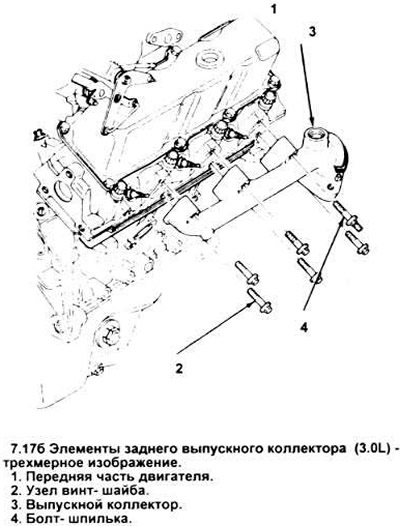
17. Install the remaining bolts and studs at the connection points (see figure) and tighten to the required torque value.
18. Install the remaining parts in the reverse order of disassembly.
The original text is provided on an online resource FordBook