Warning: Brake pads should be replaced on both rear wheels at the same time - never replace pads on one wheel. Also remember that brake dust contains asbestos. When replacing brake pads, use only high-quality products from recognized manufacturers.
1. Pump out approximately two-thirds of the fluid from the master cylinder reservoir.
2. Loosen the wheel nuts, lift the rear of the car, place it on stands. Block the front wheels and remove the rear ones.
3. According to the recommendations section 5 remove the brake drums from this chapter.
4. Carefully check the brake drums as highlighted in section 5 of this chapter. Also check for fluid leaks from the wheel cylinder as described in chapter 1.
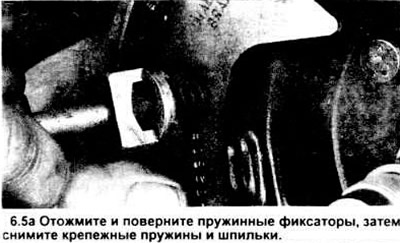
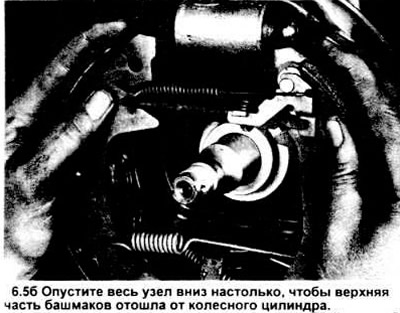
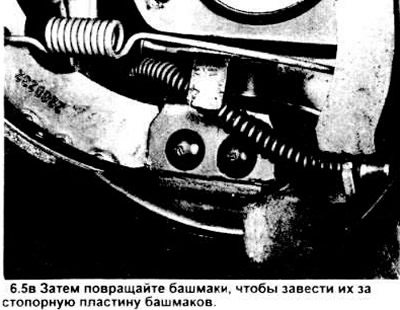
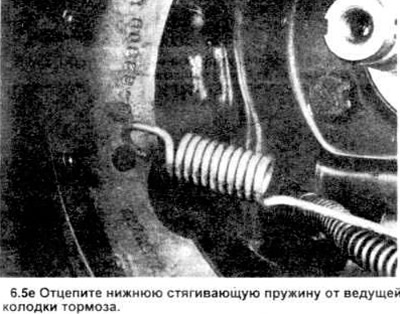
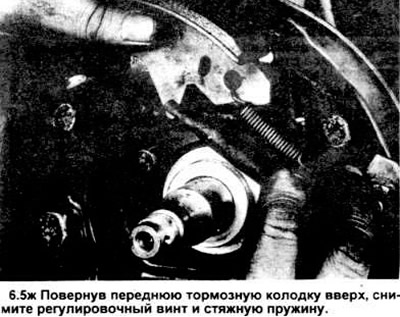
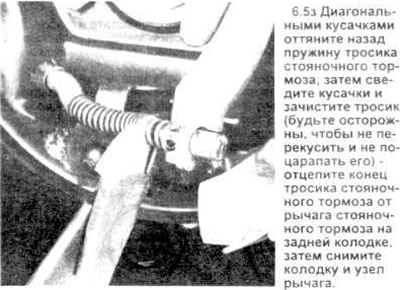
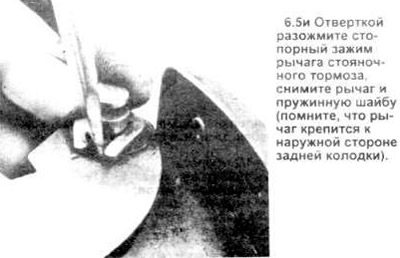
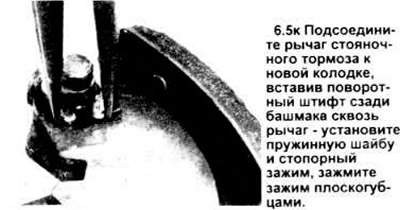
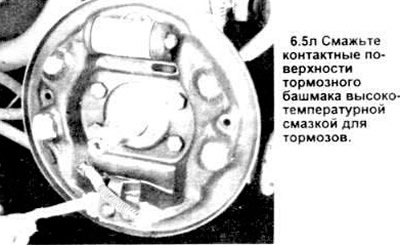
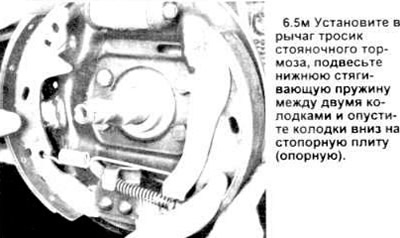
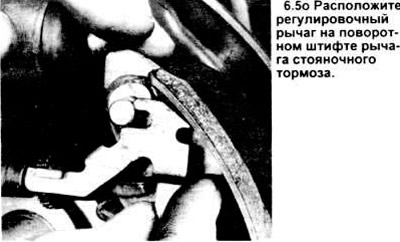
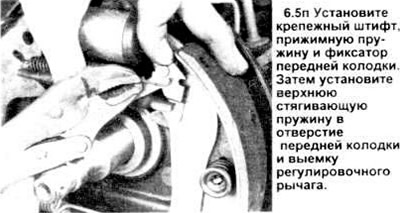
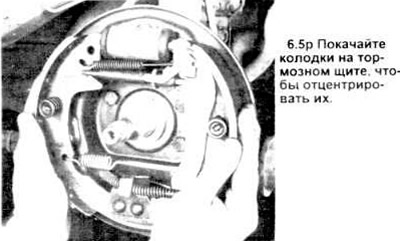
5. Before removing the internal parts of the brake drum, wash them with brake cleaner and let them dry. Step by step, follow the actions shown in the figures (6.5a - 6.5p) illustrating the procedure for replacing the pads.
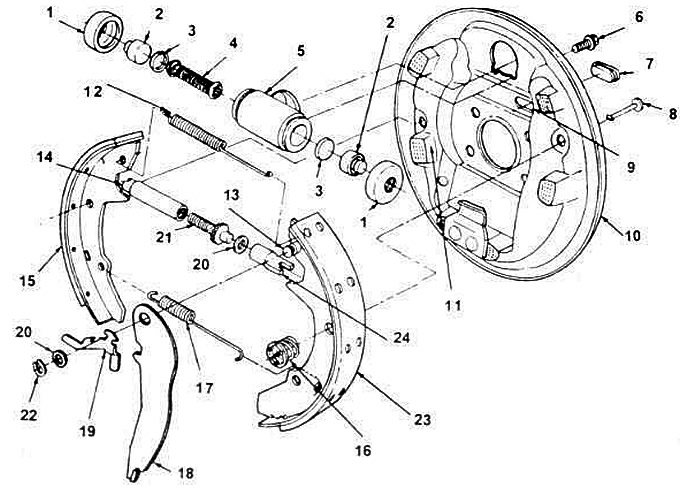
6.5, in. Rear drum brake components - left side shown.
1. Dust cover.
2. Piston and liner.
3. Cuff.
4. Pressure spring.
5. Wheel cylinder.
6. Wheel cylinder mounting screw.
7 Plug.
8. Mounting pin.
9. Additional hole for adjusting the pads.
10. Brake shield.
11. Brake shoe support.
12. Tension spring.
13. Parking brake lever stud.
14. Adjusting head.
15. Front shoe and lining.
16. Brake shoe pressure springs.
17. Lower tension spring.
18. Parking brake lever.
19. Adjusting lever.
20. Washer.
21. Adjusting screw.
22. Parking brake lever retaining clip.
23. Rear shoe and lining.
24. Rotary adjustment tip.

6. With the new shoes in place, install the hub/drum assembly as directed in section 5.
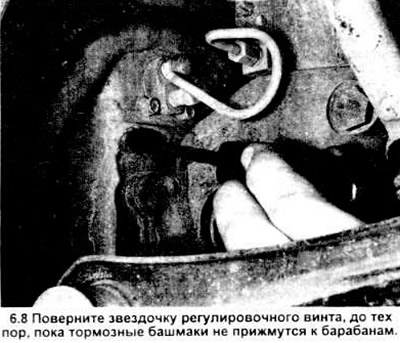
7. Remove the rubber plug from the brake shield.
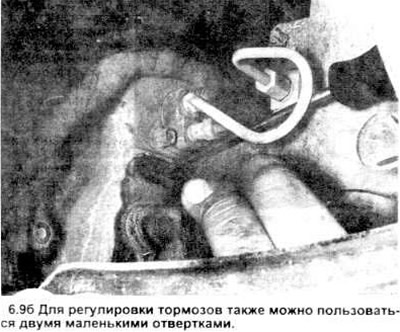
8. Using a narrow screwdriver or adjusting tool (for brakes) inserted through the adjusting hole, turn the sprocket until the brakes "grab" slightly as a result of turning the drum (see figure).
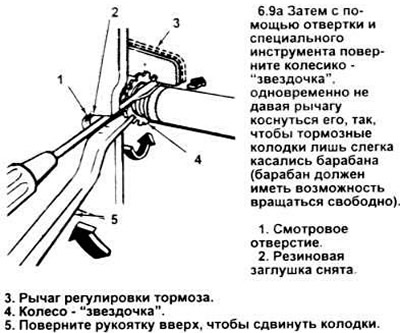
9. Turn the sprocket in the opposite direction until the brakes rotate freely. Keep the adjusting lever from contacting the sprocket, otherwise it will not rotate (see figure).
10. Repeat the adjustment on the opposite wheel.
11. Install plugs into the additional holes in the brake shield.
12. Install the wheels and lower the vehicle. Tighten the nuts to the required torque.
13. Adjust the parking brake as described in section 12 this chapter.
14. Fill the master brake cylinder to the top with fluid, pump the pedal several times. Lower the car and check the operation of the brakes.
(The text of the article was copied from the website FORDBOOK.RU)