Warning: brake dust contains asbestos, which is extremely harmful to health. Do not blow with compressed air or inhale.
Withdrawal
1. Unscrew the cap of the brake fluid reservoir, pump out 2/3 of its volume.
2. Loosen the wheel nuts, raise the front of the car. install on racks. Remove the front wheels.
3. Using a large clamp, slide the piston back into the caliper bore (see figure 2.4a).
4. Unscrew the bolt of the inlet tip of the brake hose (see picture). Place a plastic container under the end of the hose more tightly so as not to spill.
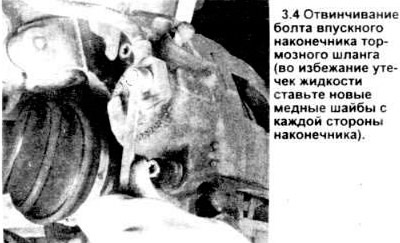
5. Unscrew the two mounting bolts, remove the caliper from the car (if necessary see section 2).
Bulkhead
6. Remove the brake pads from the caliper according to section 2.
7. Clean the outside of the caliper with special cleaner or denatured alcohol.
Warning: Never use gasoline, kerosene or gasoline-based cleaners for this purpose. Place the caliper on a clean table.
8. Place a piece of wood or a rag into the caliper as a gasket, then remove the piston from the caliper using compressed air (see picture). The air pressure should be such that it only loosens the compression of the piston by the walls of the caliper hole to drain the liquid, then remove and discard all rubber parts (see picture).
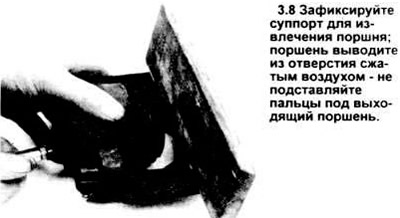
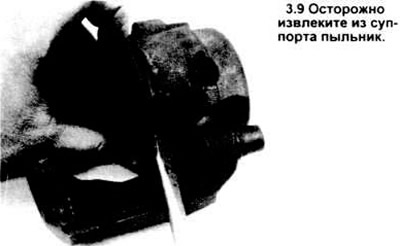
9. Carefully remove the boot from the caliper hole (see picture).
10. Using a wooden or plastic tool, remove the piston seals from the groove in the caliper bore (see picture). A metal tool can damage the surface of the hole.
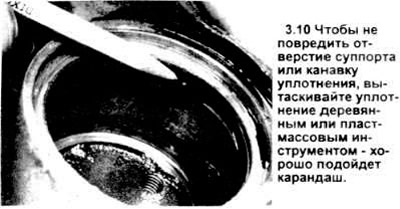
11. Unscrew the caliper bleeder to drain the fluid, then remove and discard all rubber parts (see picture).
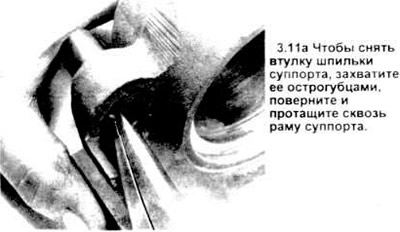
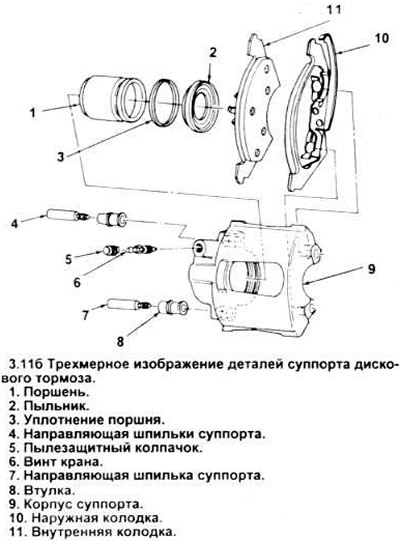
12. Clean remaining parts with brake cleaner or denatured alcohol, then dry with compressed air.
13. Carefully inspect the piston - there may be dents, burrs, loss of plating. If there are such defects, replace it.
14. In the same way, check the caliper bore. To remove minor stains of corrosion and paint, it is permissible to lightly polish the part with a cloth with iron oxide powder. If the mounting bolts are damaged or corroded, replace them.
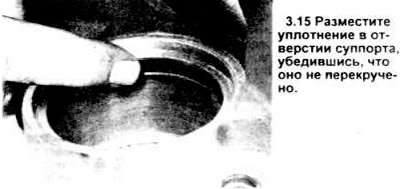
15. When assembling, lubricate the piston bores and gaskets with clean brake fluid. Install the seal in the groove of the caliper bore (see picture).
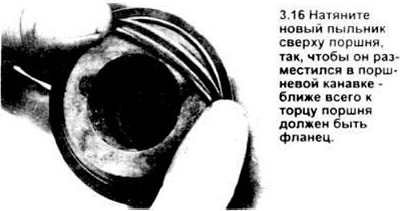
16. Lubricate the piston with clean brake fluid, then install a new boot with the flange up in the piston groove (see picture).
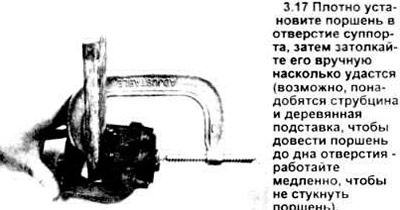
17. Install the piston exactly in the hole in the caliper, then, using force, lower the piston to the bottom of the hole (see picture).
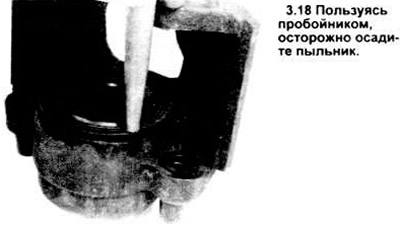
18. Install the boot into the expanded holes of the caliper, then put it in the desired position using a punch (see picture). Make sure the shoe "sat down" tightly.
19. Install the bleed valve.
20. Install new insulators into the lugs and fill the space between the insulators with silicone grease. Insert the studs into the insulators to determine the location of the caliper.
Installation
21. Check if the fixing bolts are rusty.
22. Place the caliper in position over the brake disc, screw in the caliper studs by hand, then tighten them to the required torque.
23. Install the brake hose and inner tip bolt, new copper washers, then tighten the bolt to the correct torque. Bleed the brakes (section 11).
24. Put the wheels, lower the car.
25. At the end of work, depress the brake pedal several times with force so that the pads come into contact with the disc.
Visitor comments