Contents: Examination ↳ Removal and installation ↳
Examination
1. Loosen the wheel nuts, lift the car, and support it securely on jack stands. Remove the wheel and re-tighten the two nuts to hold the rim in place.
2. To separate the caliper and the steering knuckle, look at the first few paragraphs in section 2. Because this is part of the brake pad replacement procedure.
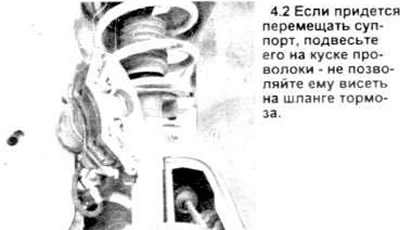
Warning: Do not allow the caliper to hang by the brake hose or disconnect the hose from the caliper (see illustration).
3. Visually inspect the disc surface for nicks and other damage. Small scratches and narrow grooves are normal for a used disc and are not a reason to replace the disc. Deep scratches - more than 0.38 mm (0.015 in) - require the disc to be removed and treated. Check both sides of the disc.
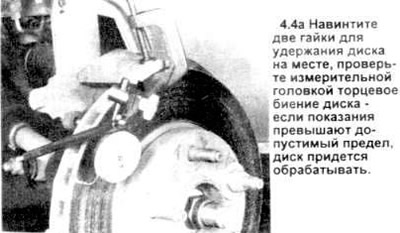
4. To check the axial runout of the disc, attach the indicator (measuring head) to the steering knuckle and set the foot at a distance of 12.7 mm (1/2 inch) from the edge of the disc (see the figure). Set the indicator scale to zero and turn the disc. The indicator reading should not exceed 0.076 mm (0.003 inch). If more, the surface should be treated.
Note: It is recommended to treat the brake discs regardless of the indicator reading (to obtain a smooth, flat surface that will prevent brake pedal pulsation and other undesirable symptoms).
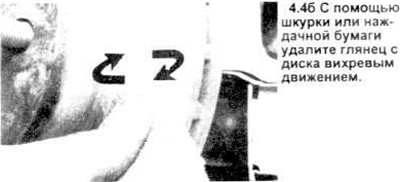
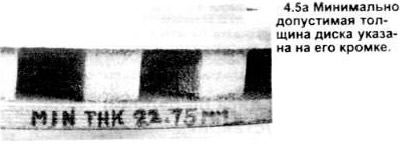
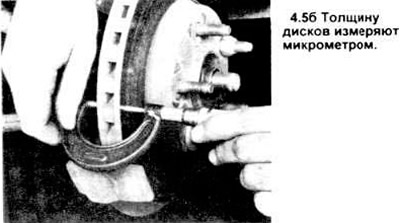
5. When processing a disk, it is necessary to ensure that its thickness does not become less than the maximum permissible value, the value of which is stamped on the edge of the disk itself (see figure). The thickness of the disk can be checked with a micrometer (see figure).
Removal and installation
6. Unscrew the two nuts holding the disc in place and remove it from the hub.
7. Installation is carried out in reverse order.
The original article is posted at: www.fordbook.ru