Note: To prevent uneven braking, both front brake discs should be replaced or reground at the same time.
Inspection
1. Apply the parking brake. Loosen the front wheel nuts, lift the front end and place it on supports. Remove the corresponding front wheel.
2. Remove the front brake caliper and support bracket (paragraph 3). without disconnecting the hoses. Prop the caliper up on a stand or tie it away from the brake with a piece of wire so as not to stretch the hose.
3. Temporarily install two wheel nuts located on the same diameter opposite each other so that their flat ends rest on the disk. Tighten the nuts sequentially to securely fix the disk.
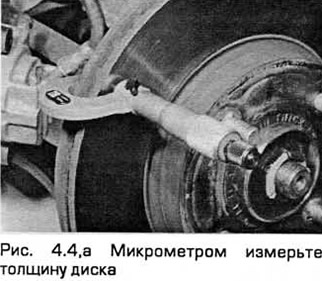
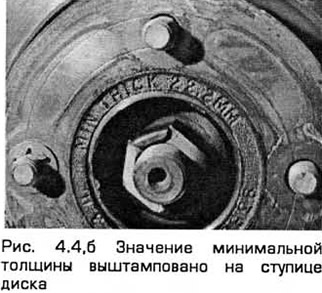
4. Scrape the disc to remove all traces of corrosion. Turn the disc and check for deep scratches, grooves or cracks. Use a micrometer to measure the thickness of the disc in several places. The minimum thickness value is stamped on the disc hub (see Fig. 4.4, a, b). Minor wear and light scratches are acceptable. If excessive wear occurs, the disc must be removed and replaced or reground, observing the minimum thickness requirements. If the disc is cracked, it must naturally be replaced.
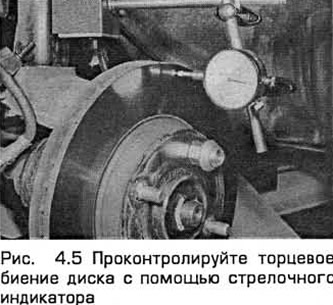
5. Using a dial indicator or a metal bar and feeler gauges, check the end runout of the disk at a distance of 10 mm from its outer edge (see Fig. 4.5). Compare the measurement result with the Technical Requirements. The difference between the minimum and maximum readings when the disk rotates is its end runout.
6. If the runout is higher than the specified value, check the disk for thickness variation as follows. Apply 8 marks on it at 45° intervals and measure the disk thickness with a micrometer in these places, stepping back from the edge by 15 mm. If the difference between the minimum and maximum readings exceeds the specified value, the disk must be replaced.
7. The hub end runout can be checked in the same way. To do this, remove the disc (see below), install a measuring device, and then slowly rotate the hub to check the runout. If the hub runout exceeds the specified value (see Technical Requirements), it can be reduced by replacing the hub bearing (Chapter 10), and then repeat the disc end runout check.
Removal
8. Considering that the wheel and caliper have been removed, unscrew the wheel mounting nuts that were temporarily installed (see item 3).
9. Mark the disc and hub for proper alignment if you reinstall the disc.
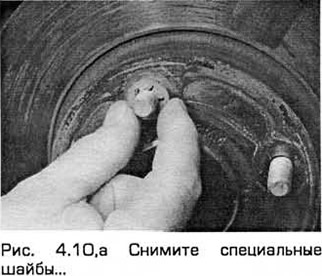
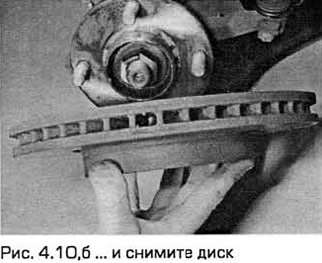
10. Remove two special washers (if available), and then remove the disc from the wheel studs (see Fig. 4.10, a, b).
Installation
11. Make sure that the mating surfaces of the disc and hub are clean. Then install the disc on the wheel studs using the marks made during removal.
12. Install two special washers (if available).
13. Install the brake caliper and support bracket (paragraph 3).
14. Install the wheel and lower the vehicle to the ground.
15. Before resuming driving, carefully check the brakes.
[The original article is posted at: fordbook]