Withdrawal
1. Move the driver's seat all the way back to free up work space.
2. Remove the ashtray. Then unscrew the screws and remove the lower part of the cladding from the front panel.
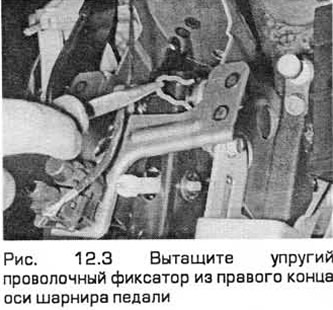
3. Pull out the elastic wire retainer from the right end of the pedal pivot shaft and remove the washer (see fig. 12.3).
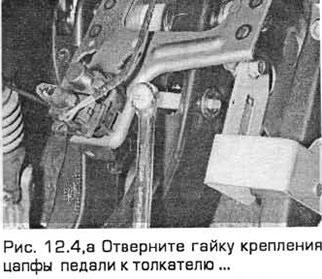
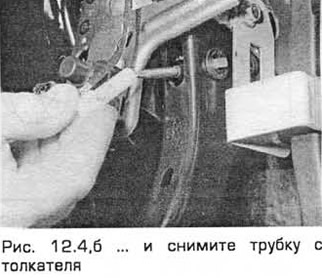
4. Turn away a nut of fastening of a pin of a pedal to a pusher. This nut is installed near the top of the pedal (see fig. 12.4, a, b).
5. Press the pedal axle out of the support bracket to the left until the pedal can be removed. On non-automatic models, the blue nylon spacer ring must remain (located between the clutch and brake pedals) on axle (see fig. 12.5, a, b). On models with automatic transmission, the axle can be pulled out completely.
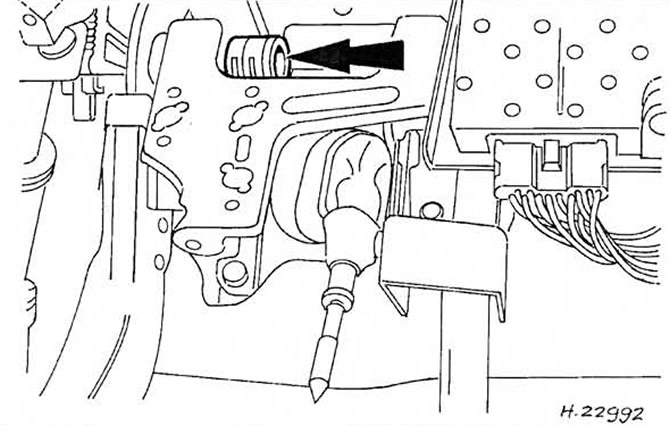 Pic. 12.5, a. Leave the nylon spacer (shown by arrow) on the axis - left-hand drive model is shown, for right-hand drive models it is the same.
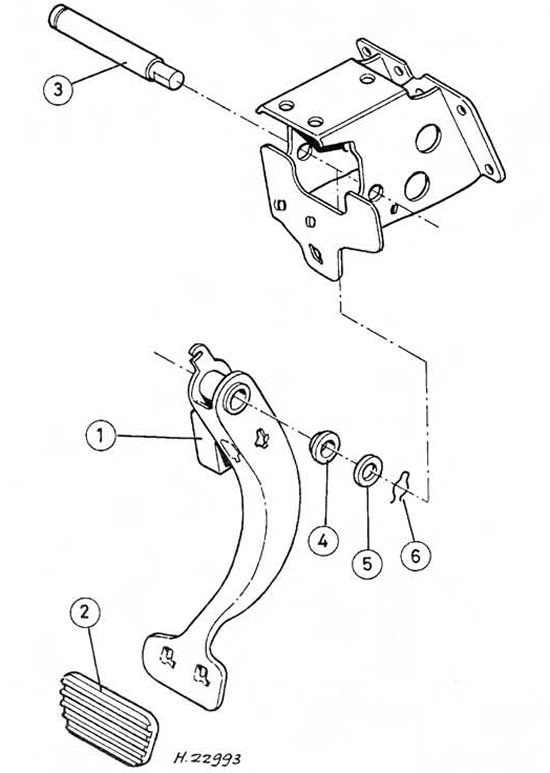 Pic. 12.5.6. Brake Pedal Components - Automatic Transmission Models.
1. Pedal
2. Rubber pad
3. Axis of hinge
4. Sleeve
5. Gasket
6. Elastic retainer
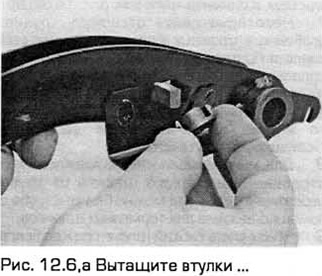
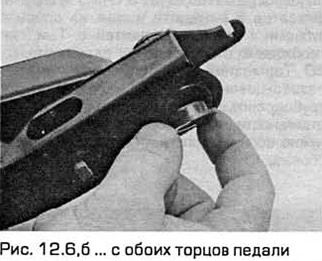
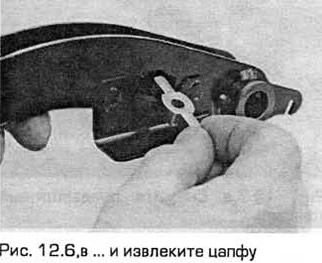
6. After removing the pedal, pull out the bushings from its ends. If necessary, remove the pusher pin and rubber pad. Replace components if necessary (see fig. 12.6, a-c).
Installation
7. Apply some grease to the axle, pedal bushings, and trunnion before installing the pedal.
8. Installation - in the reverse order of removal. Make sure the bushings are properly installed and that the pedal shaft section is on the right side of the pedal bracket. Be sure to install the wire retainer correctly.
Visitor comments