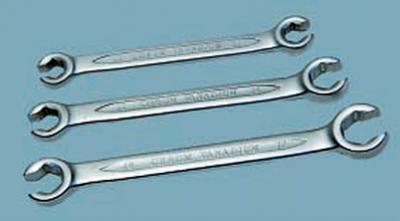
NOTE: Brake pipe fastening nuts are usually very tightly tightened; when you try to unscrew them with an ordinary wrench, the edges of the nuts are crushed. Therefore, we recommend using special wrenches for brake pipes.
1. Disconnect a wire from the minus plug of the storage battery.
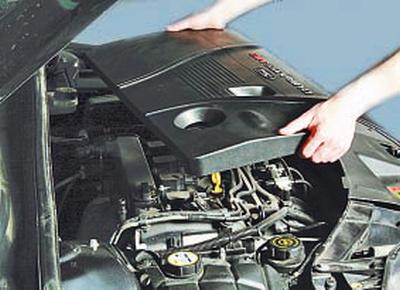
2. Remove the decorative engine cover (see Removal and installation of a decorative casing of the engine).
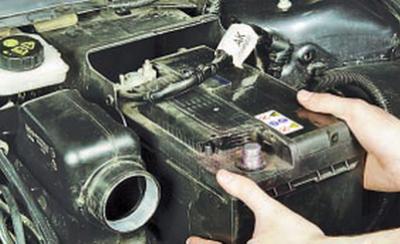
3. Remove the battery (see Removing and installing the battery) …
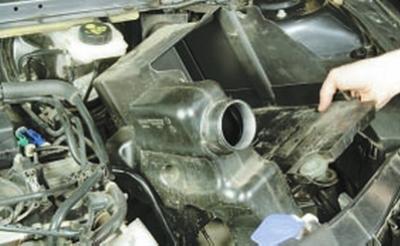
4.... and a shelf for its fastening along with an intake silencer (refer to Removing and Installing the Battery Shelf).
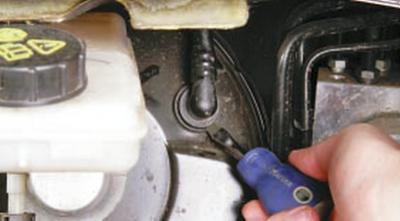
5. Pry off the vacuum hose check valve with a screwdriver..
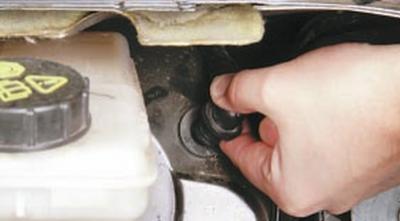
6.... and remove it from the hole in the sealing sleeve of the vacuum brake booster.
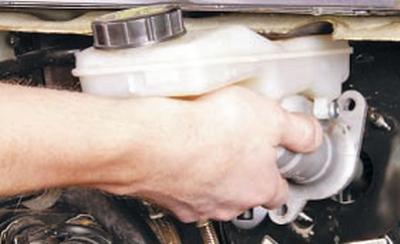
7. Disconnect the main brake cylinder from the vacuum brake booster by unscrewing the two nuts securing it to the booster (refer to Brake Master Cylinder Replacement), and move it aside without disconnecting the lines and wiring harness of the brake fluid level sensor.
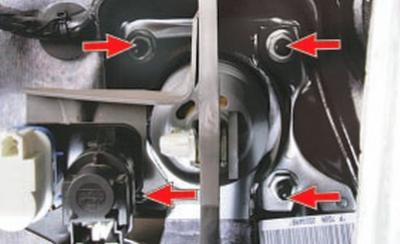
8. In the passenger compartment under the instrument panel, unscrew the four nuts securing the vacuum brake booster to the bulkhead shield.
NOTE: For clarity, operation is shown with the instrument panel and steering column bracket removed.
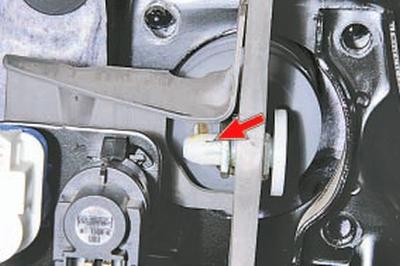
9. Squeeze with pliers two clamps of the finger of the pusher fork of the vacuum brake booster..
NOTE: Only one retainer is visible in the photo. The second latch is located on the opposite side of the finger.
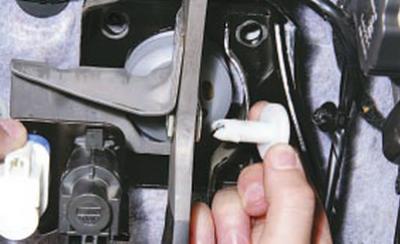
10….and remove the pin from the fork and pedal holes.
11. Remove the vacuum brake booster into the engine compartment, removing its studs from the holes in the bulkhead shield.
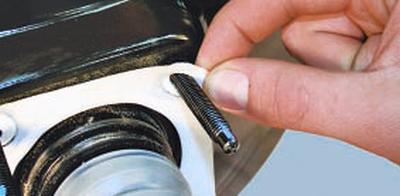
12. In case of replacement of the vacuum booster, remove the sealing gasket from the studs of its fastening and install it on the new booster.
NOTE: Replace a heavily compressed or torn gasket.
13. Install the brake booster and all removed parts in the reverse order of removal, fill in brake fluid and bleed air from the system (see Bleeding the hydraulic brake system).
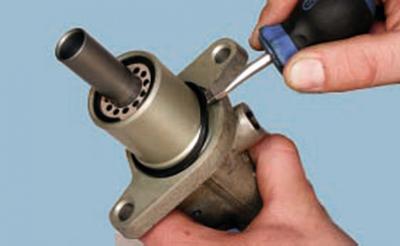
NOTE: Be sure to replace the sealing rubber ring of the brake master cylinder flange with a new one.
Visitor comments