1. Disconnect the wire from the negative terminal of the battery.
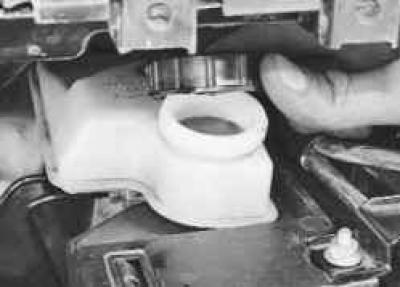
2. Remove the tank cap…
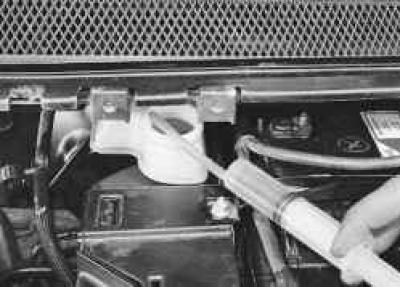
3. …and pump out the brake fluid from the reservoir, for example, using a large medical syringe.
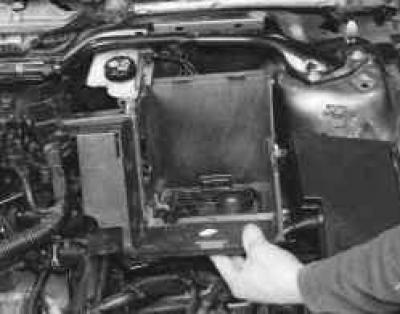
4. Remove the battery mounting shelf (see "Removing and installing the battery mounting shelf").
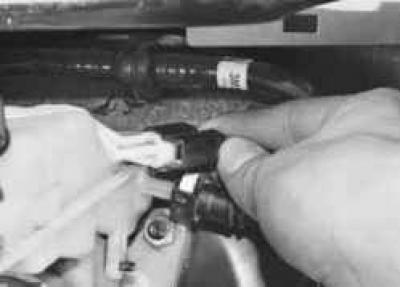
5. Press the brake fluid level sensor wiring harness connector lock…
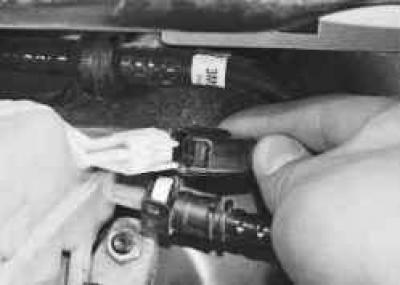
6. …and disconnect the connector from the sensor.
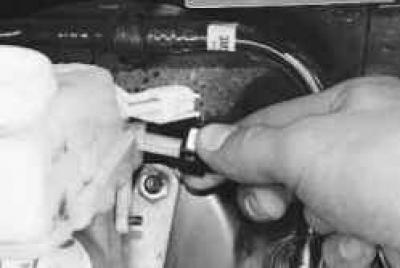
7. Squeeze the clamps of the hose tip to the clutch master cylinder…
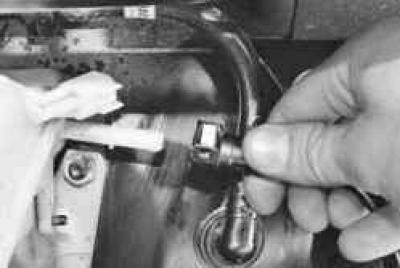
8. …and disconnect the hose from the master cylinder reservoir.
USEFUL TIP: Immediately after disconnecting the hose from the reservoir, plug its opening without lowering the hose down. There will be some working fluid left in the hose; after installing the reservoir and connecting the hose to it, there is no need to bleed air from the clutch release hydraulic drive.
HELPFUL TIP: Install a cap on the tank to prevent dirt from getting into it.
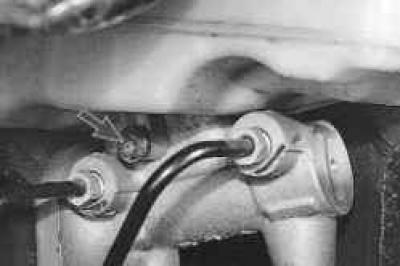
9. Remove the screw securing the reservoir to the master brake cylinder.
10. Remove the tank by extracting its pipes from the connecting bushings.
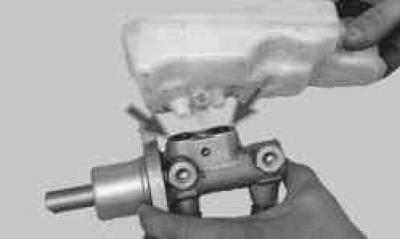
11. If during operation a leak of brake fluid was observed through the connecting bushings, remove the bushings from the holes in the cylinder body.
NOTE: Shown with master cylinder removed for clarity.
WARNING: Do not reuse coupling bushings, replace with new ones.
12. Before installing the reservoir, insert the connecting sleeves into the holes of the master brake cylinder. Then install the reservoir by inserting its pipes into the connecting sleeves with hand force until they stop, and secure with a screw (see item 9).
HELPFUL TIP: To make it easier to install the connecting sleeves into the cylinder and the reservoir pipes into the sleeves, wet them with fresh brake fluid.
13. Fill the brake fluid and remove air from the hydraulic drive (see "Bleeding the hydraulic brake system").