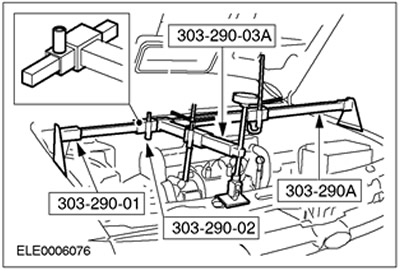
Special tool
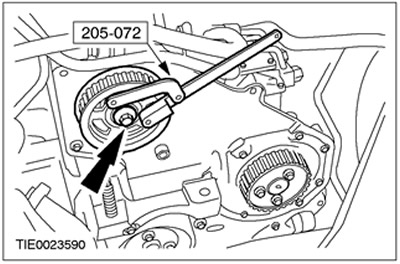
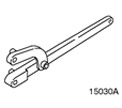 | Universal wrench for holding flanges 205-072 (15-030A) |
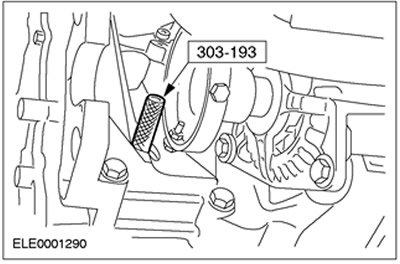
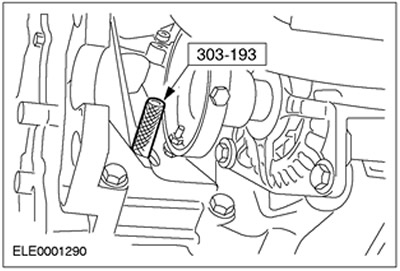
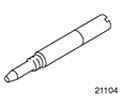 | Pin for setting the top dead center of the crankshaft 303-193 (21-104) |
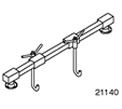 | Engine support beam 303-290A (21-140A) |
 | Adapter for 303-290A (21-140) 303-290-01 (21-140-01) |
 | Adapter for 303-290A (21-140) 303-290-02 (21-140-02) |
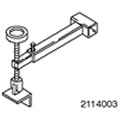 | Adapter for 303-290A (21-140) 303-290-03A (21-140-03A) |
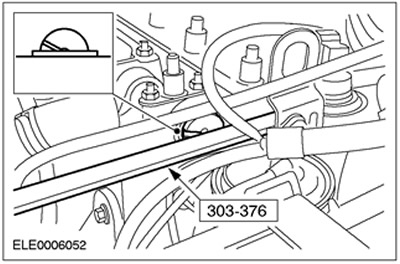
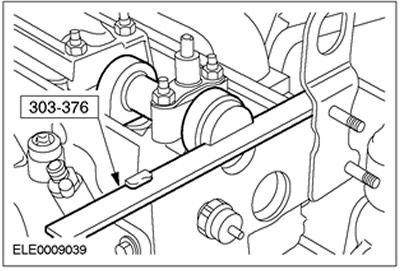
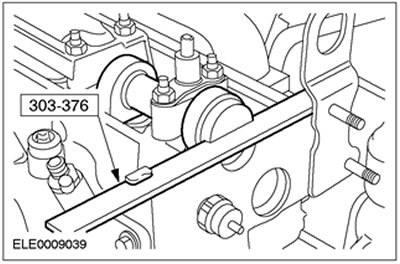
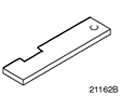 | Camshaft alignment plate 303-376 (21-162V) |
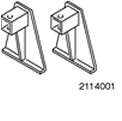
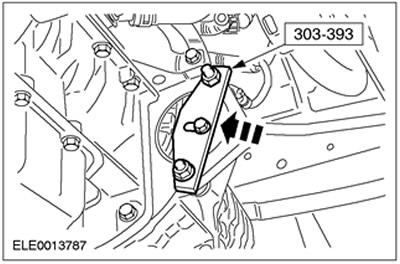
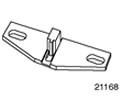 | Flywheel locking tool 303-393 (21-168) |
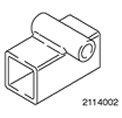
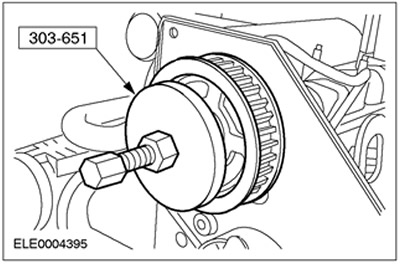
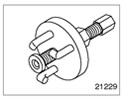 | Camshaft sprocket puller 303-651 (21-229) |
| Name | Specification |
| Coolant | ESDM-97B49-A |
| Engine oil | WSS-M2C912-A1 |
Withdrawal
All cars
1.
CAUTION: Never install a used timing belt.
CAUTION: Install the timing belt only after the engine has cooled down to outside temperature.
Disconnect the ground wire from the battery. See Section 414-01 for more information.
2. Remove the cylinder head cover. For more information, refer to the Cylinder Head Cover chapter available in this section.
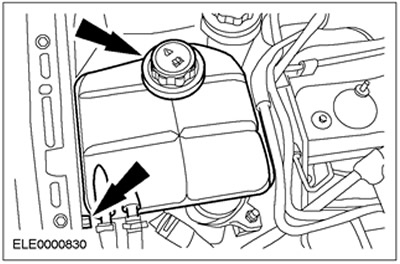
3. Disconnect the expansion tank of the cooling system and place it aside.
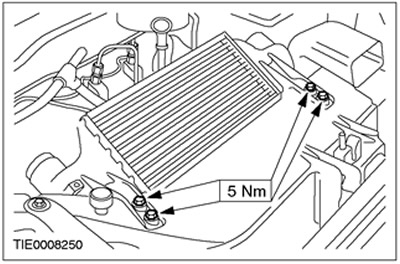
4. Remove the charge air cooler cover.
5. Disconnect the plug connector of the air intake temperature sensor (IAT).
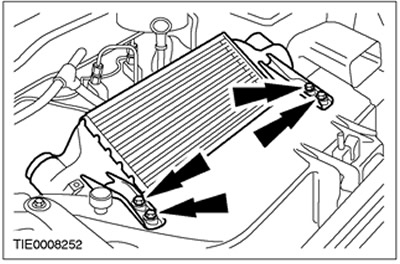
6. Remove the charge air cooler.
7. Disconnect an arm of fastening of the pipeline of the amplifier of a steering from a head of cylinders.

8. Using the groove in the camshaft as a guide, rotate the crankshaft to the five degree position before top dead center (w.m.t.).
9. Remove accessory drive belt Refer to Section 303-05 for more information.
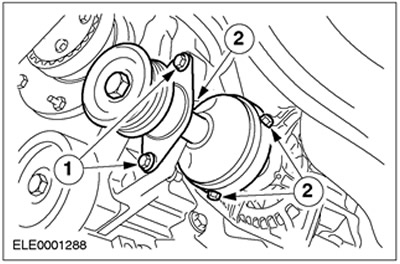
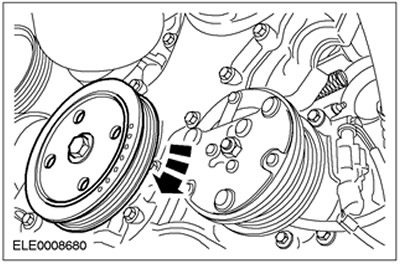
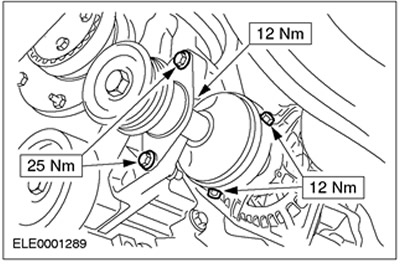
10. Remove the alternator clutch.
- 1. Bolts of fastening of the intermediate bearing of a semiaxis.
- 2. Bolts for fastening the vibration damper.
11. Disconnect the starter and place it aside.
12. Install the special tool. Remove the plug from the cylinder block and install the special tool.

13.
NOTE: Turn the crankshaft in the normal direction of rotation.
Rotate the crankshaft to top dead center. Slowly turn the crankshaft until it stops.
14.
CAUTION: Do not rotate the crankshaft while installing the special tool.
CAUTION: Make sure the crankshaft is at top dead center before locking the special tool (w.m.t.).
CAUTION: Be sure to install the special tool correctly.
Lock the crankshaft using the special tool.

15. Lower the car.
16. Install special tools.
Vehicles manufactured up to 04.2001
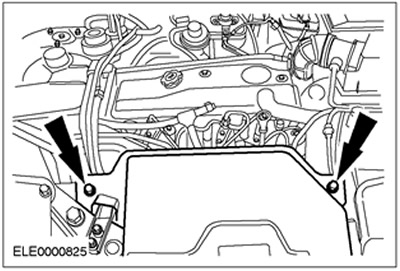
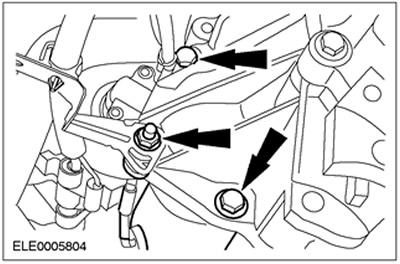
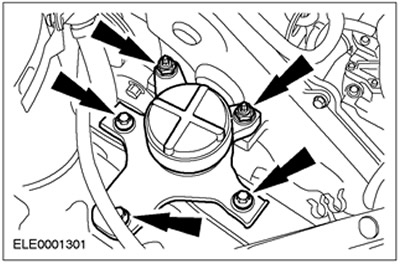
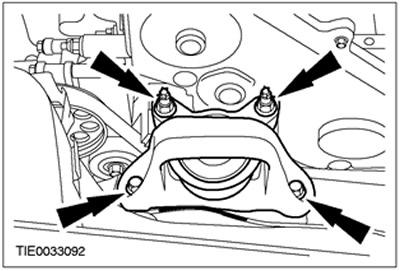
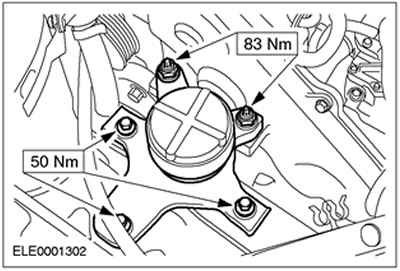
17. Remove the front engine mount.
Vehicles manufactured since 04.2001
18. Remove the front engine mount.
All cars
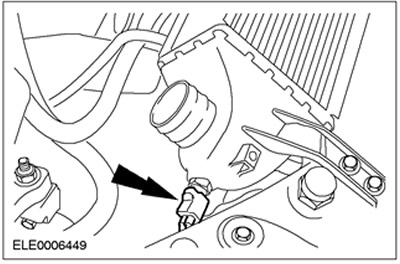
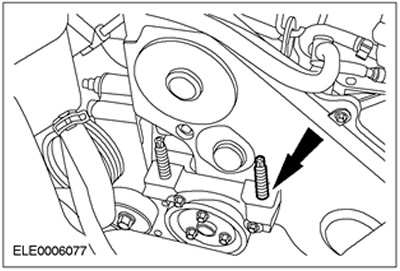
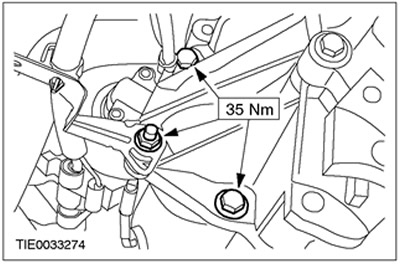
19. Turn out a hairpin of a forward support of the engine.
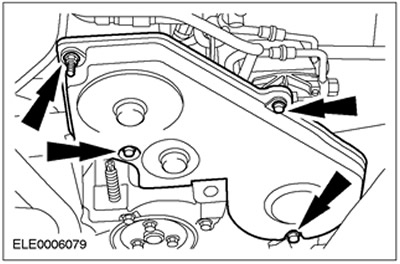
20. Remove the timing belt cover.
21. Install the special tool.

22. Remove the timing belt tensioner.
Engines with mechanical timing belt tensioner
23. Discard the timing belt tensioner as it is no longer needed.
All cars
24. Remove the timing belt and discard it as it is no longer needed.
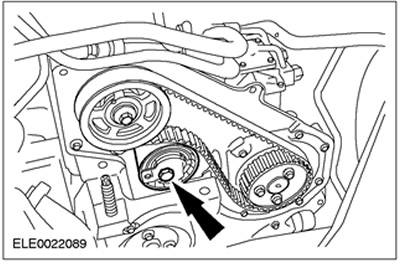
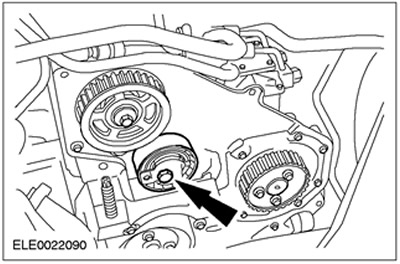
25. Using the special tool, loosen the camshaft pulley bolt five turns.
26. Using the special tool, release the camshaft pulley.
Installation
All cars
1.
NOTE: Only the latest timing belts should be installed. They can be recognized by the laser engraved Ford logo.
Check the new timing belt.
Engines with mechanical timing belt tensioner
2. Install a new automatic timing belt tensioner.
All cars
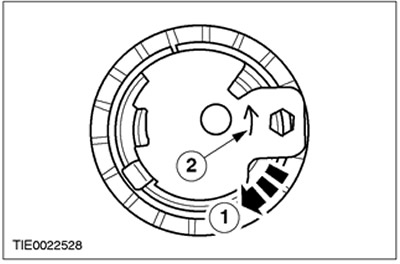
3. Check the automatic timing belt tensioner.
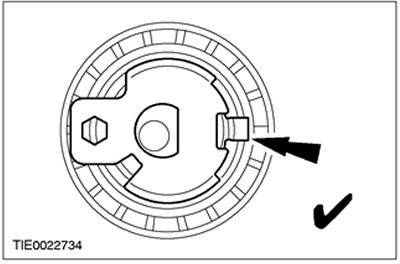
- 1.Check that the tensioner needle turns clockwise freely.
- 2. The arrow shows the counterclockwise rotation of the tensioner.
4.
NOTE: Move the timing belt tensioner adjustment lever to the position «3 hours».
Install the timing belt tensioner and hand tighten the bolt.
5.
CAUTION: Never install a used timing belt.
CAUTION: Install the timing belt so that the arrows point in the direction of engine rotation.
CAUTION: Install the timing belt only after the engine has cooled down to outside temperature.
NOTE: Install a new timing belt.
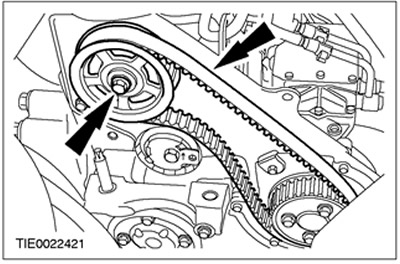
Put on the timing belt.
6.
NOTE: The camshaft pulley must be able to rotate freely on the camshaft cone.
Tighten the camshaft pulley bolt by hand and then back off 1/2 turn.
7.
NOTE: Using a socket wrench, maintain tension until the tensioner bolt is tight.
Tension the timing belt.
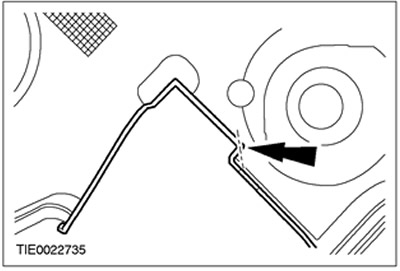
- 1.Turn the timing belt tensioner adjustment lever in a counterclockwise direction to lightly tension the timing belt.
- 2. The arrow should be between the sides of the window.
- 3. Tighten the timing belt tensioner mounting bolt.

8. Using the special tool, tighten the camshaft pulley bolt.

9. Remove the special tool.
10. Raise and support the vehicle. See Section 100-02 for more information.
11. Release the special tool.

12. Remove the special tool.

13.
NOTE: Turn the crankshaft in the normal direction of rotation.
NOTE: Using paint or typing correction fluid, mark the crankshaft pulley to indicate top dead center (w.m.t.).
Rotate the crankshaft six turns.
14. Install the special tool.
15.
NOTE: Turn the crankshaft in the normal direction of rotation.
Rotate the crankshaft to top dead center. Slowly turn the crankshaft until it stops.
16.
CAUTION: Do not rotate the crankshaft while installing the special tool.
CAUTION: Make sure the crankshaft is at top dead center before locking the special tool (w.m.t.).
CAUTION: Be sure to install the special tool correctly.
Lock the crankshaft using the special tool.
17. Lower the car.
18.
NOTE: The auto tensioner pointer may move up slightly in the window.
Make sure the auto-tensioner arrow is between the sides of the window.
- 1.If the pointer arrow is in the window, go to the next step.
- 2.If the pointer arrow is not in the window, repeat the procedure from the previous points.
19. Install the special tool. If the special tool cannot be installed, repeat the procedure from the previous points.
20. Remove special tools.
21.
CAUTION: Be careful not to damage the timing belt cover.
NOTE: Modification of the timing belt cover is only required if a mechanical timing belt tensioner has been installed.
Using a suitable file, finish the timing belt cover.
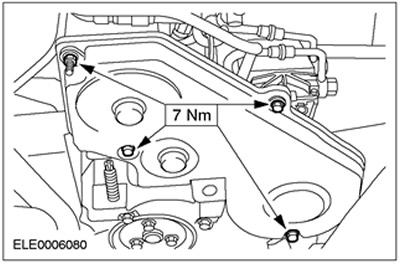
22. Install the timing belt cover.
23. Install the front engine mount stud.

Vehicles manufactured up to 04.2001
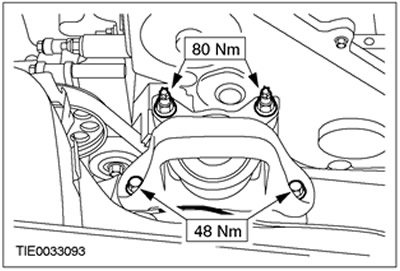
24. Install the front engine mount.
Vehicles manufactured since 04.2001
25. Install the front engine mount.
All cars
26. Remove special tools.

27. Raise and support the car. See Section 100-02 for more information.
28. Remove the special tool and install the plug.
29. Connect the starter.
30. Install the generator clutch.
31. Put on the accessory drive belt. See Section 303-05 for more information.
32. Connect an arm of fastening of the pipeline of the amplifier of a steering to a head of cylinders.

33. Install the charge air cooler.
34. Connect the plug connector of the air intake temperature sensor (IAT).

35. Install the charge air cooler cover.
36. Install the expansion tank of the cooling system.

37. Install the cylinder head cover. For more information, refer to the Cylinder Head Cover chapter available in this section.
38. Connect a wire of weight of the accumulator. See Section 414-01 for more information.
Visitor comments