Special tool
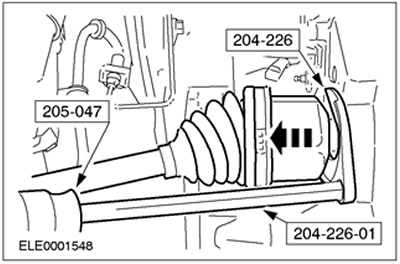
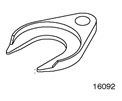 | Drive axle puller 204-226 (16-092) |
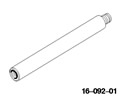 | Adapter for 204-226 204-226-01 (16-092-01) |
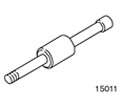 | Hammer with movable head 205-047 (15-011) |
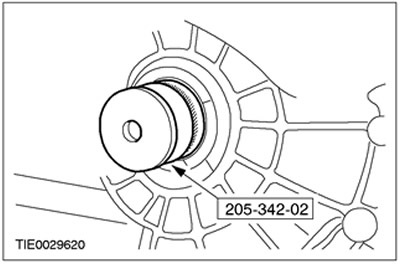
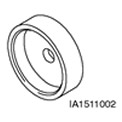 | Adapter for 205-342 205-342-02 (15-110-02) |
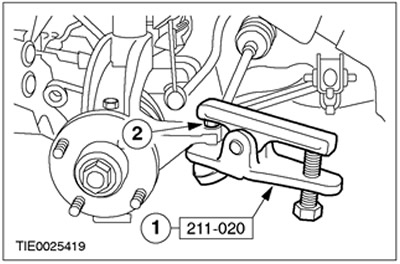
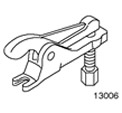 | Ball joint puller 211-020 (13-006) |
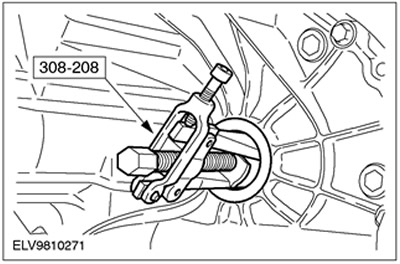
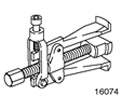 | Axle shaft oil seal remover 308-208 (16-074) |
Withdrawal
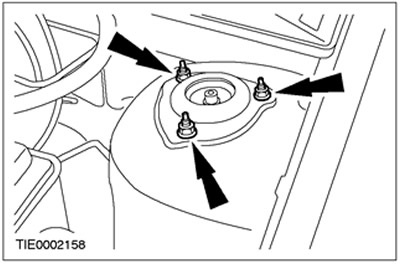
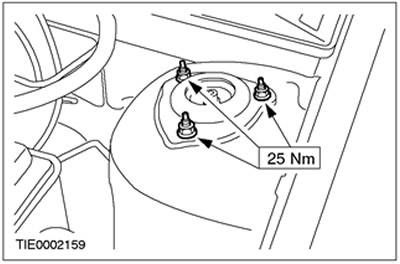
1. Loosen the nuts securing the upper strut support assembly with the spring four turns.
2. Remove the wheel and tire assembly. See Section 204-04 for more information.
3.
CAUTION: Leave the tie rod end nut in place to prevent damage to the ball joint stud.
Loosen the tie rod end nut.
4.
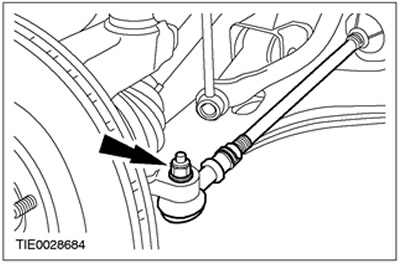
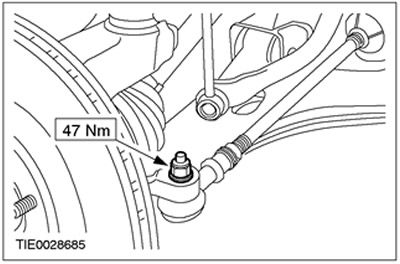
CAUTION: To prevent damage to the ball joint seal, cover it with a soft cloth.
Use the special tool to disconnect the tie rod end from the wheel knuckle (brake disc shown removed for clarity).
- 1. Release the tie rod end.
- 2. Turn out a nut of fastening of a tip of steering draft and reject it.
5.
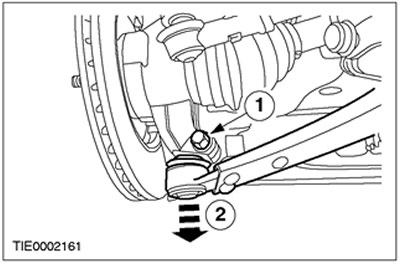
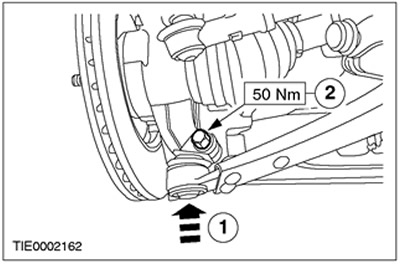
CAUTION: To prevent damage to the ball joint seal, cover it with a soft cloth.
Disconnect the lower arm ball joint from the wheel knuckle.
- 1. Remove the nut and bolt.
- 2. Disconnect the ball joint from the wheel knuckle.
- Remove the heat shield.
6.
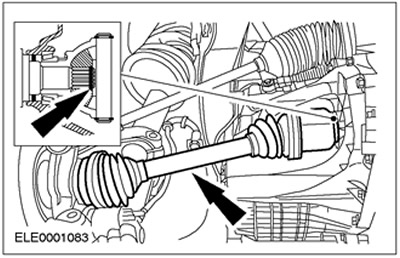
CAUTION: Support axle shaft. Oil leak. External hinge - at an angle exceeding 45 degrees.
Using the special tools, disengage the axle shaft from the transaxle and secure it out of the way.
- Discard the snap ring.
- Allow the oil to drain into a suitable container.
7. Using the special tools, remove the axle shaft oil seal.
Installation
1. Using the special tools, install the axle shaft oil seal.
2.
CAUTION: Support axle shaft. Oil leak. External hinge - at an angle exceeding 45 degrees.
CAUTION: Do not damage the axle shaft oil seal.
CAUTION: Make sure the snap ring is installed correctly.
NOTE: Install a new circlip.
Connect the axle shaft to the gearbox in the block with the drive axle.
3.
CAUTION: The lower arm pinch bolt must be installed at the rear of the steering knuckle.
CAUTION: Make sure a heat shield is installed to prevent damage to the ball joint.
Connect the lower arm ball joint to the steering knuckle.
- 1. Attach the ball joint to the wheel knuckle.
- 2. Install the nut and bolt.
4.
WARNING: Install a new tie rod end nut. Failure to follow this instruction may result in injury.
Connect the tie rod end to the wheel knuckle.
5. Check the transmission fluid level in the drive axle unit and top up the manual transmission fluid if necessary. For more information, refer to the chapter Draining Transmission Fluid from the Transaxle Transmission and Filling Transmission Fluid into the Transaxle Transmission in this section.
6. Install wheel and tire assembly. See Section 204-04 for more information.
7. Tighten nuts of fastening of the top support of a rack in gathering with a spring.
Visitor comments