Special tool
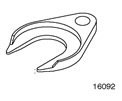 | Axle puller 204-226 (16-092) |
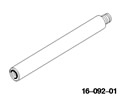 | Adapter for 204-226 204-226-01 (16-092-01) |
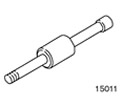 | Hammer with moving hammer 205-047 (15-011) |
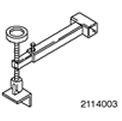
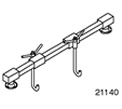 | Engine support beam 303-290A (21-140) |
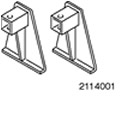 | Adapter for 303-290A (21-140) 303-290-01 (21-140-01) |
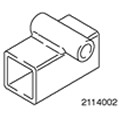 | Adapter for 303-290A (21-140) 303-290-02 (21-140-02) |
 | Adapter for 303-290A (21-140) 303-290-03 (21-140-03) |
General equipment:
- Jack for gearbox
- Fixing clamps
Withdrawal
1. Remove the battery tray. See Section 414-01 for more information.
2. Remove the air filter. See Section 303-12 for more information.
3. Remove the air filter inlet pipe. See Section 303-12 for more information.
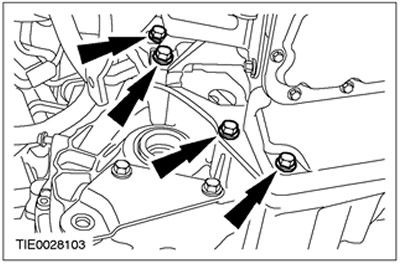
4. Turn out the top bolts of fastening of a transmission in the block with the leading bridge.
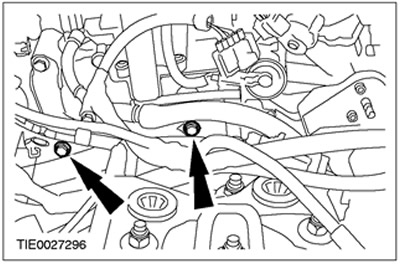
5. Turn out the top bolts of fastening of a starter.
- Disconnect the ground cable from the transaxle box.
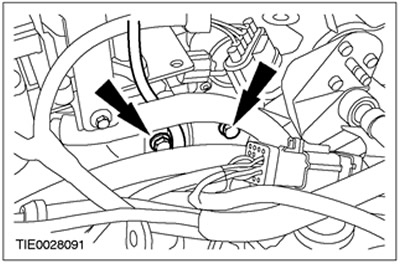
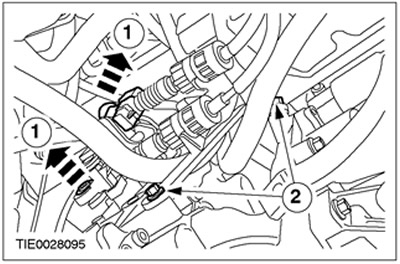
6. Disconnect the plug connector of the engine wiring harness from the gearbox in the block with the driving axle.
7.
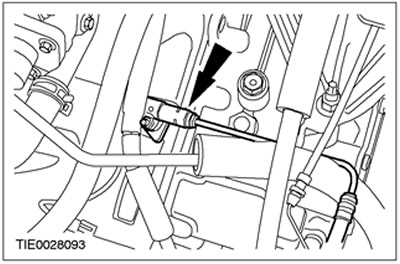
WARNING: If brake fluid comes into contact with the paintwork, the affected area must be washed immediately with cold water.
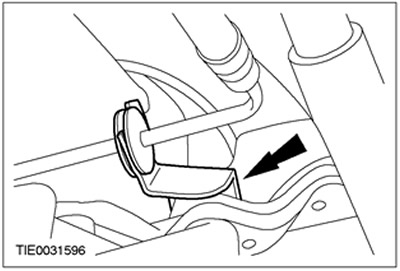
Disconnect the clutch slave cylinder feed line from the transaxle.
- Remove the spring clip.
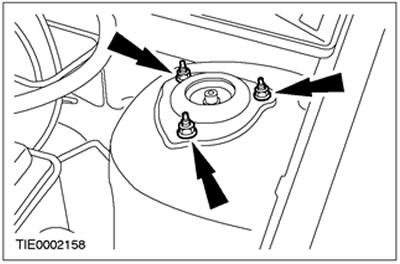
8. Loosen the nuts securing the upper strut support assembly with the spring four turns (at both sides).
9. Raise and support the vehicle. See Section 100-02 for more information.
10. Remove the subframe. See Section 502-00 for more information.
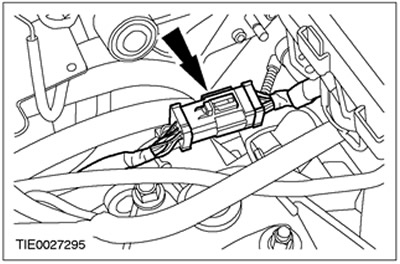
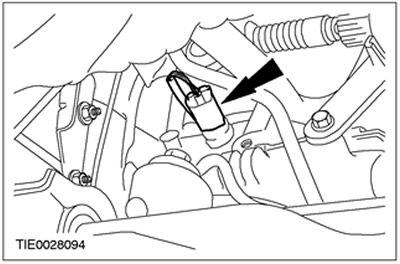
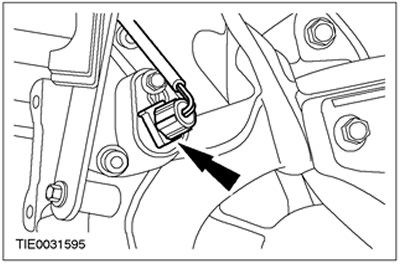
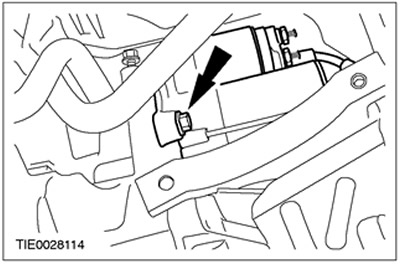
11. Disunite the plug socket of the switch of lanterns of a backing.
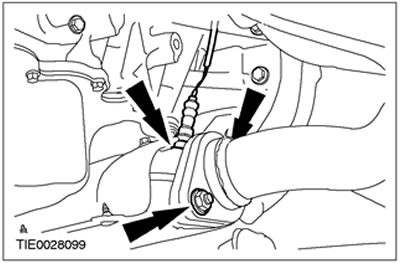
12.
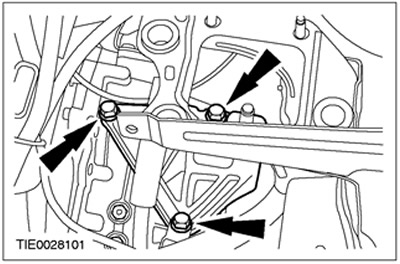
CAUTION: When removing the support bracket, support the catalytic converter.
Remove the catalytic converter support bracket.
- Disconnect the catalyst monitoring oxygen sensor from the catalytic converter.

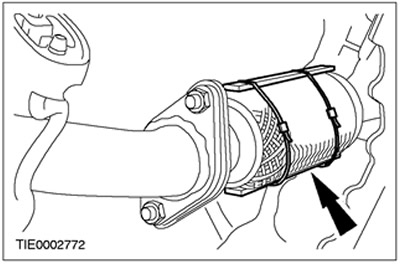
13. Disconnect the catalytic converter from the exhaust manifold.
- Discard gaskets and nuts as they are no longer needed.
- Disconnect the heated oxygen sensor from the catalytic converter (HO2S).
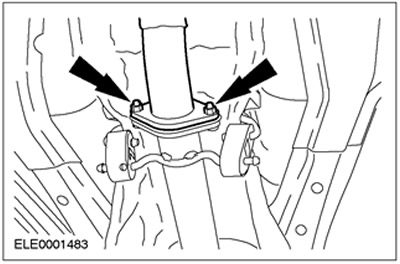
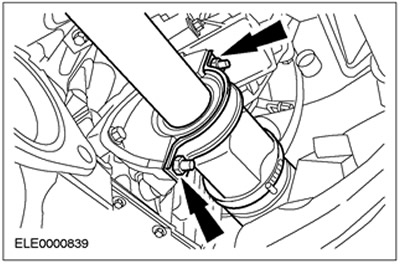
14.
CAUTION: Excessive bending of the exhaust pipe flexible connector can cause damage to the exhaust pipe leading to a malfunction.
Support the flexible outlet pipe connector using a suitable bar.
15. Disconnect a flexible insert of system of release from an exhaust pipe in gathering with the muffler.
- Discard the nuts and gasket as they are no longer needed.
- Remove the catalytic converter and flexible connector of the exhaust system.
16. Disconnect the shift cables from the gearbox in the block with the drive axle.
- 1. Disconnect the shift cable and gear selection cable from the gear selector levers.
- 2. Disconnect the bracket from the gearbox in the block with the drive axle.
17.
CAUTION: Support axle shaft. The inner hinge should not be tilted more than 18 degrees. External hinge - at an angle exceeding 45 degrees.
CAUTION: Be careful not to damage the axle shaft oil seal.
NOTE: Shut off the transaxle to prevent oil leakage or dirt ingress.
Disconnect the right axle shaft and the intermediate shaft from the gearbox in the block with the driving axle and fix them to the side.
- Allow the oil to drain into a suitable container.
- Discard the intermediate support cover and locknuts as they are no longer needed.
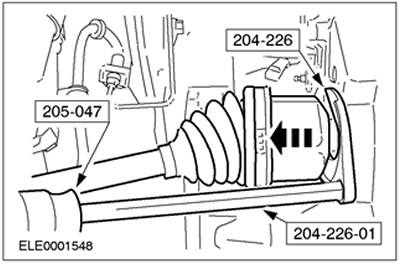
18.
CAUTION: Support axle shaft. The inner hinge should not be tilted more than 18 degrees. External hinge - at an angle exceeding 45 degrees.
CAUTION: Be careful not to damage the axle shaft oil seal.
NOTE: Shut off the transaxle to prevent oil leakage or dirt ingress.
Using the special tools, disengage the left axle shaft from the transaxle and secure it out of the way.
- Allow the oil to drain into a suitable container.
- Discard the snap ring as it is no longer needed.
19. Disconnect the plug connector of the vehicle speed sensor (VSS).
20. Lower the car.
21. Install special tools.

22. Remove the rear engine mount.
- Discard the central nut of the rear support as it is no longer needed.
23. Using the special tools, lower the engine/transaxle assembly.

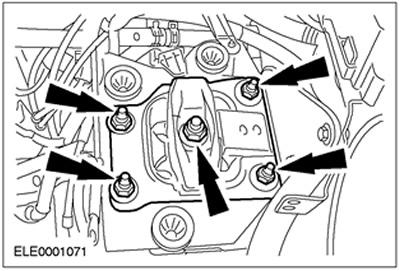
24. Turn out bolts of fastening of an arm of a back support of the engine.
25. Raise and support the vehicle. See Section 100-02 for more information.
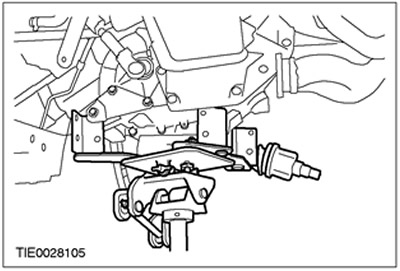
26. Disconnect the clutch slave cylinder feed pipe bracket from the rear engine mount bracket.
- Remove the rear engine mount bracket.
27.
NOTE: Do not disconnect starter connectors.
Disconnect the starter from the transaxle and secure it to the side.
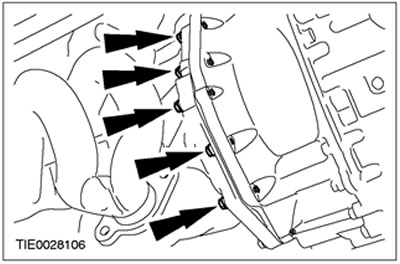
28. Turn out the right bolts of fastening of a transmission in the block with the leading bridge.
29. Using suitable retaining straps, secure the transaxle to the drive axle assembly mounted on the transaxle jack.
30. Turn out the left bolts of fastening of a transmission in the block with the leading bridge.
31. Remove the gearbox in the block with the drive axle.
Visitor comments