Contents: Removal ↳ Installation ↳
Special tool
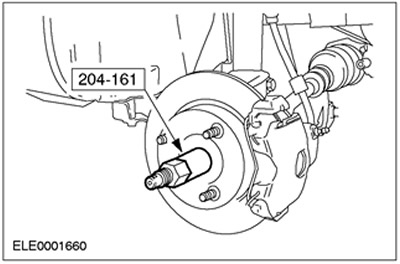
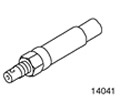 | Device for installing the drive axle shaft 204-161 (14-041) |
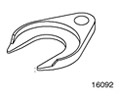 | Drive axle puller 204-226 (16-092) |
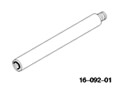 | Adapter for 16-092/204-226 204-226-01 (16-092-01) |
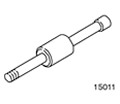 | Hammer with movable striker 205-047 (15-011) |
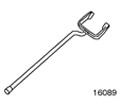 | Drive axle puller 308-256 (16-089) |
General equipment: 32mm socket wrench.
Removal
All cars
1.
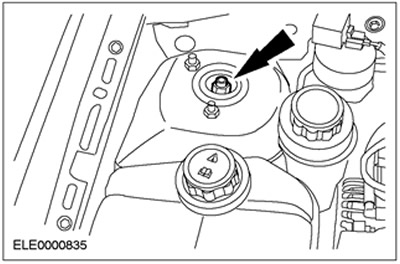
NOTE: Use a hex socket wrench to hold the piston rod.
Loosen the left suspension strut nut five turns (right side shown).
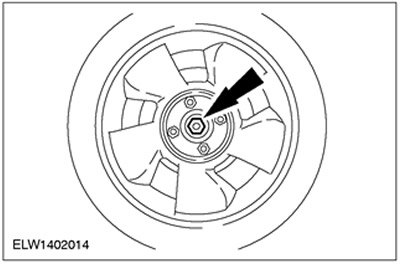
2. Loosen the axle shaft nut.
3. Remove the front wheel. For additional information, refer to Section 204-04.
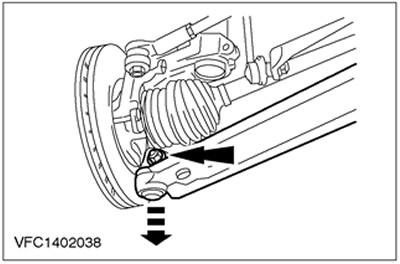
4. Disconnect the lower suspension arm from the steering knuckle.
5.
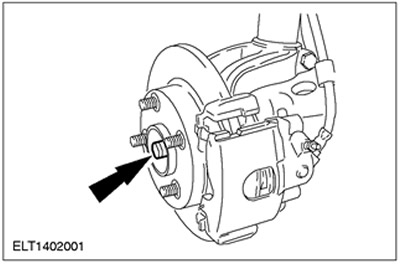
CAUTION: The drive axle nut can be reused four times; mark the nut.
Disconnect the front drive axle shaft from the wheel hub (right side shown).
- Loosen and remove the drive axle nut and press the axle out of the wheel hub using the provided puller.
Cars with manual transmission iB5
6.
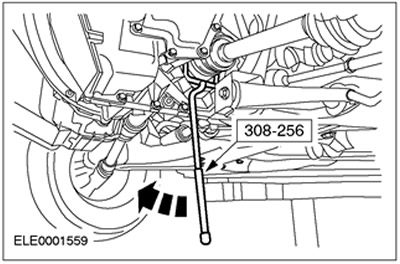
CAUTION: Support the drive axle. The inner joint must not be deflected at an angle exceeding 18 degrees. The outer joint must not be deflected at an angle exceeding 45 degrees.
CAUTION: Do not damage the oil seal.
NOTE: Plug the transmission holes to prevent transmission fluid from leaking and dirt from entering.
NOTE: Transmission fluid leakage. Catch transmission fluid in a suitable container.
Using the special tool, remove the front drive axle shaft from the gearbox.
- Discard the snap ring as it is no longer needed.
Cars with manual transmission MTX-75
7.
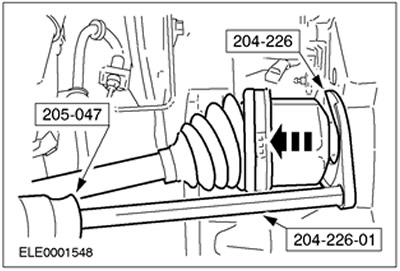
CAUTION: Support the drive axle. The inner joint must not be deflected at an angle exceeding 18 degrees. The outer joint must not be deflected at an angle exceeding 45 degrees.
CAUTION: Do not damage the oil seal.
NOTE: Plug the transmission holes to prevent transmission fluid from leaking and dirt from entering.
NOTE: Transmission fluid leakage. Catch transmission fluid in a suitable container.
Using the special tool, remove the front drive axle shaft from the gearbox.
- Discard the snap ring as it is no longer needed.
Installation
All cars
CAUTION: Support the drive axle. The inner joint must not be deflected at an angle exceeding 18 degrees. The outer joint must not be deflected at an angle exceeding 45 degrees.
CAUTION: Do not damage the oil seal when installing the front drive axle shaft. If the iB5 transmission is installed, use the installation sleeve (included with each new oil seal).
1.
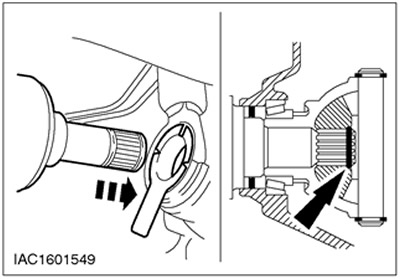
NOTE: Install a new snap ring.
NOTE: Install the left front drive axle with a new snap ring into the transmission.
Install the front drive axle shaft into the gearbox using the snap ring.
2.
CAUTION: The drive axle nut can be reused up to four times. Pay attention to the markings on the nut and replace the nut if necessary.
Insert the drive axle shaft into the wheel hub using a special tool.
- Install the left axle shaft nut (right side shown).
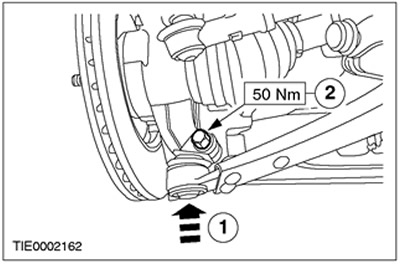
3. Connect the lower control arm to the steering knuckle.
- 1.Connect the lower suspension arm.
- 2. Tighten the bolt.
Cars with manual transmission iB5
4. Check the transmission fluid level. For additional information, refer to Section 308-03A / 308-03B / 308-03C.
Cars with manual transmission MTX-75
5. Check the transmission fluid level. For additional information, refer to Section 308-03A / 308-03B / 308-03C.
All cars
6. Install the front wheel. For additional information, refer to Section 204-04.
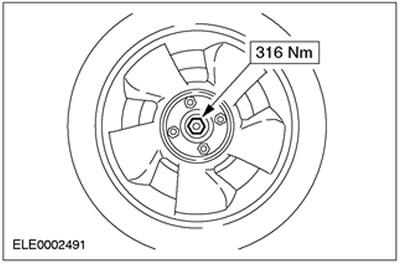
7. Tighten the axle shaft nut.
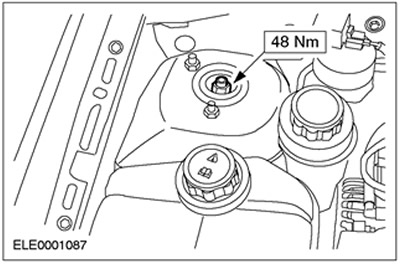
8.
NOTE: Use a hex socket wrench to hold the piston rod.
Tighten the left suspension strut nut (right side shown).
(The material was copied from an information website: «www.FordBook.ru»)