Disconnect the negative (-) battery cable.
Caution: When the battery is disconnected, the contents of electronic memory devices, such as engine fault codes or radio codes, are erased. Before disconnecting, also read the instructions in the chapter "Removal and installation the battery".
Unscrew the handle from the gear shift lever and remove the cuff through the lever.
Remove the center console, see p. 137.
After removing the four mounting bolts, lift the inner cuff retaining frame off the tunnel. Remove the inner cuff together with the frame and sound-insulating pad through the gearshift lever.
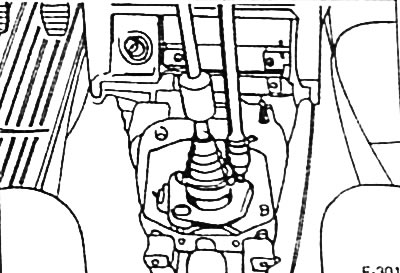
Loosen the gear shift lever mounting bolts at the gearbox extension and remove the lever.
Vehicles with V6 engine prior to 8/94: Remove distributor cap and rotor.
Vehicles with diesel engines: in the engine compartment, on the left and right, unfasten the clamps and remove the sound-insulating covering.
If equipped, remove the lower engine compartment cover, see p. 10.
Vehicles with V6 engine and diesel engine up to 8/94: Unscrew the upper and lower parts of the radiator air duct.
Raise the car onto the trestles.
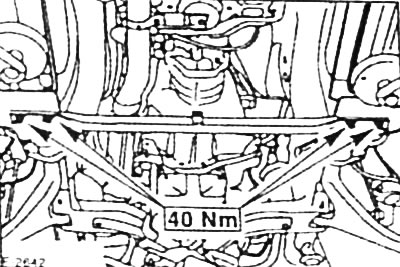
Models from 9/94. Loosen the crossmember fastening under the gearbox/exhaust system.
Remove the exhaust system as a whole, see p. 80.
Vehicles with a catalytic converter: Unscrew the fastening of the catalytic converter heat shield to the underbody.
Remove the starter. First, disconnect the wire from the starter and disconnect the plug connectors, see p. 167.
Models up to 8/94: unscrew the fastening to the front axle stabilizer side members, see p. 93.
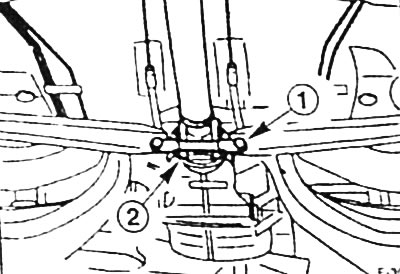
Models from 9/94: Unscrew the rear axle crossmember fastening "1" to gain access to the propeller shaft flange "2".
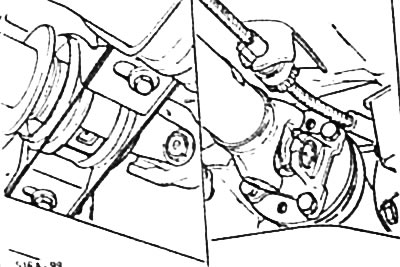
Loosen the fastening of the cardan shaft at the intermediate bearing at the bottom of the body and at the flange of the main transmission of the rear axle.
The original can be found on the specified resource FordBook