- elevated (compared to usual) noise;
- difficult gear shifting;
- spontaneous disengagement or fuzzy engagement of gears;
- oil leakage through seals and gaskets.
In addition, the gearbox is removed to replace the clutch, flywheel and rear engine crankshaft oil seal.
An automatic transmission is removed for almost the same reasons as a manual transmission, except for the need to replace the clutch and flywheel, which in this case are absent. Removal and installation techniques for manual and automatic transmissions are almost the same and are described using the example of a manual transmission. The difference lies in the size and number of transmission control cables, as well as the presence of hydraulic hoses in the automatic transmission connecting the gearbox to the cooling radiator.
USEFUL ADVICE: The work of removing and installing the gearbox is very laborious, so be sure to first make sure that its malfunctions are not caused by other reasons (insufficient oil level, defects in the clutch drive, loosening of the gearbox, etc.).
GOOD ADVICE: The gearbox is quite heavy and its shape is awkward to hold, so we recommend removing it with an assistant.
You will need: keys «for 8», «on 10», «at 13», «at 15», end head «at 13» with ratchet, flat blade screwdriver.
1. Place the vehicle on a lift or pit.

2. Remove the air filter (cm. «Removing and installing the air filter and intake silencer»).
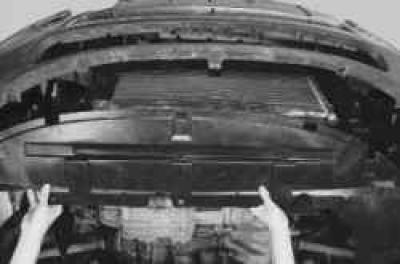
3. Remove the engine mudguard (cm. «Removal and installation of a mudguard of the engine»).
4. Drain the gearbox oil (cm. «Changing the oil in the gearbox»).
5. Remove the front wheel drives (cm. «Removal and installation of front wheel drives»).
6. Disconnect the transmission control cables from the gearbox (cm. «Replacing the transmission control cables»).
7. Remove the air filter mounting bracket (cm. «Replacement of the left support of a suspension bracket of the power unit»).
8. Disconnect the wiring harness connector from the reversing light switch (cm. «Checking and replacing the reverse light switch») …
9.... pry with a screwdriver..
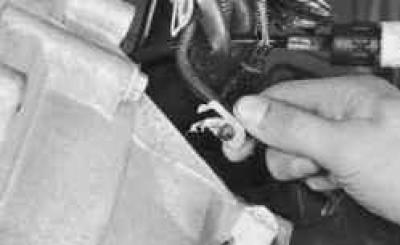
10.... Disconnect the holder of the wiring harness of the reverse light switch from the gearbox housing and take the harness to the side.
11. Disconnect the wiring harness connector from the speed sensor (cm. «Check and replacement of gauges of a control system of the engine»).
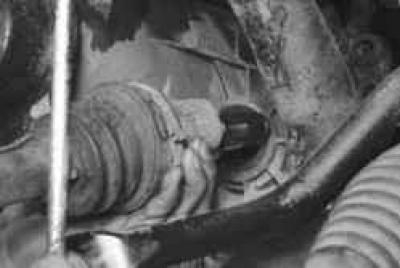
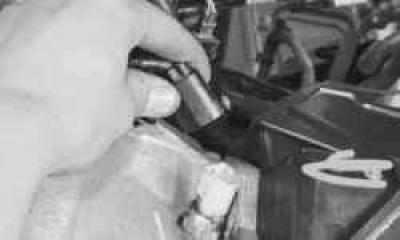
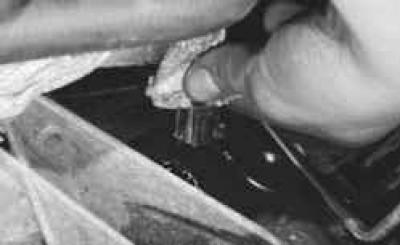
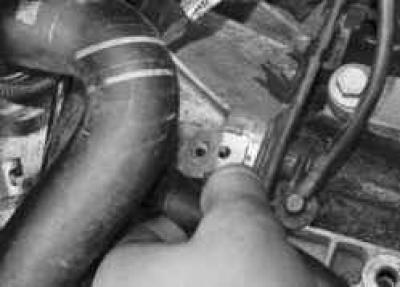
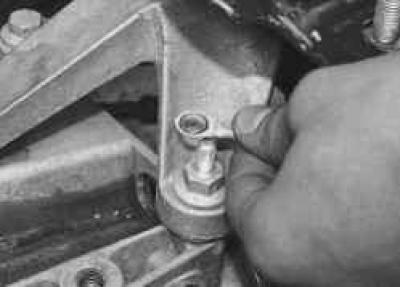
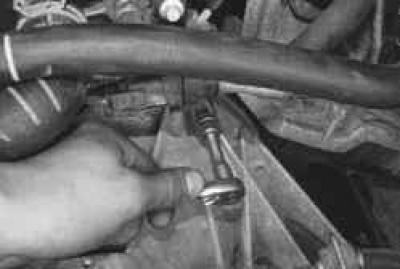
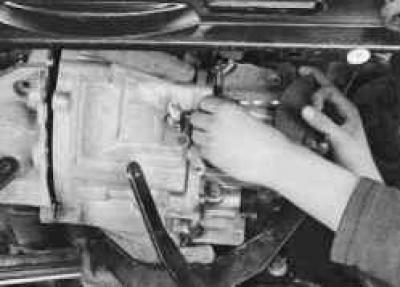
12. Prying with a screwdriver, remove the spring retainer of the clutch release hydraulic hose tip..
13.... and disconnect the hose from the hydraulic tube.
NOTE: Take precautions to prevent leakage of hydraulic fluid from the hydraulic clutch release tube (for example, plugging the tube opening with a rag or wooden plug).
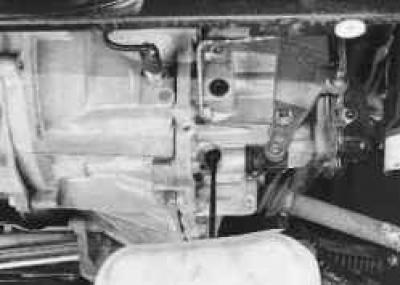
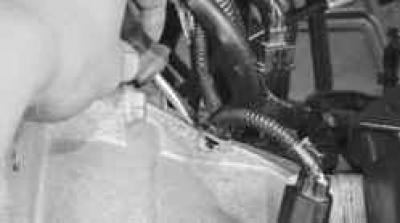
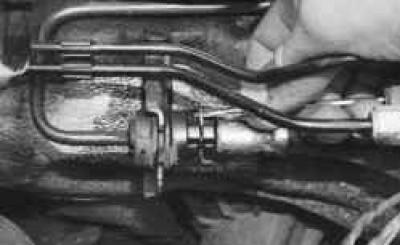
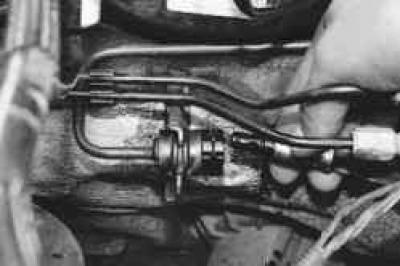
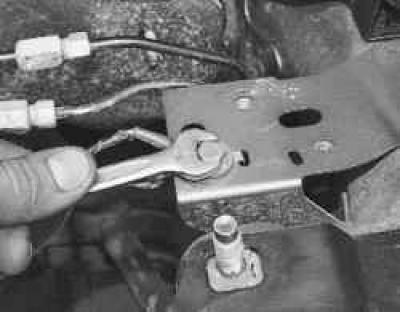
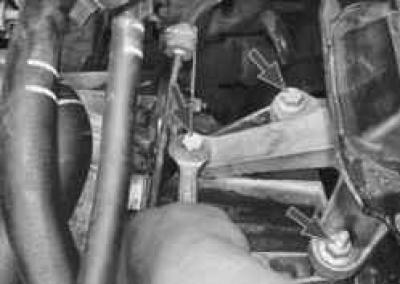
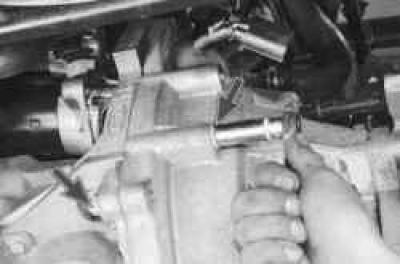
14. Turn out a bolt of fastening of arms of hoses to a case of a transmission …
15.... and move the bracket along with the hoses to the side.
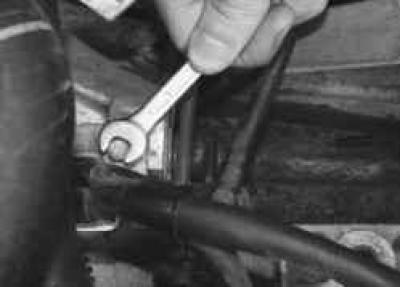
16. Turn out a bolt of fastening «massive» wires to body bracket..
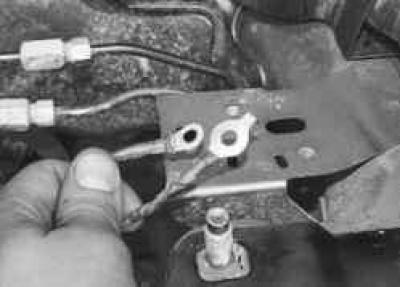
17.... disconnect the wires from the bracket and take them to the side.

18. Remove the mounting bolts and remove the starter from the clutch housing without disconnecting the wires from it (cm. «Removal and installation of a starter»). Take the starter aside and secure in any way so that it does not interfere with further work.
19. Securely support the engine or hang it out using a hoist. Install a similar support under the gearbox.

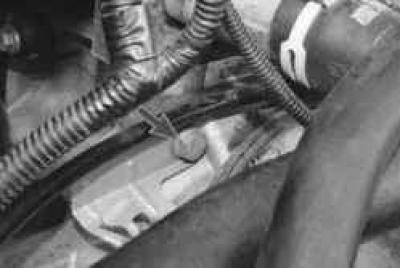
20. Remove the gearbox breather from the edge of the holder of the left support of the power unit.
21. Remove the fastening nut «mass» wires to the stud of the bracket of the left support of the suspension of the power unit..
22.... remove the wire end from the stud and lay the wire aside.
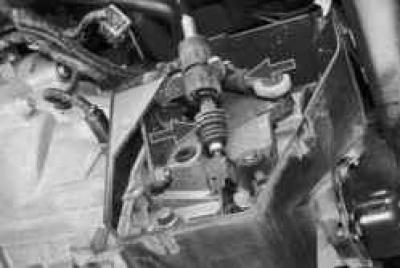
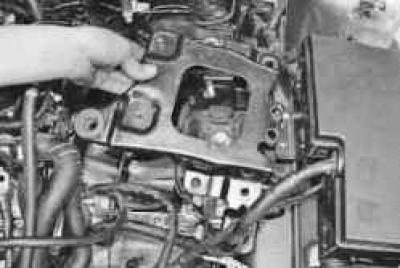
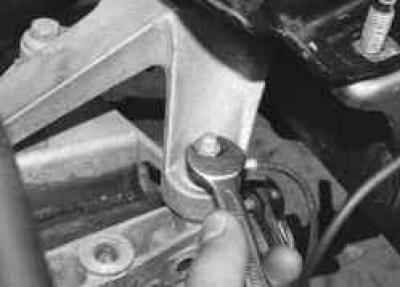
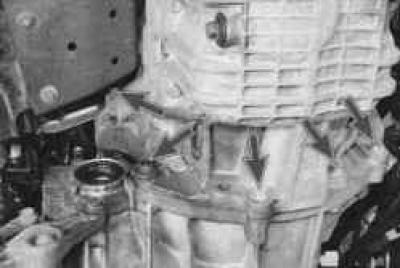
23. Turn out two bolts and a hairpin of fastening of an arm of the left support of a suspension bracket of the power unit to a gear case..
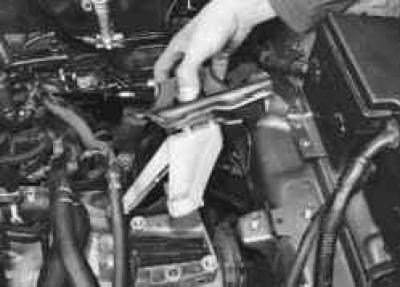
24... and remove the support together with the bracket.
25. Remove one bolt securing the gearbox housing to the engine from the top left..
26.... and to the right..
27.... two bolts on the left side..
28.... and five bolts from the bottom.
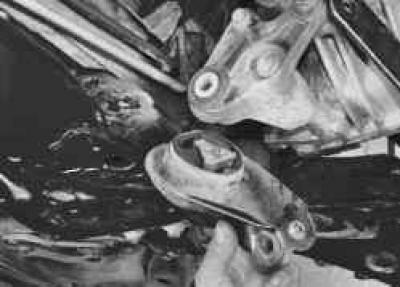
29. Remove the rear suspension support of the power unit (cm. «Replacing the rear support suspension of the power unit»).
30. Move the gearbox back until the input shaft of the box comes out of the hub of the clutch disc.
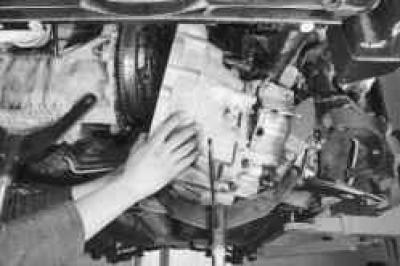
31. Move the box as far back as possible, remove the support from under it and, tilting the back of the box down, remove it from the car.
WARNING: When removing the gearbox, do not rest the end of the input shaft on the petals of the diaphragm spring, so as not to deform them.
32. Establish a transmission and all removed details and knots in an order, the return to removal.
USEFUL ADVICE: Before installing the gearbox, we recommend lubricating the splines of the input shaft with a thin layer of refractory grease.
GOOD ADVICE: Check how the clutch disc is centered using a special mandrel (cm. «Removal and installation of clutch»).
33. Fill the gearbox with oil (cm. «Changing the oil in the gearbox»).
34. Remove air from the hydraulic clutch release (cm. «Bleeding the hydraulic clutch release»).
35. If necessary, adjust the gearbox control drive (cm. «Gearbox control drive adjustment»).
Visitor comments