Special tool
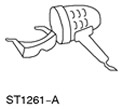 | 120W UV lamp or equivalent |
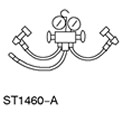 | R-134a Refrigerant Pressure Gauge Kit or Equivalent |
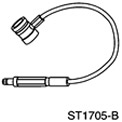 | Fluorescent Dye Injector for R-134a Refrigerant |
NOTE: Vehicles manufactured since 07/1999 have a fluorescent dye tablet in the air conditioning (A/C) system. If the dye tablet is present, there is a green cross on the suction tank.
NOTE: For vehicles manufactured up to 07/1999, indicator dye must be added.
1. Using the dye injector, add 7.4 ml of fluorescent indicator dye.
NOTE: On some vehicles there may be traces of refrigerant oil on the spring-lock couplings. This may be due to the oil being used to aid installation. If a spring-lock coupling is suspected of leaking, always wipe the connection clean and test it with an R-134a Automatic Calibration Halogen Leak Detector.
NOTE: The exact location of leaks can be pinpointed by the bright yellow-green glow of the indicator dye. Since there may be more than one leak, each component should always be inspected.
2. Check for leaks using a 120 watt UV test lamp. Always check all components, fittings and lines of the A/C system.
3. Once the leak has been found and repaired, remove all traces of dye using a general purpose solvent.
4. Check the quality of the repair by turning on the system for a few minutes and re-inspecting it using an ultraviolet lamp.
For more information, please visit the specified website: FordBook