Contents: Removal ↳ Installation ↳
Special tool
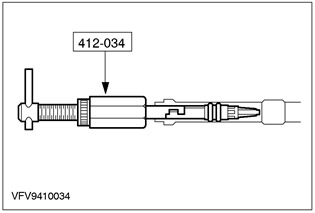
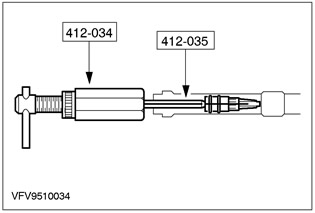
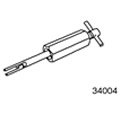 | Jet removal/installation tool 412-034 (34-004) |
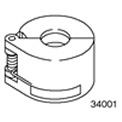 | Spring Lock Coupling Release Tool, 1/2" (Blue) 412-027 (34-001) |
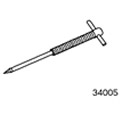 | Remover for damaged jet 412-035 (34-005) |
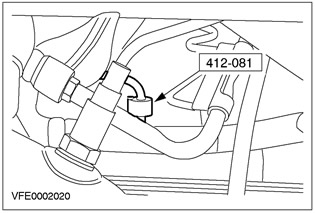
 | Spring Lock Coupling Release Tool, 5/8" (Black) 412-081 (34-003) |
Removal
All cars
1. Drain the air conditioning (A/C) system. Refer to Section 412-00 for additional information.
2. Raise and support the vehicle. Refer to Section 100-02 for additional information.
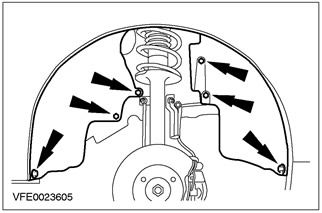
3. Remove the right mudguard (wheel shown removed for clarity).
4.
CAUTION: Cap the refrigerant lines to prevent dirt from entering.
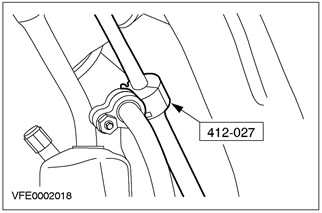
Using a special tool, disconnect the refrigerant line.
- Discard the O-rings.
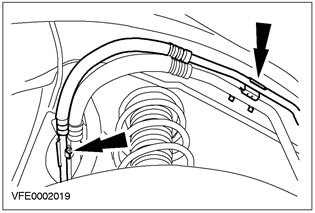
5. Disconnect the refrigerant line from the wheel arch panel.
6. Lower the vehicle.
Cars with 2.0L Duratec RS engine
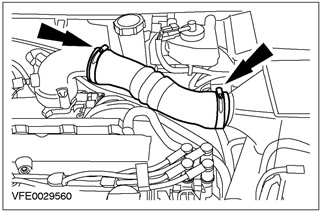
7. Remove the air intake hose.
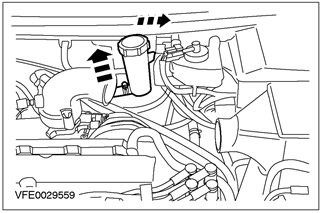
8. Disconnect the charge air cooler expansion tank from the bulkhead and position it to the side.
All cars
9.
CAUTION: Cap the refrigerant line and evaporator core to prevent dirt from entering.
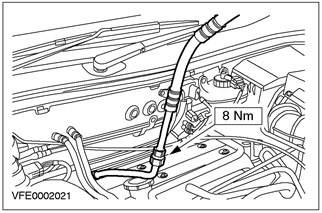
Using a special tool, disconnect the refrigerant line from the evaporator core.
- Discard the O-rings.
10.
CAUTION: Cap the refrigerant line to prevent dirt from entering.
Remove the evaporator jet refrigerant line.
- Discard the O-rings.
11. Using a special tool, remove the evaporator jet.
- Pass the special tool inside the pipeline and insert it into the evaporator nozzle.
- Turn the special tool clockwise and pull the evaporator nozzle out.
12.
NOTE: This step is necessary if the evaporator jet is damaged.
Using special tools, remove the damaged evaporator jet.
Installation
1.
NOTE: Install new refrigerant line O-rings.
NOTE: Apply clean refrigeration oil to the refrigerant line O-rings before installation.
To install, follow the removal procedure in reverse order.
(For more information, please visit the website FORDBOOK)