Nozzle
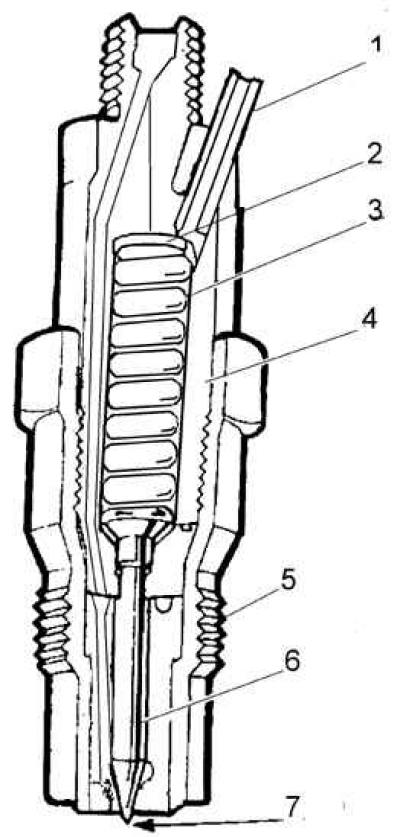
1 – fuel outlet channel, 2 – adjusting washer, 3 – spring, 4 – injector body, 5 – sprayer body, 6 – needle, 7 – nozzle
Checking on the engine
1. Make sure the engine is in good condition and the compression level is the same in all cylinders.
2. Start the engine and warm it up to operating temperature.
3. Loosen the nut of the fuel line fitting on the injector being tested. Note whether the engine speed has changed. Perform the same test at fast idle.
4. If the injector is in good condition, there will be a clear decrease in engine speed, accompanied by uneven operation. If the injector being tested is faulty, the change in engine speed will be insignificant and the extraneous knocking will disappear, if it was present before.
Removal
1. Remove the air filter.
2. Clean the high-pressure fuel lines, unscrew the union nuts on the fuel pump and protect them from contamination.
3. Unscrew the fuel lines from the injectors and close them.
4. Unscrew the injectors with a socket wrench and remove the copper sealing rings and heat-insulating washers from the holes.
5. Clamp the sprayer body in a vice with soft jaws, disassemble the nozzle, and using a wooden tool, clean all the nozzle parts.
6. The nozzle needle, under its own weight, should slide tightly in the nozzle socket.
Installation
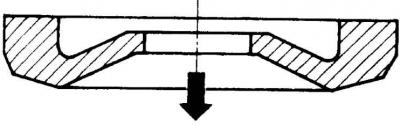
1. Install new heat-insulating washers into the cylinder head, with the convex side facing upward.
2. Install copper sealing rings.