Note: It is easier to remove an empty fuel tank while working on a lift, ramp or inspection platform. Before removing the fuel tank, try to use up most of the fuel or pump it out through the fuel filler neck with a hose.
You will need: a 13 mm socket wrench, a T30 TORX wrench, and a flat-blade screwdriver.
1. Reduce the pressure in the fuel system (see "Reducing pressure in the fuel system").
2. Disconnect the wire from the negative terminal of the battery.
3. Remove the heat shield (see "Removal and installation of thermal screens").
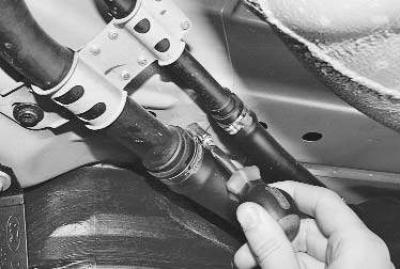
4. Loosen the clamp securing the connecting hose to the fuel filler pipe..
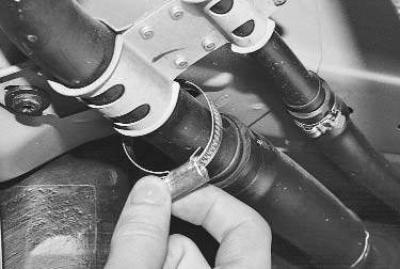
5. ...slide the clamp along the hose..
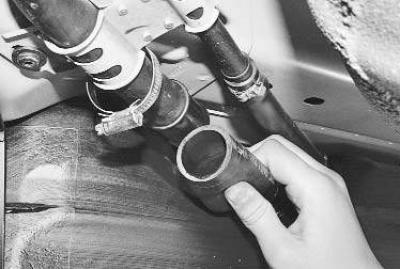
6. …and disconnect the hose from the fuel filler pipe.
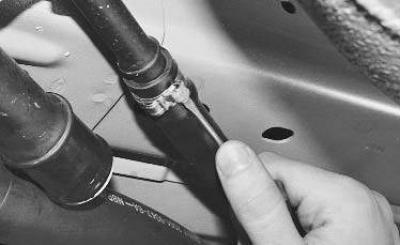
7. Using a screwdriver, loosen the clamp securing the connecting hose to the ventilation pipe branch…
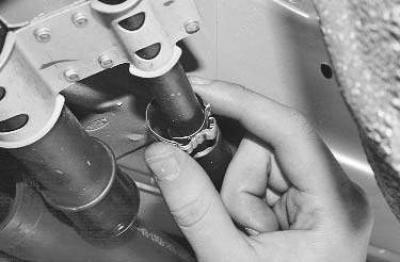
8. ...move the clamp..
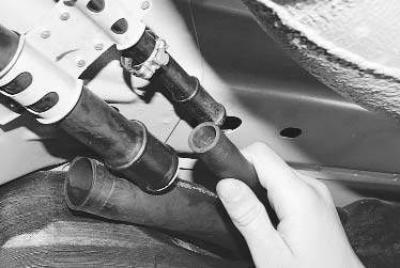
9. …and disconnect the hose from the branch pipe.
Note: The ventilation hose clamp is disposable, replace it with a new one during assembly.
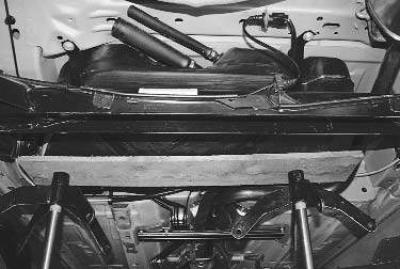
10. Place supports under the fuel tank…
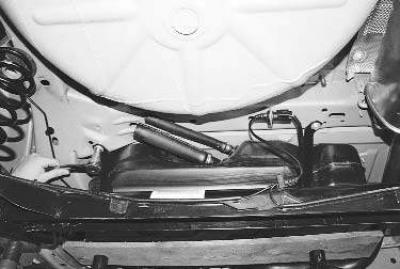
11. …unscrew the two bolts securing the clamps to the base of the body at the rear…
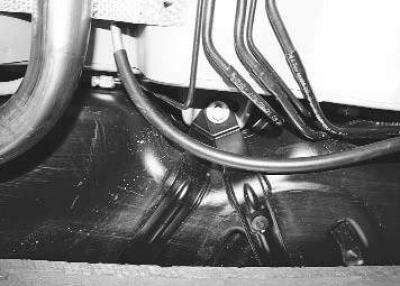
12. …and one bolt in front.
13. Lower the fuel tank.
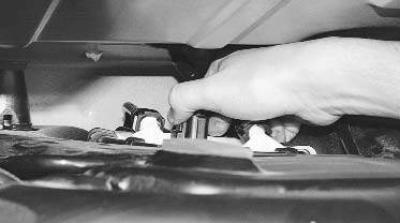
14. In the opening that appears between the fuel tank and the base of the body, disconnect the wiring harness connector, high-pressure fuel line tips and the drain line from the fuel pump module.
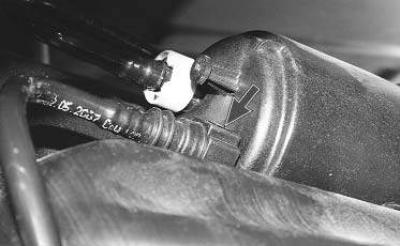
15. Disconnect the tip of the outlet line from the adsorber fitting…
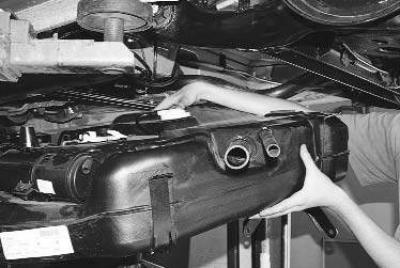
16. …and remove the fuel tank.
17. Install the fuel tank in the reverse order of removal.
18. Fill the tank with fuel, start the engine and check the tightness of all fuel line connections.
If necessary remove the fuel tank filler pipe, do the following.
1. Remove the left rear wheel (see "Wheel replacement").
2. Remove the left mudguard (see "Removal and installation wheel mudguards and fender liners").
3. Disconnect the filler pipe and vent pipe from the fuel tank connecting hoses (see paragraphs 4–9 of this subsection).
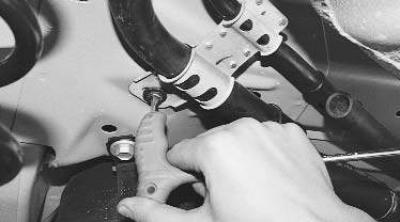
4. Remove one screw from the lower filling pipe mount…

5. …one side mounting screw…
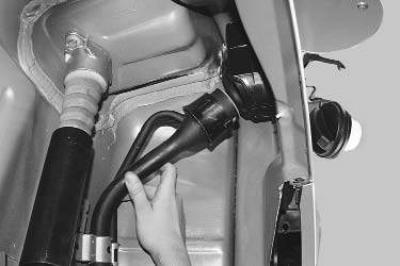
6. …and remove the fuel tank filler pipe together with the ventilation pipe.
7. Install the parts in reverse order.