Please note: The fuel tank does not have a drain plug, so it is advisable to drain as much fuel as possible before removing it. Siphon out any remaining fuel from the tank, following the precautions described at the beginning of this manual.
Removal
1. Disconnect the negative battery cable.
2. On 1992 and later models, remove the filler cap and release the filler neck retainer. For 1992-1995 models required (theoretically) a special Ford tool 23-037 is required to release and reinstall the holder, but with patience it can be done without a tool. Later models use a simpler method and the holder is attached with a single screw: in this case, no special tool is required.
3. Place the vehicle on supports to allow the tank to be disconnected and removed.
4. Place a jack or supports under the tank so that the tank can be lowered slightly and supported.
5. On early models, release the clamps, disconnect the filler hose and vent tubes (see Figure 16.5). On later models the filler pipe is not removable.
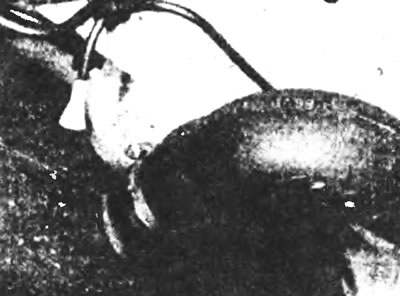
Figure 16.5. On early models: After releasing the clamps, disconnect the fuel filler hoses and vent tubes from the fuel tank.
6. Loosen the tank mounting clamp nuts to release the clamps from the bottom. Note the position of the nuts relative to the threads on the clamp bolts before removal for proper reinstallation (see Figure 16.6).
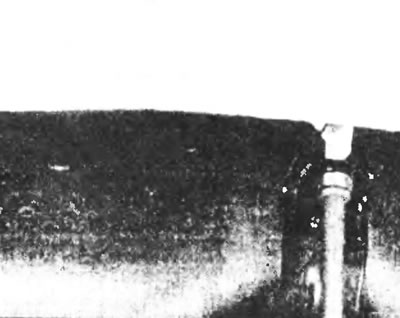
Figure 16.6. Loosen the clamp mounting nuts from the fuel tank to release the clamps from the underbody.
7. Lower the tank onto a jack or supports, then disconnect the fuel and electrical connections at the top of the tank (see Figure 16.7). Please note that on later models the fuel line connections have quick release couplings. Squeeze the protruding tabs of the connections and carefully remove the connections.
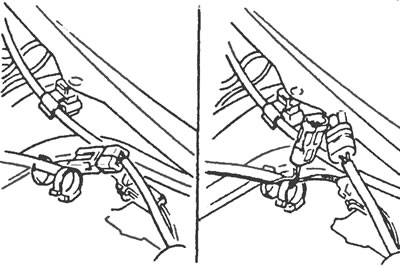
Figure 16.7. Disconnect the fuel and electrical connections at the top of the tank.
8. Lower the tank and remove it from under the vehicle.
9. If the fuel tank needs to be replaced, separate the vent tubes (where they are available) and remove the fuel level sensor as described in section 15.
Repair
10. The tank is made of plastic. If it is damaged, replace it. Standard repair kits can be used if they are suitable for plastic tanks. Fuel leakage is dangerous.
Installation
11. Installation is the reverse of the removal procedure, but please note the following additional points:
- a) Install a new sensor seal (if the sensor was removed);
- b) Install screw clamps on all hoses;
- c) Install new tank cushions in position (see figure 16.11, a, b);
- d) Tighten the tank band clamp nuts to the positions marked during removal: be careful not to overtighten them;
- d) Install new clamps when securing the fuel line;
- e) Ensure that the fuel and vent pipes are installed correctly for the model.
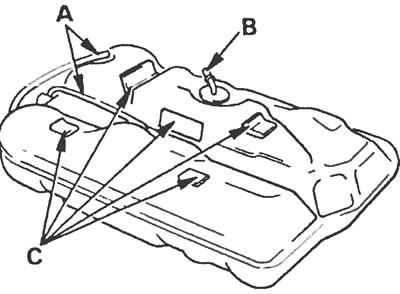
Figure 16.11,a. Fuel tank on short wheelbase models: A - Ventilation pipes, B - Fuel supply pipe, C - Tank cushions
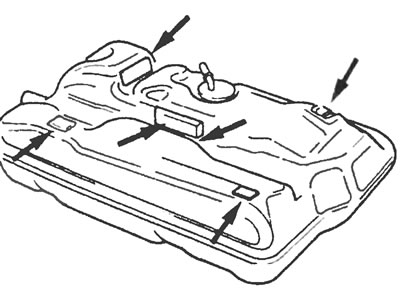
Figure 16.11,b. Location of fuel tank cushions (indicated by arrows) on long-wheelbase models.