Removal
1. Disconnect the negative battery cable.
2. According to the engine type, please refer to section 3 and remove the air cleaner if access to the fuel pump is difficult.
3. Use a lever to release the clamp that connects the cable to the accelerator pedal and disconnect the cable (see Figure 13.3).

Figure 13.3. Remove the retainer (indicated by the arrow) and separate the cable from the accelerator pedal.
4. In the engine compartment, disconnect the cable from the bulkhead and pull it out.
5. Unhook the cable fasteners or clips that secure it to the radiator or dash panel.
6. Remove the retainer and disconnect the inner cable from the fuel pump control lever (see figure 13.6, a, b).
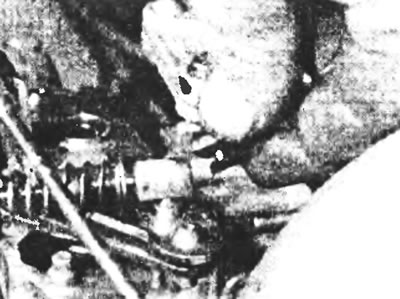
Figure 13.6a. Remove the retainer...
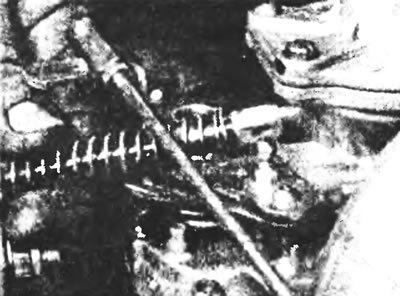
Figure 13.6b.... and disconnect the cable from the control lever
7. Release the spring from the cable bracket using a screwdriver.
8. Squeeze the plastic tabs and remove the cable from the support bracket (see Figure 13.8).
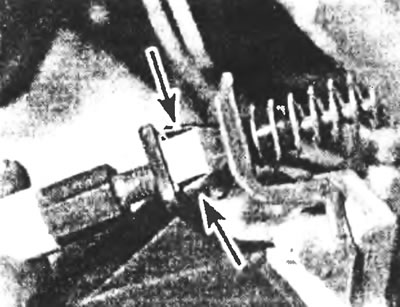
Figure 13.8. Squeeze the plastic tabs and remove the cable from the support bracket on the high-pressure fuel pump.
9. Remove the cable from the engine.
Installation
10. Installation is carried out in the reverse order of removal, just make sure that the cable is positioned correctly; finally, adjust the cable as follows.
Regulation
11. Have an assistant fully depress the accelerator pedal, then check that the fuel pump control lever is in the fully open position. If necessary, turn the adjuster on the outer cable housing.
12. Release the accelerator pedal and check that the fuel pump control lever returns to the idle position.