Warning: Use extreme caution when working with fuel injectors. Never place your hands or other body parts under the jet of injectors, as high operating pressure can cause fuel to penetrate the skin, which can lead to serious injury. We strongly recommend that injector pressure testing be performed by a dealer or fuel injection specialist.
Examination
1. With prolonged use, the performance of injectors deteriorates and they may need to be repaired or updated after approximately 60,000 miles (100,000 km) mileage. A thorough test, overhaul, and calibration of injectors must be performed by a specialist. A faulty injector that causes detonation or smoke can be identified without dismantling as follows.
2. Start the engine, set the idle speed to high. Loosen each injector connection one at a time, placing a rag around the connections to absorb any spilled fuel, being careful to protect your skin from the fuel spray. Once the faulty injector connection is loosened, the detonation or smoking should stop.
Removal
Bosch or Lucas/CAV injectors
3. Fuel injectors from Bosch or Lucas/CAV are installed on all engines produced before 1989.
4. Disconnect the negative battery cable.
5. Remove the air filter as described in section 3.
6. Thoroughly clean the surface around the injector and the injector line connecting nuts.
7. Unscrew the fuel supply connecting nuts and the bypass pipe bolts on the casing. Remove the tubes from the injectors and cover the open connections. Remove two copper washers from each bolt connection (see Figure 10.7).
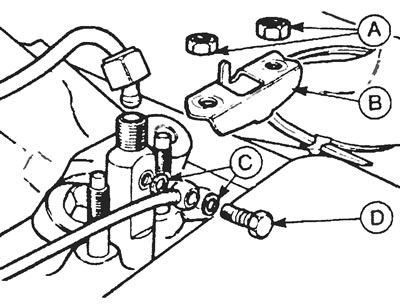
Figure 10.7. Fuel injector on pre-1989 models: A - Clamp nut, B - Clamp, C - Banjo washers, D - Banjo bolt.
8. Unscrew the injector clamp nuts and remove the clamp from each injector.
9. Remove the injectors from the cylinder head (see Figure 10.9). If they don't budge, use an injector puller. Remove the sealing washers from the injector tips or from the holes in the cylinder head. Place protective caps on the injector nozzles while they are removed.
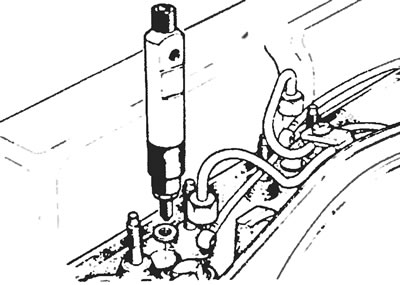
Figure 10.9. Remove the injectors from the cylinder head.
Stanadyne fine tip injectors
10. Stanadyne fine tip injectors are installed on all engines produced since 1989 (see figure 10.10).
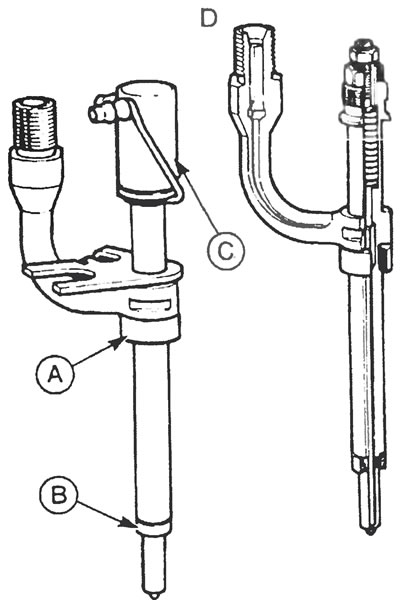
Figure 10.10. Stanadyn nozzle with a thin tip: A - Dust seal; B - PTFE seal; C - Drain cap seal; D - General view of the nozzle.
11. Disconnect the negative battery cable.
12. Remove the air filter as described in section 3.
13. Thoroughly clean the surface around the injectors and the connecting nuts of the injector delivery pipes.
14. Unscrew the fuel delivery line connections from the injectors (see Figure 10.14). If necessary, use a second wrench to hold the injector while loosening the nuts. Cover open joints.
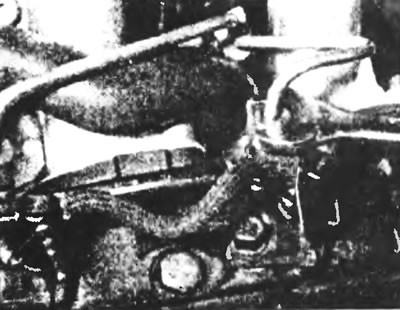
Figure 10.14. Unscrew the fuel delivery line connections from the injectors.
15. Carefully remove the fuel drain pipes from the injectors (see Figure 10.15).
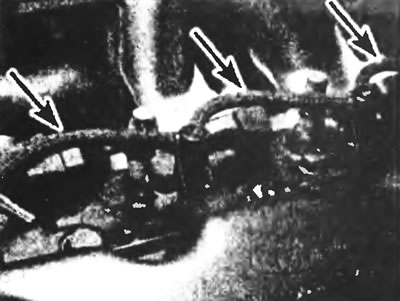
Figure 10.15. Separate the drain pipes (indicated by arrows) from the injectors.
16. Unscrew the injector clamp bolts and remove them.
17. Remove the injectors from the cylinder head. If you have any difficulties, use the Ford 23-030 tool or a special injector puller. Do not attempt to remove the injectors with a lever (see Figure 10.17, a, b)
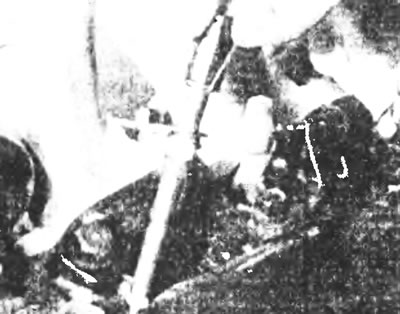
Figure 10.17a. Remove the injectors from the cylinder head.
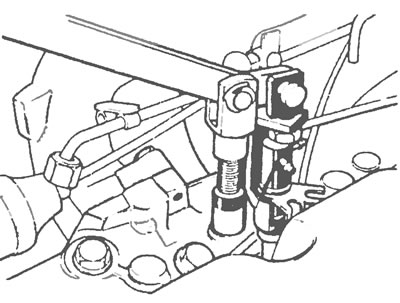
Figure 10.17b. If you have any difficulties, use the Ford 23-030 tool or a special puller.
18. Remove the sealing washers from the injectors. Remove the PTFE seal washers from the injector tips. carefully separate them with a knife, then remove them with pliers (see figure 10.18,a,b). Obtain a new dust seal and seal washers for reinstallation. Cover the injector nozzles with protective caps while they are removed.
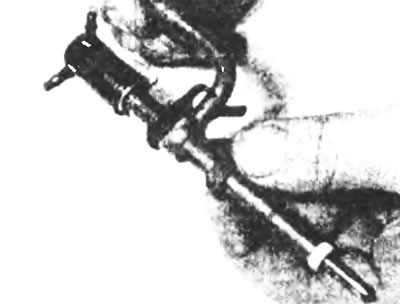
Figure 10.18a. Remove the sealing washers from the injector bodies.
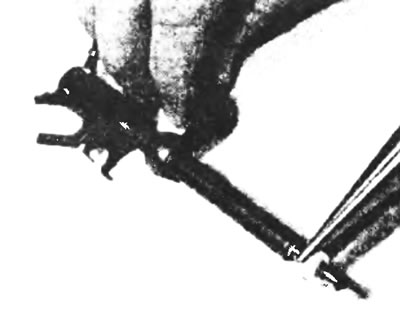
Figure 10.18b. Remove the PTFE washers from the injector tips.
Installation
19. For all types of injectors, installation is carried out in the reverse order of removal. Please pay attention to the following points:
- a) Use new injector sealing washers, PTFE washers, and copper washers on the "banjo" connections;
- b) When working with Bosch or Lucas/CAV injectors, note that the injector return pipe connections face towards the cylinder head cover and the ends of the injector clamps face towards the front of the engine;
- c) When working with Stanadyne injectors, install new PTFE sealing washers with the notches facing up. Install washers by placing them in tool holder 23-030 or in the appropriate socket of the pipe clamp. Insert the nozzle tip into the washer (see figure 10.19,a,b);
- d) Tighten all fasteners and connections to the specified tightening torque. Make sure that the injector tubes are not deformed;
- d) Fill the fuel system as described in section 2, then start the engine and check for fuel leaks.
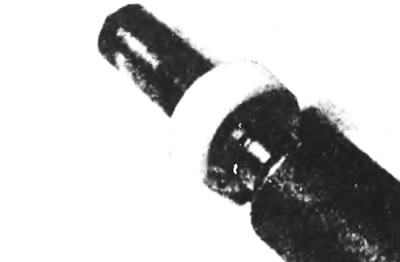
Figure 10.19,a. Install new PTFE washers with the notches facing up
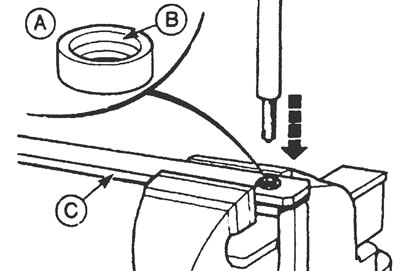
Figure 10.19,b. Correct installation of PTFE sealing washers on Stanadyne injectors.