Contents: Removal ↳ Installation ↳
Removal
1. Disconnect the negative battery cable.
2. According to the engine type, please refer to section 3 and remove the air cleaner if access to the fuel pump is difficult.
3. Cover the starter with a plastic bag in case of fuel spillage.
4. On Lucas/CAV the filter unit is mounted with a manual priming pump. Unscrew the connections and remove the fuel line between the manual priming pump and the high-pressure fuel pump. Remove the banjo bolt and sealing washers and disconnect the hand pump from the filter assembly (see Figure 12.4).
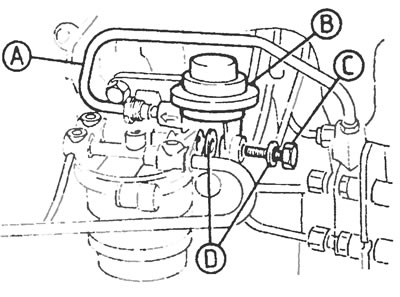
Figure 12.4. Hand bleed pump on Lucas/CAV fuel filter: A - Fuel supply line, B - Hand bleeder pump, C - Banjo bolt, D - Sealing washer
5. Unscrew the connections, remove the fuel line between the filter and the high-pressure fuel pump.
6. Unscrew the connections and separate the fuel supply lines from the filter (see Figure 12.6).
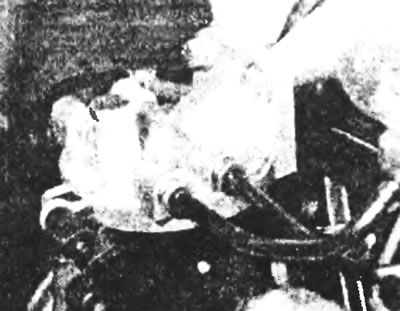
Figure 12.6. Fuel line connections and Bosch fuel filter mounting bolts.
7. At the location where the water-in-fuel sensor is installed, disconnect the plug from the filter housing.
8. Unscrew the two fixing bolts and remove the filter.
Installation
9. Installation is carried out in the reverse order of removal. Use new sealing washers and tighten all fasteners and connections to specification.
10. Finally, fill the fuel system as described in section 2, then start the engine and check for leaks.
[This article was borrowed from the website: Fordbook.ru]